Renovation: The New Office is Taking Shape
This week it wasn’t very cold and I had a few days to work on my new office.

This week it wasn’t very cold and I had a few days to work on my new office.
It was quite a journey this year. If you see from what I came until the day of today; it’s A-mazing and a bit unbelievable 🙂

Last week there was no update. From now on the updates will not be regular anymore. It is too cold to do renovation in the attic. Temperatures are between -12ºC and +2ºC these days.

This week I really had a mix of tasks. Last Sunday I continued in the attic. I covered the roof with waterproofing membrane from URSA and this was one of the reasons to buy the Makita tacker 🙂
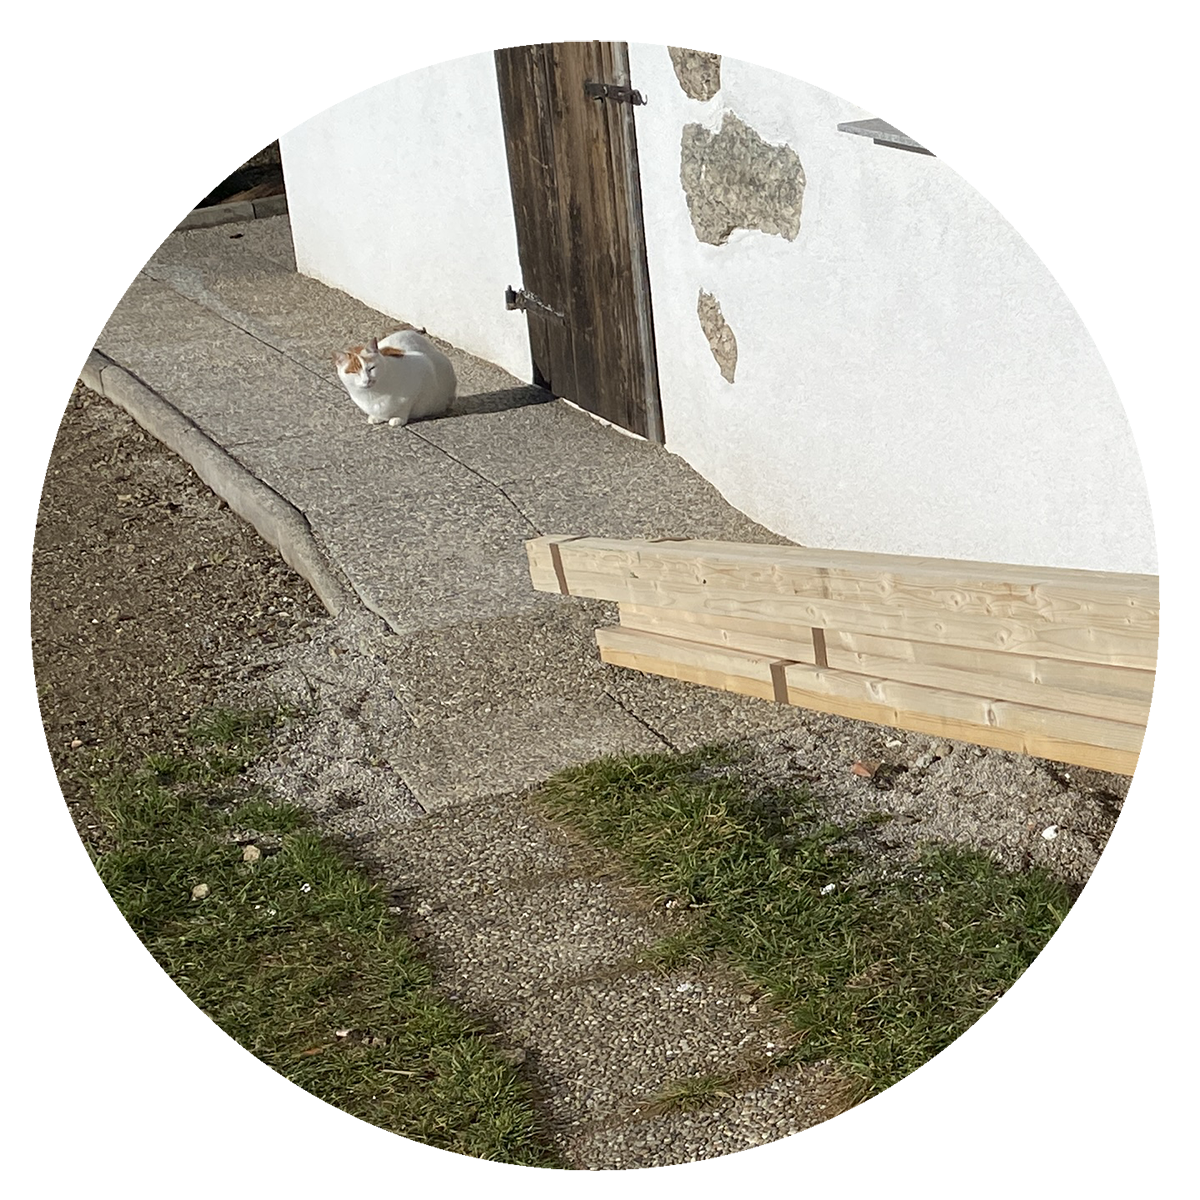
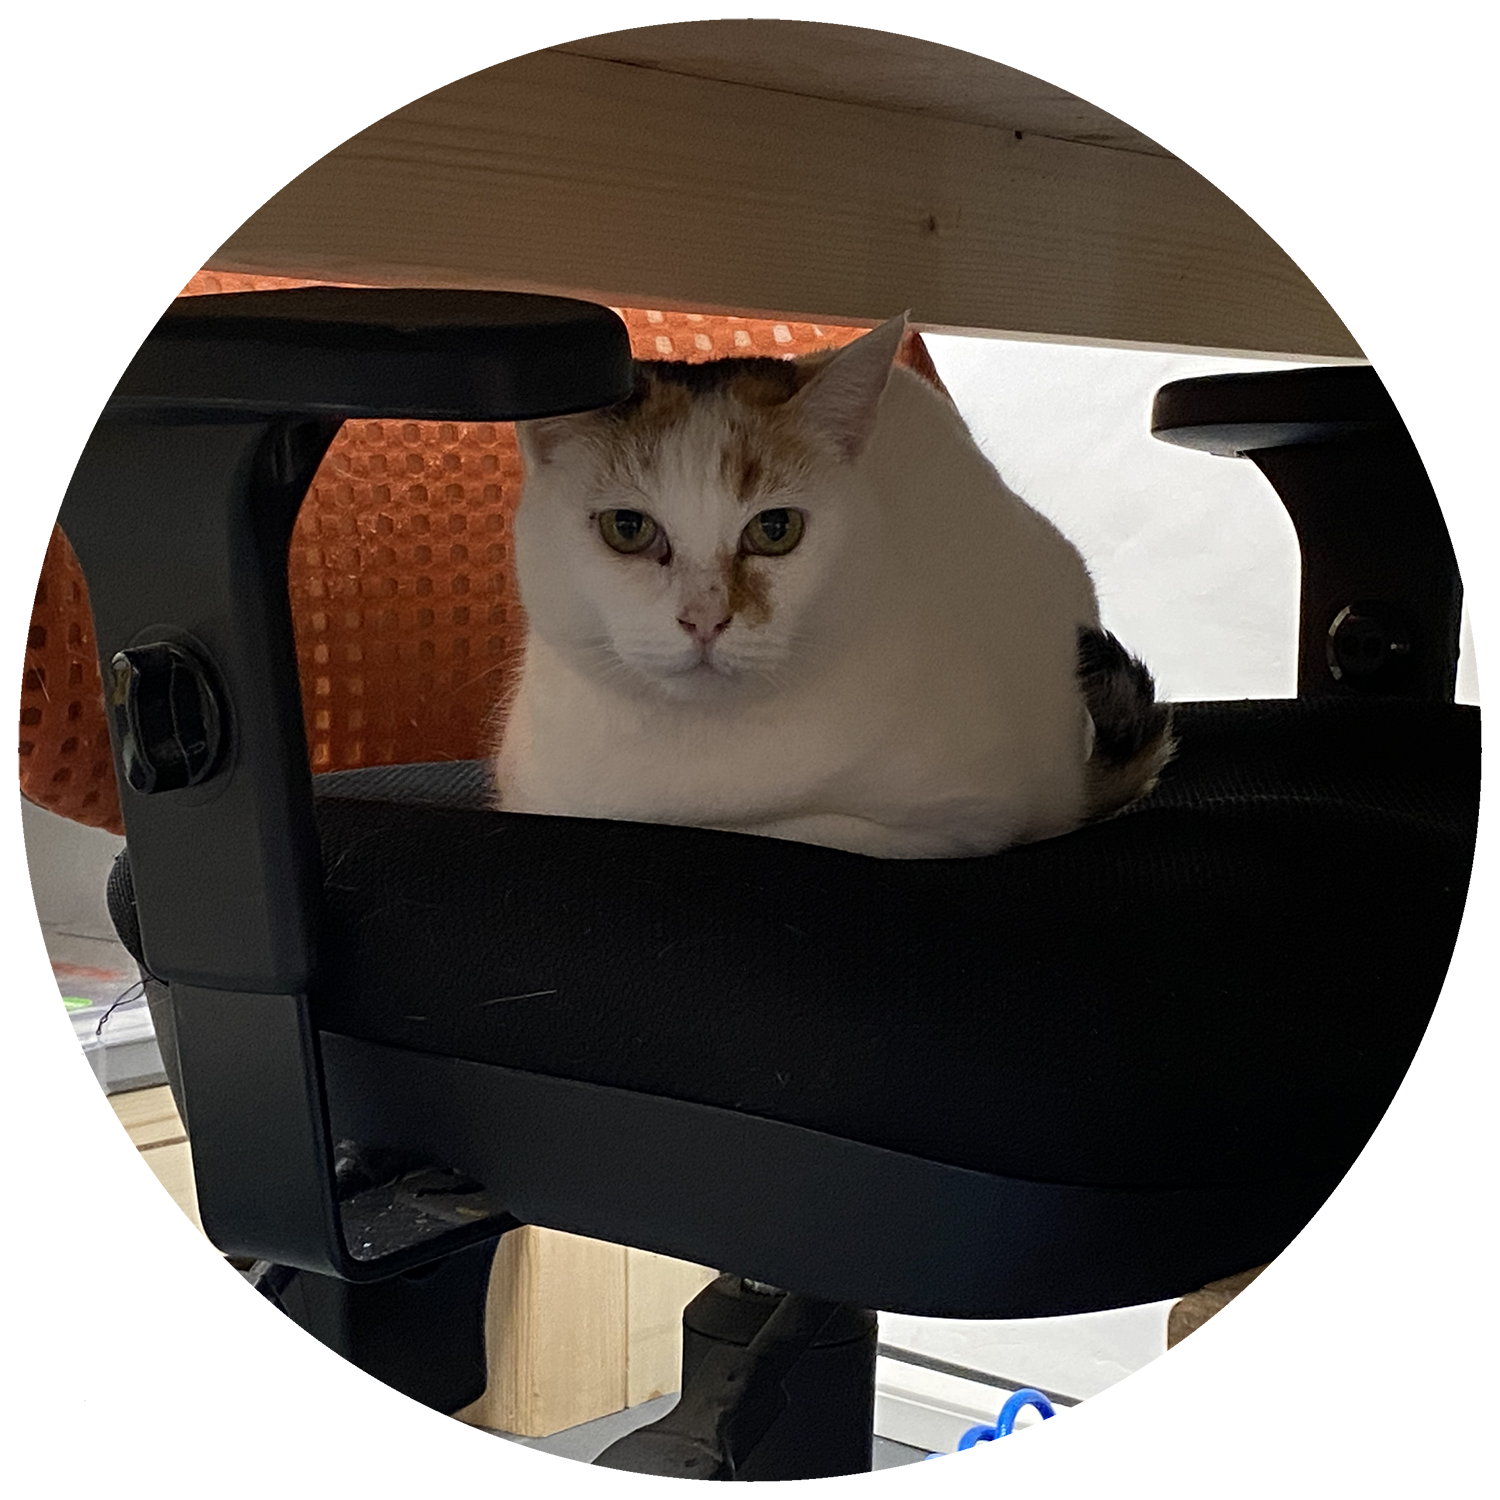
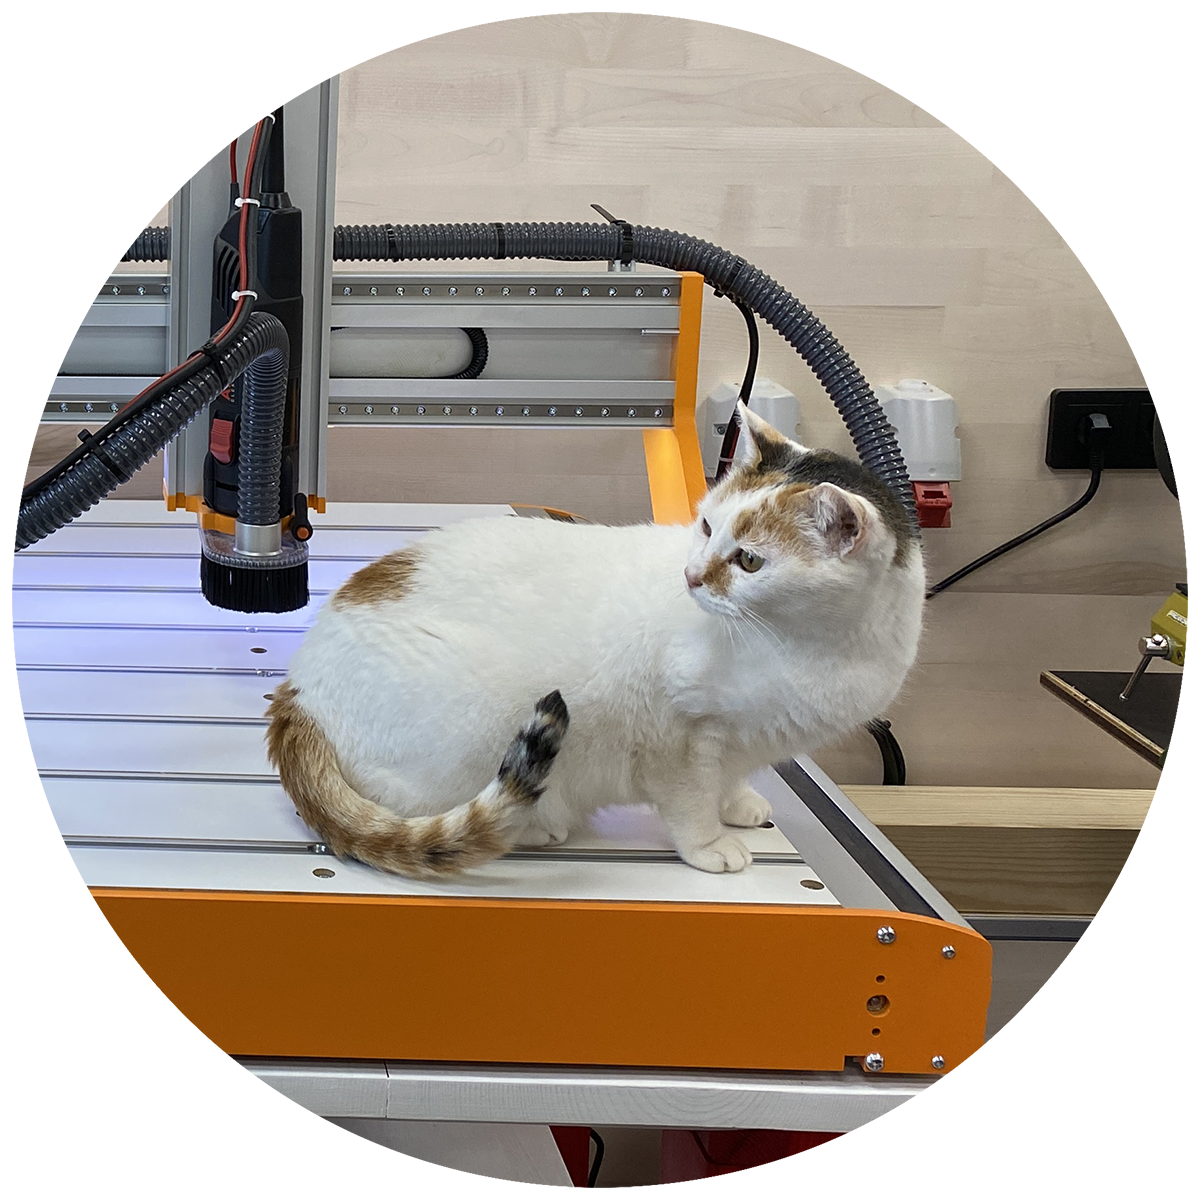
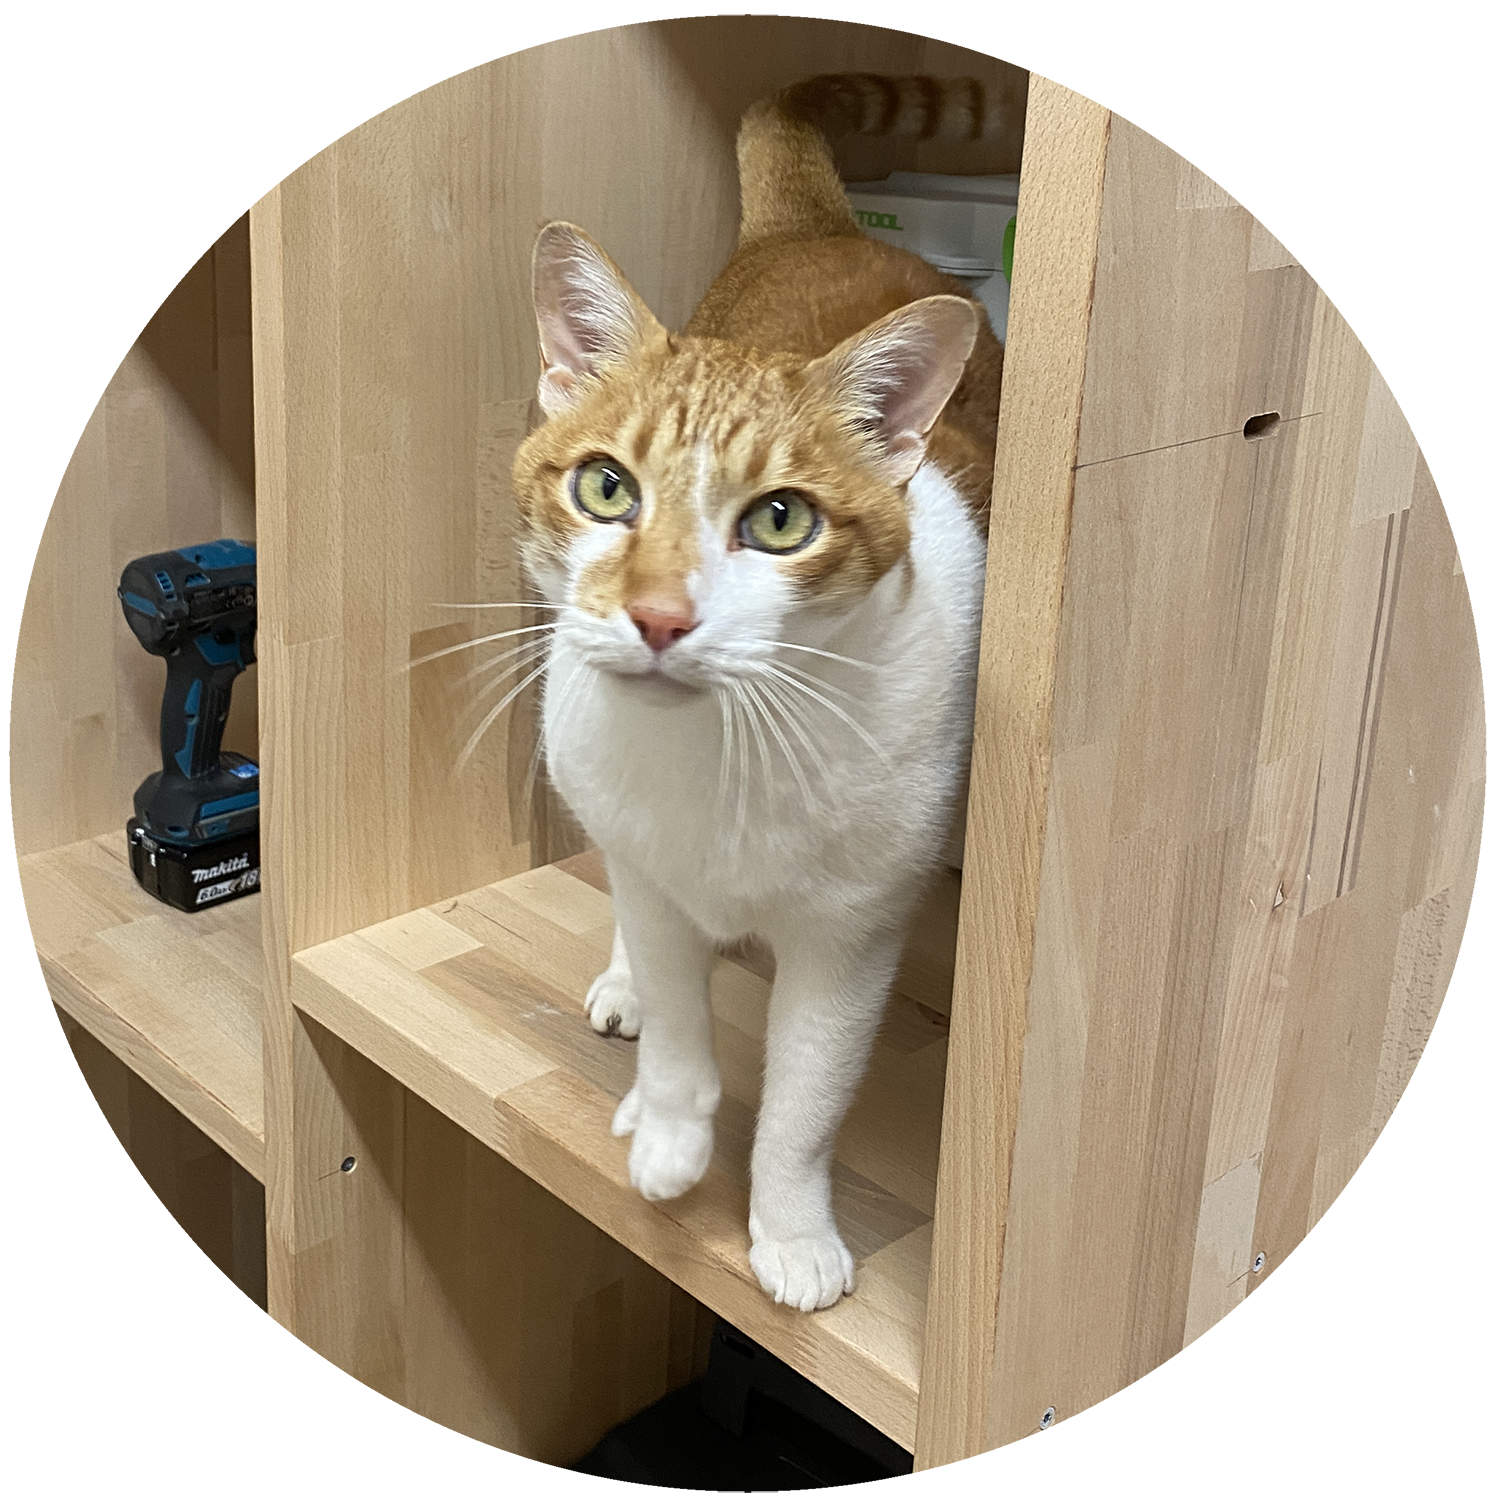
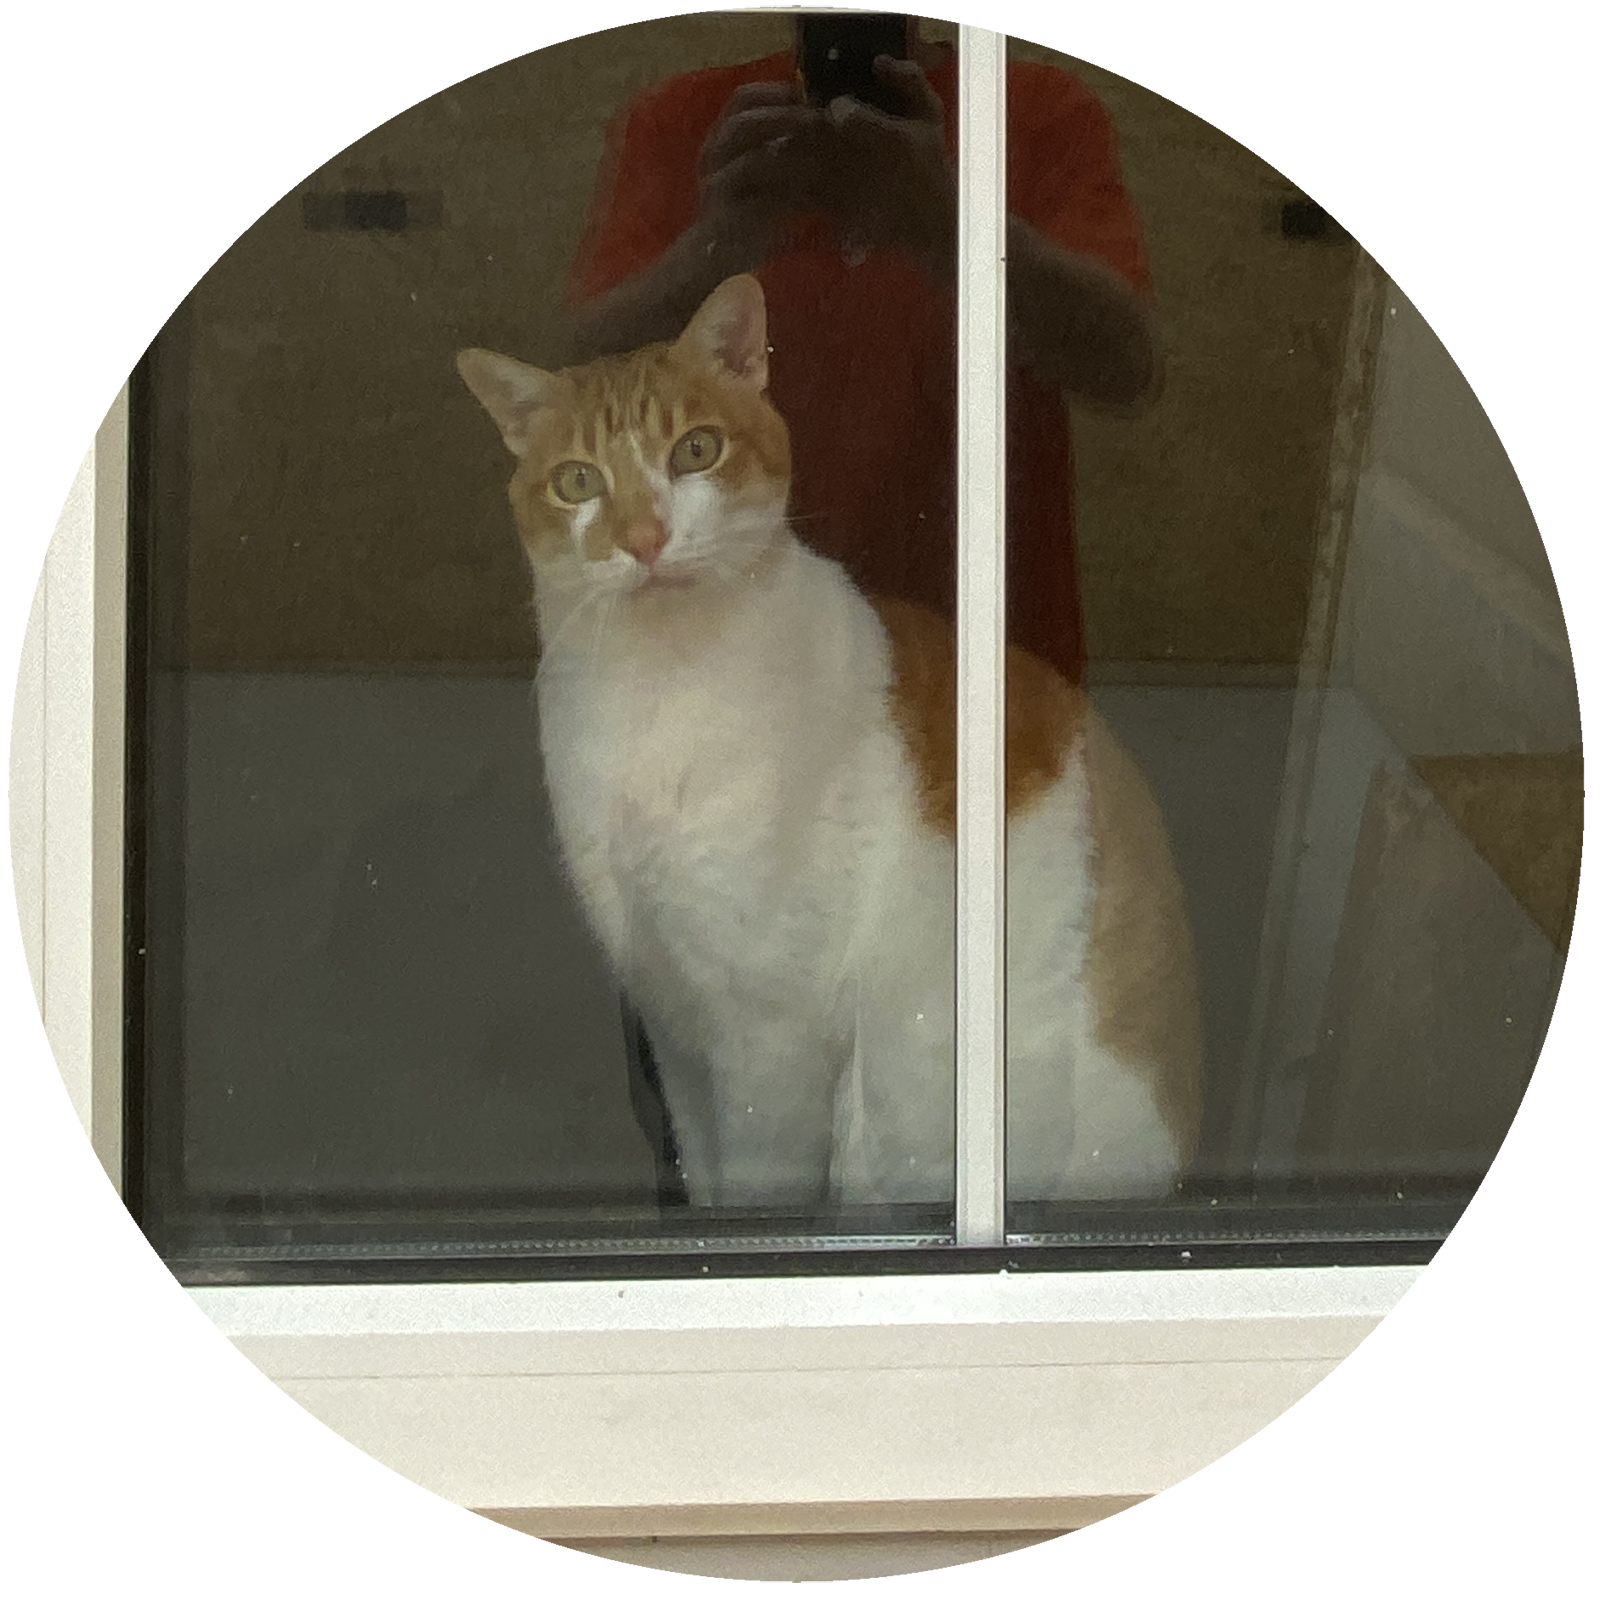
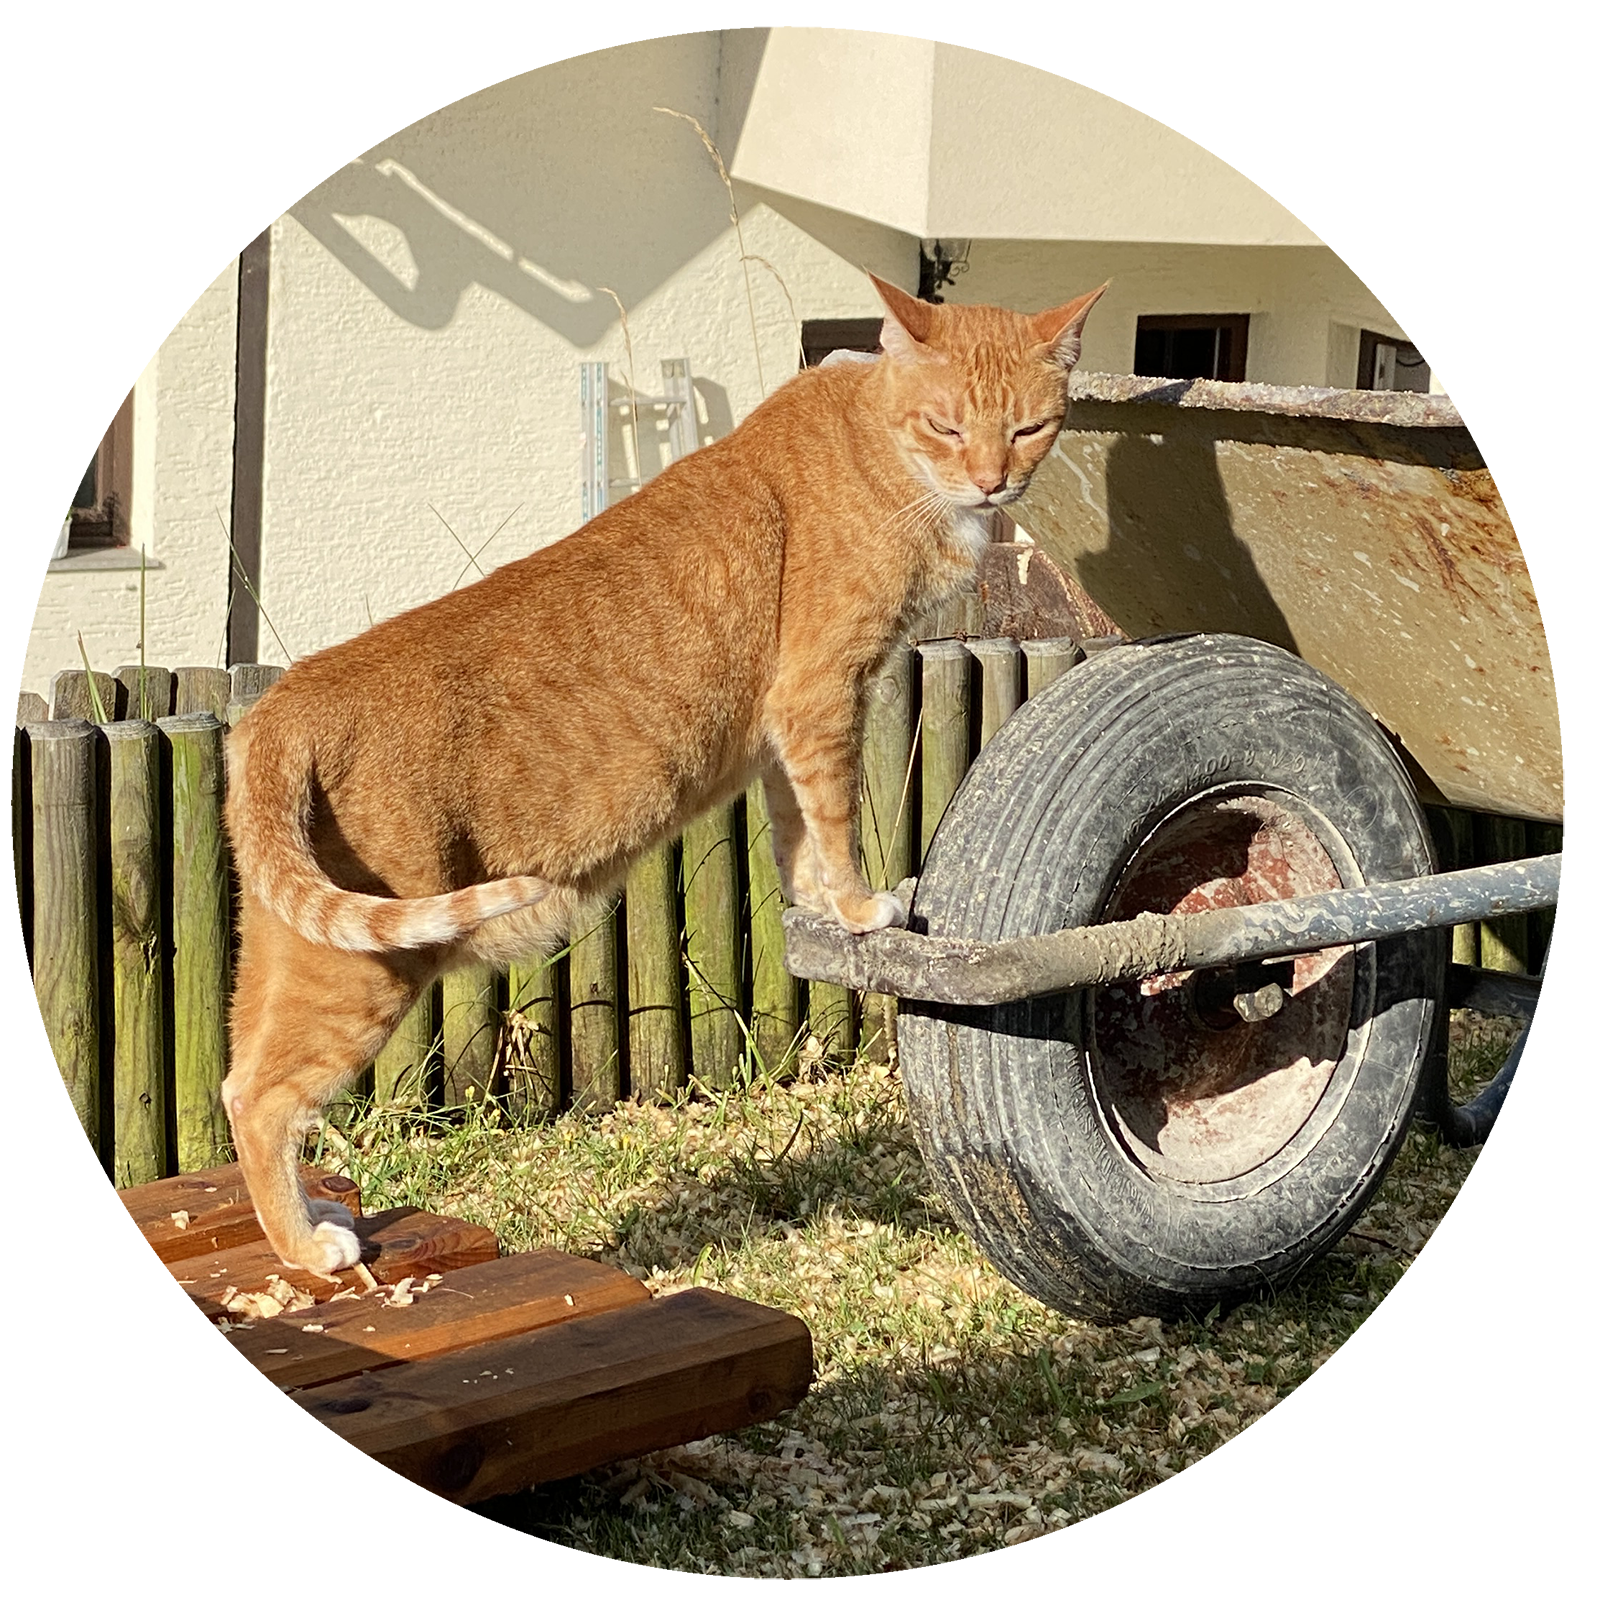
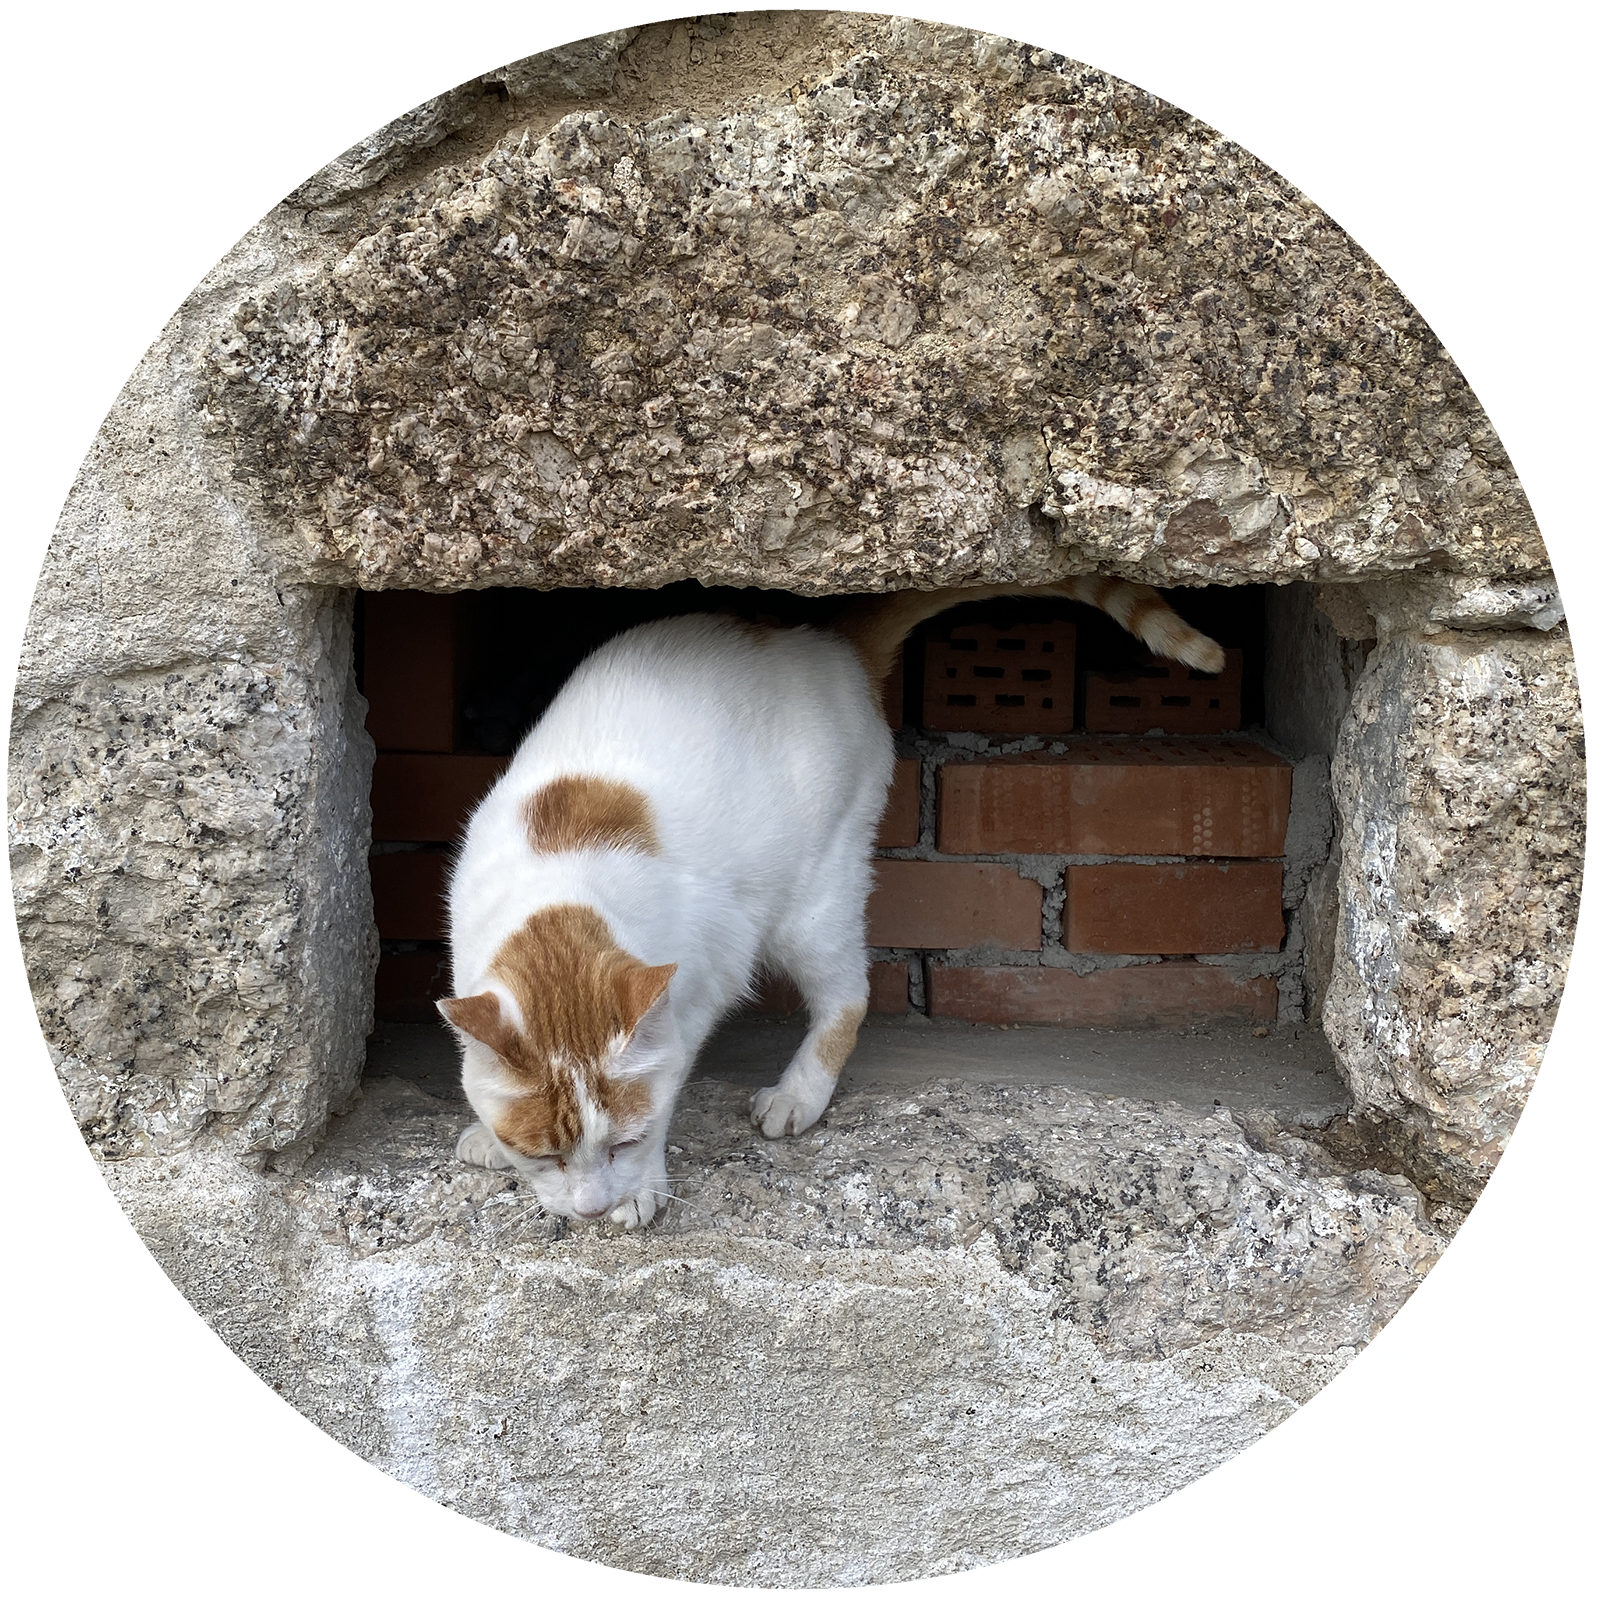
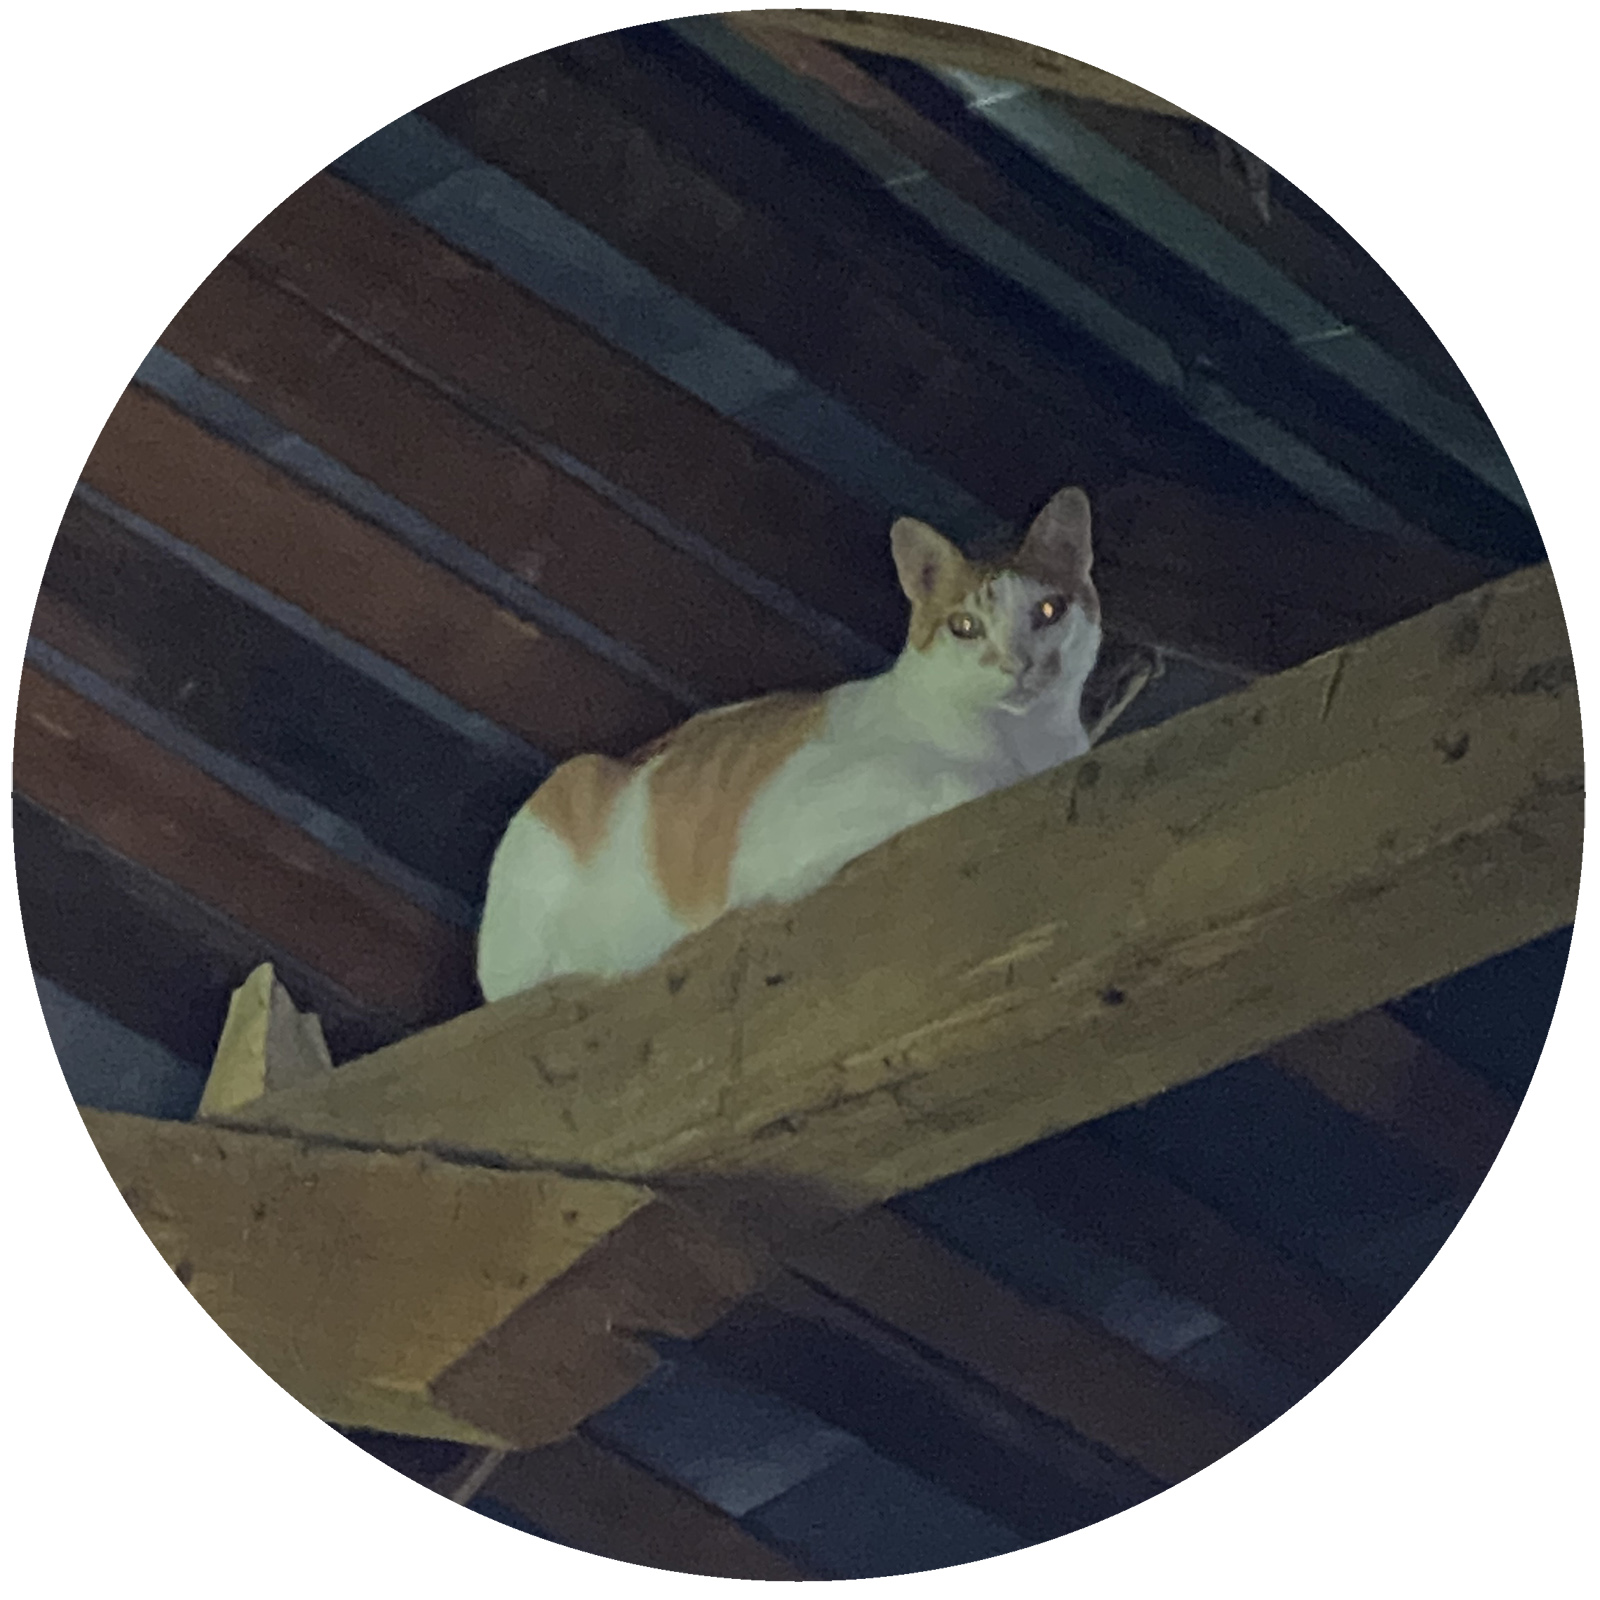
Last week the system didn’t send the newsletter. This is the link to the update of last week. The cats weren’t around much this week to take a nice pic for the post image.
Sunday was a beautiful day, time to create a pavement.

A custom made staircase is very expensive. My space is limited and I also need lots of storage for tools ‘n stuff!
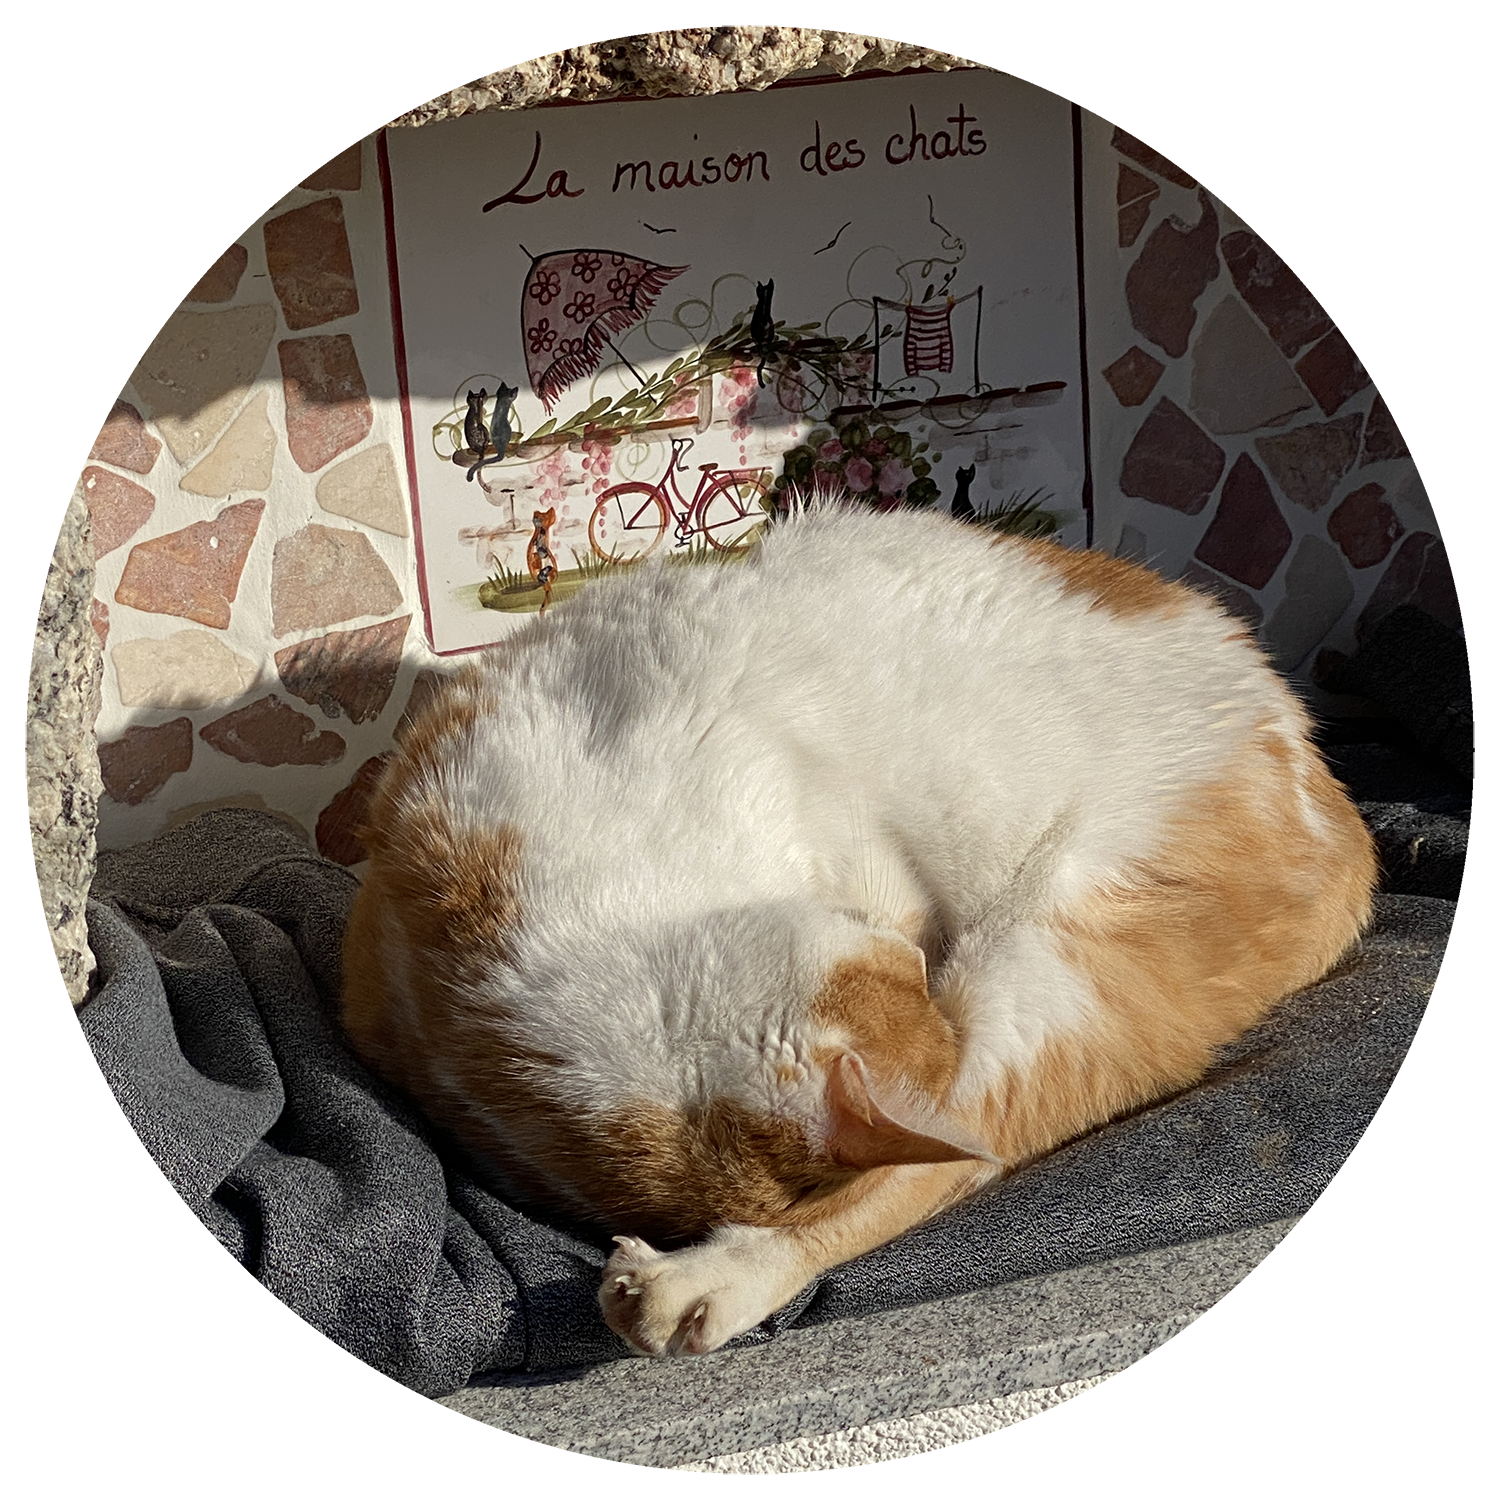
Only a small update this week. ‘La Maison des Chats’, is French for ‘The Cat-House’.
Twenty weeks into this renovation and this was a special week. Last Tuesday I went to my favourite shop in Austria!

Although I didn’t spend many hours on the renovation this week, the looks of the inside as well as the outside changed a lot. 🙂
Last Sunday I started rendering the facade. First I filled all the big holes. Also on this wall a group of granite stones will stay visible.
The studio gets parquet on the first wall. Two more walls to go.
The studio is starting to look like something. I’m over 3 months in the renovation now and wow, what a difference 🙂
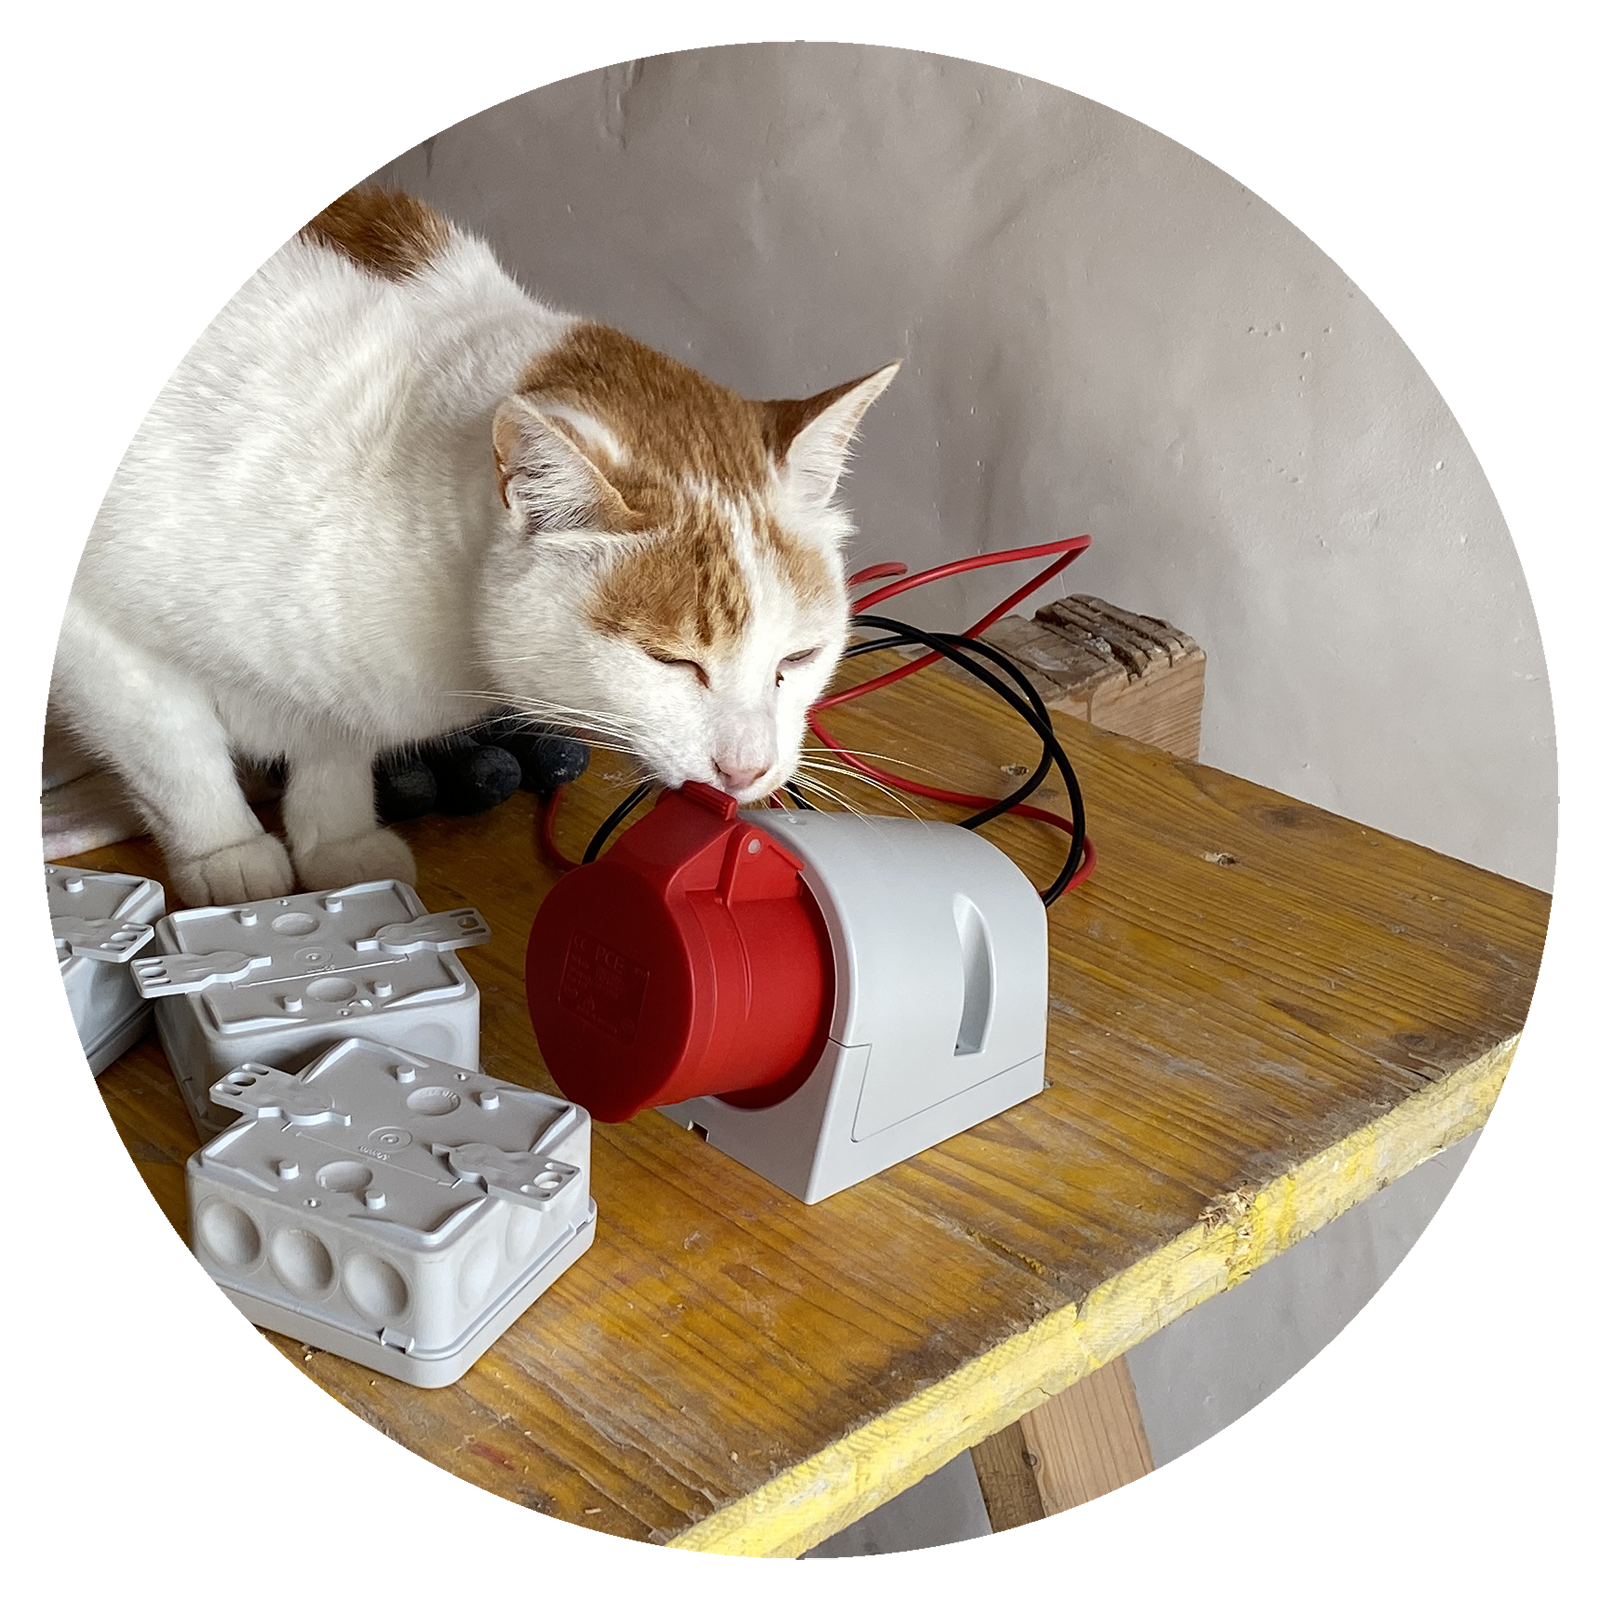
Most of this week I’ve spent on preparing the wiring for the electricity.

This week I worked 5 days on the storage room.

I decided to change the plan a bit.

This week had some nice surprises. Above the old pigsty there used to be a hayloft and this hay needed to be removed.
This week I worked alone on the renovation and it rained a lot, so not much has been done.

This week we placed the window in the studio and the small window in the office-to-be.
Again we made a lot of progress this week. I started with removing all the old wall cladding at the outside. And after that we mounted the planks for the ceiling.
We made a lot of progress this week. To start with, we mounted the new beams for the ceiling.
This was a pretty exciting week! Before we started this renovation, my neighbour told me that we had to lift the roof at the end to straighten it again. The original construction of the barn was in wood and it probably sank into the ground for about 25 cm. With the conversion from wooden to stone construction (probably in the 1950s) they didn’t level the roof but just created the supporting wall slanted.

This week we made the concrete foundation for the outer wall which gets a new wooden construction on top of it. In the photo above Oue is assisting with those terrible — too heavy — 40kg concrete bags!
This week I got rid of all the stuff in the attic and the former pigsty. We brought 4 full loads of trash to the dump. Most of it was wood, paper and old clothes. I never looked at anything of this stuff, it came with the house 5 years ago and it didn’t bother me.

This week I didn’t have the most pleasant job of this renovation, but it had to be done. The studio-to-be is empty now. What’s up with the chair? Read until the end 🙂
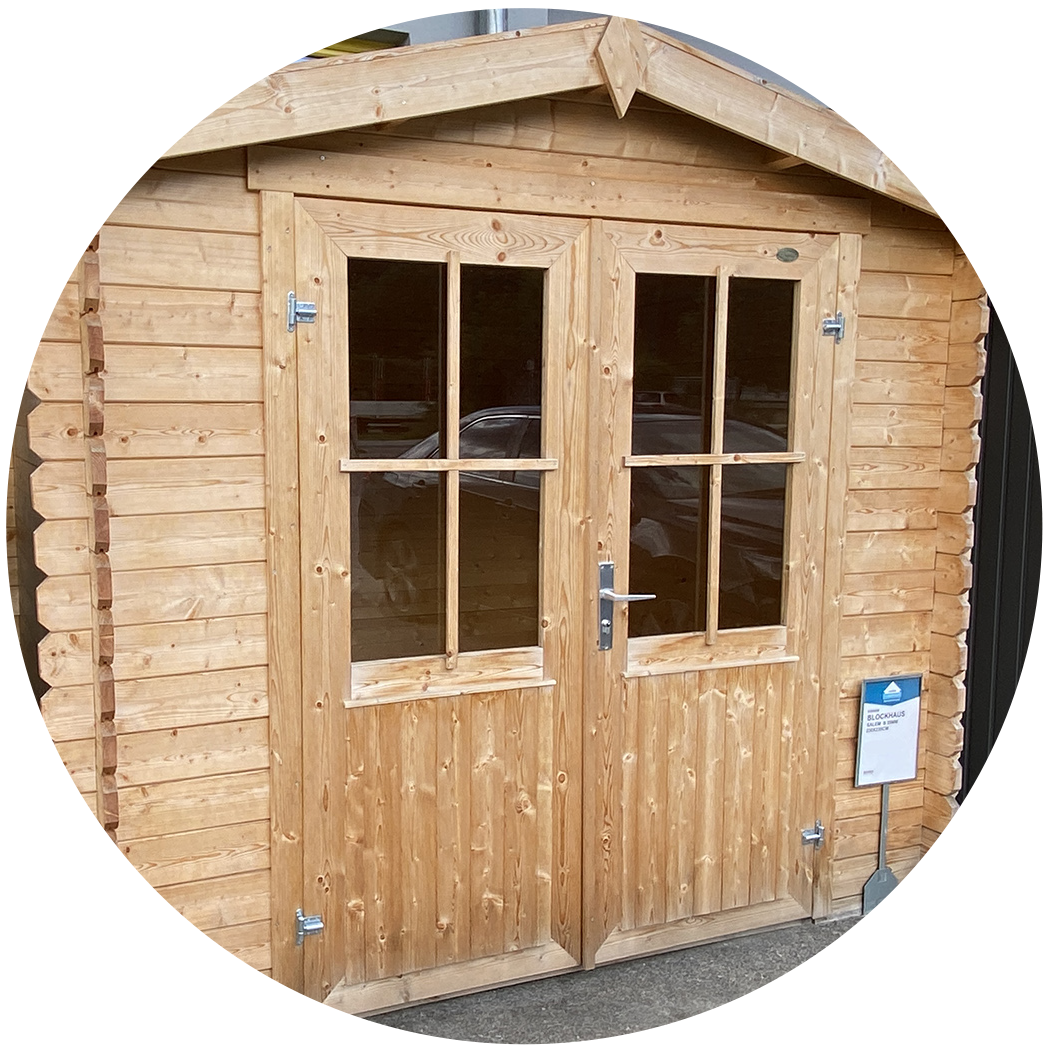
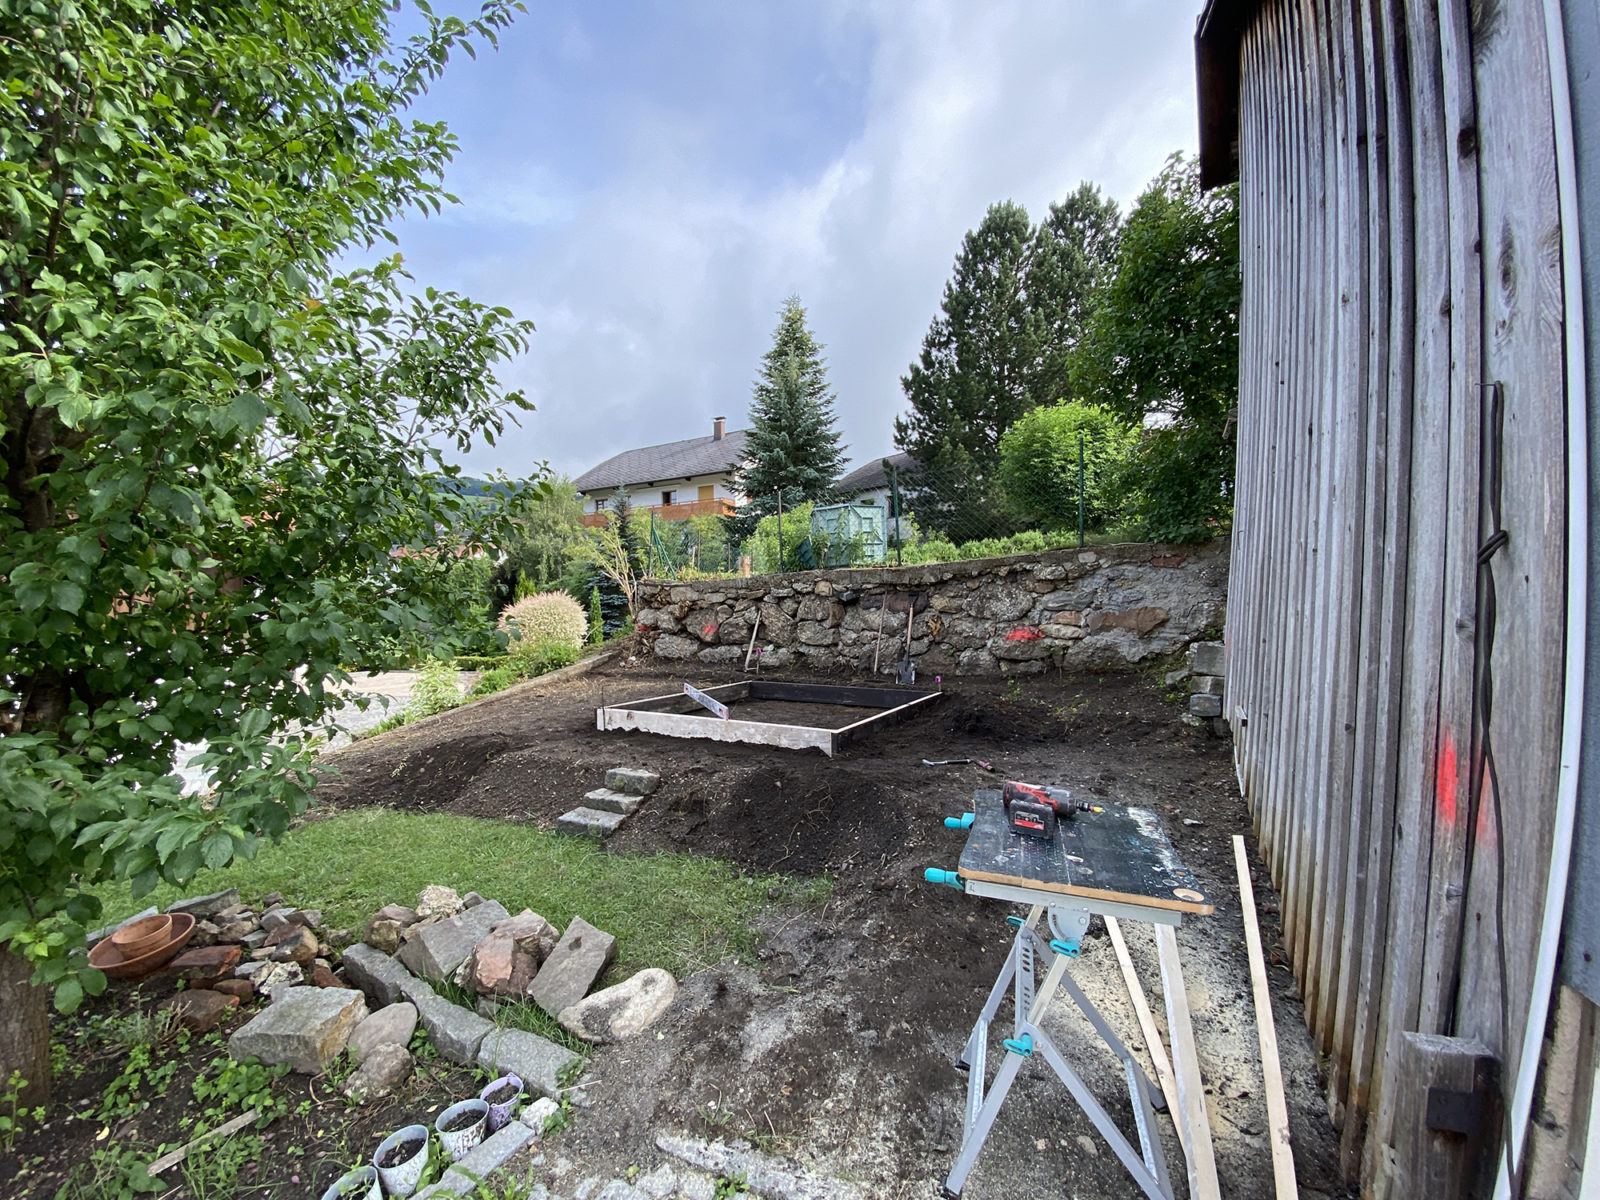
This week we didn’t work many days on the project, but we made great progress. Tuesday we prepared the concrete base for the garden cabin:

The renovation is going to take a while. Most likely longer than I expect. Most of the things will be done by myself, except for the main construction works, which will be done by my neighbours. I still have a few software projects going on and in my spare time I am working on the renovation.

Five years ago I (we) bought this house. The house is about 325 years old. It was already empty for almost 2 years and before that a woman of 91 years old lived here. We bought the house from her niece and she told us that no one ever had been on the attic for the last 20 years. On the photos you’ll see the part where I also not yet have been!
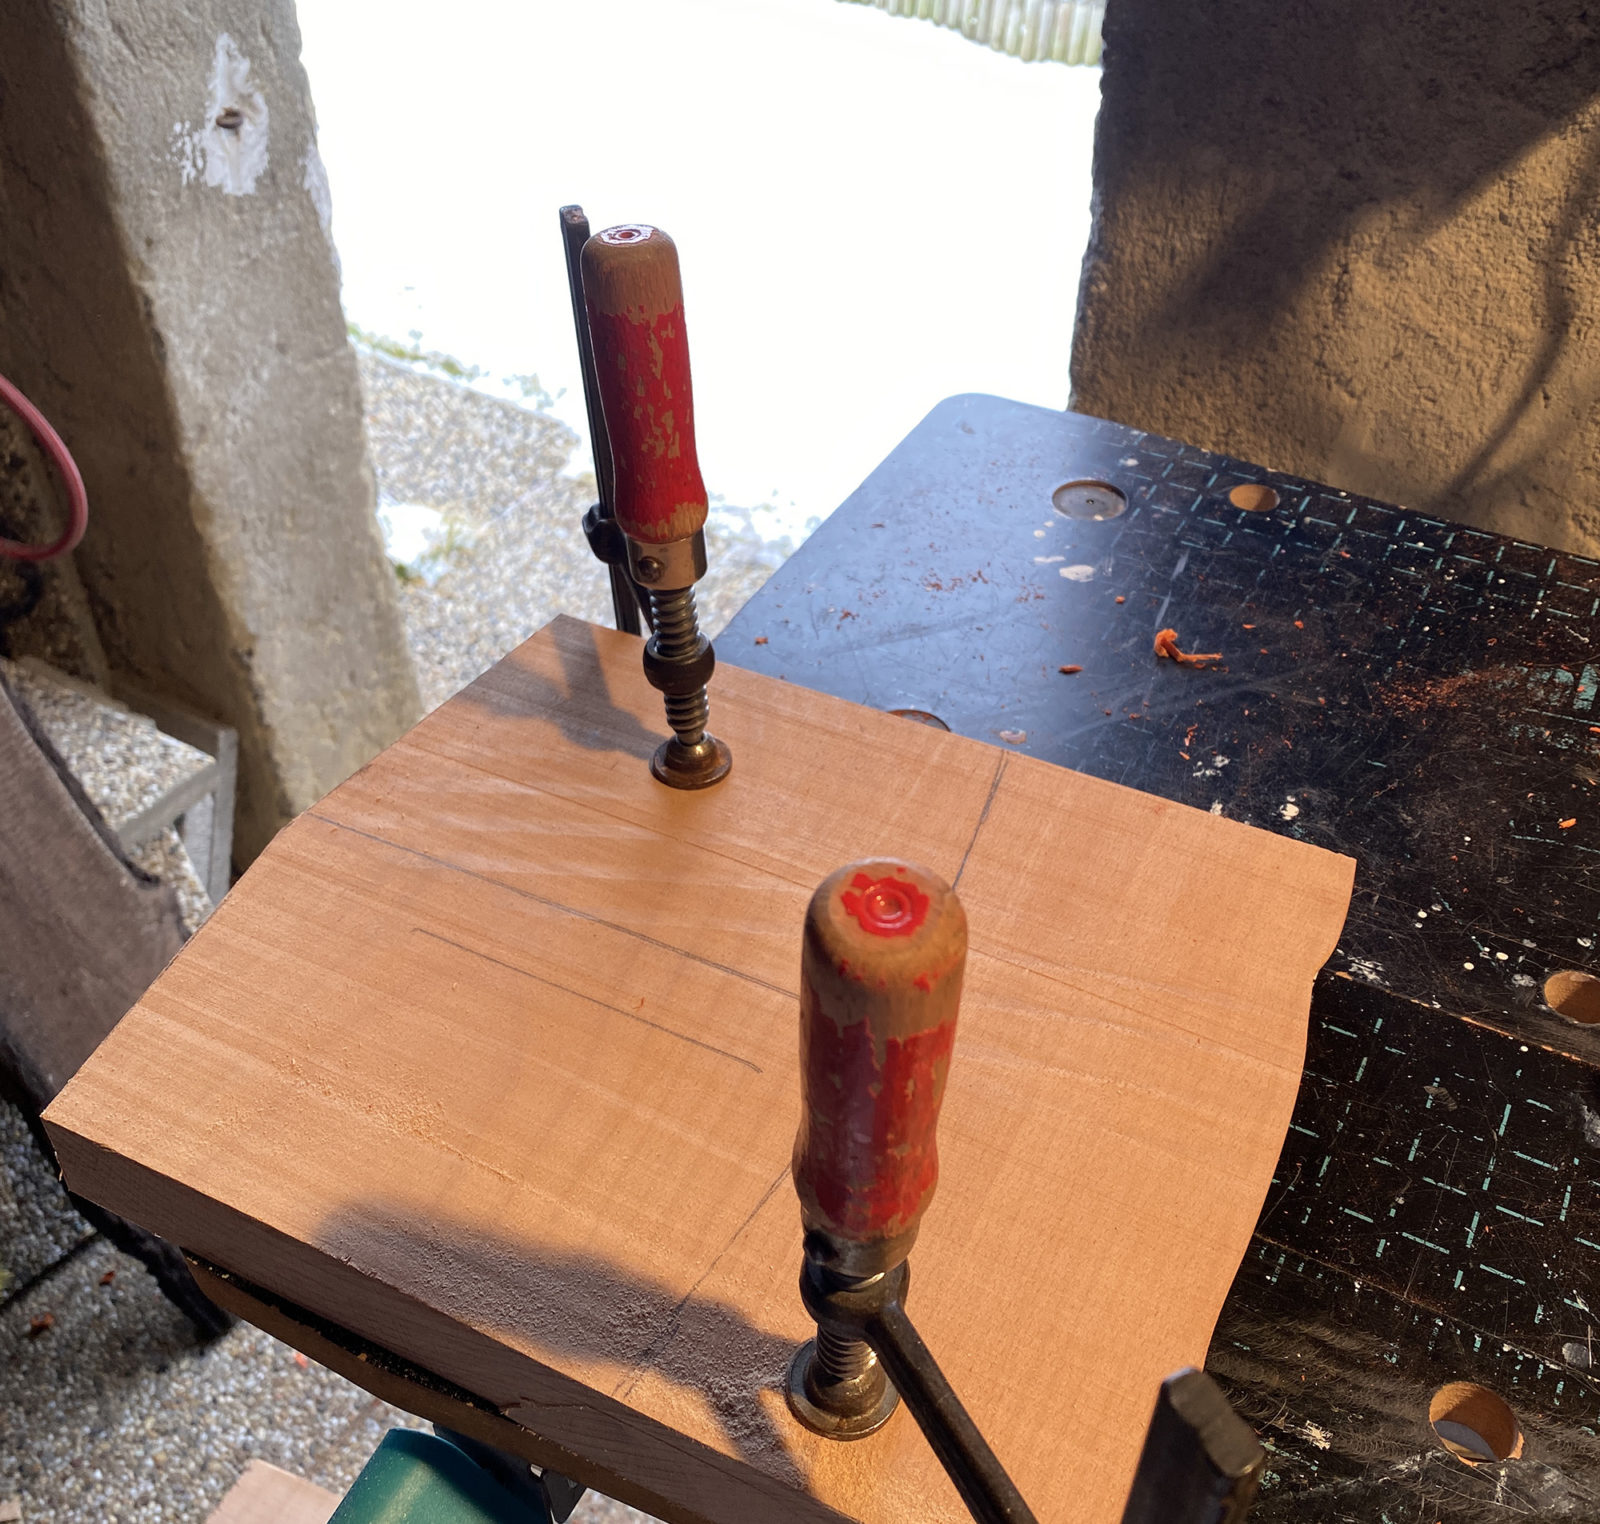
Hello all. A few weeks ago I repaired someone’s computer and in exchange he have me a piece of applewood. I made a few small things on the lathe with this wood and now it’s time for a Home Made Xylophone. Let’s start cutting a piece of this applewood:
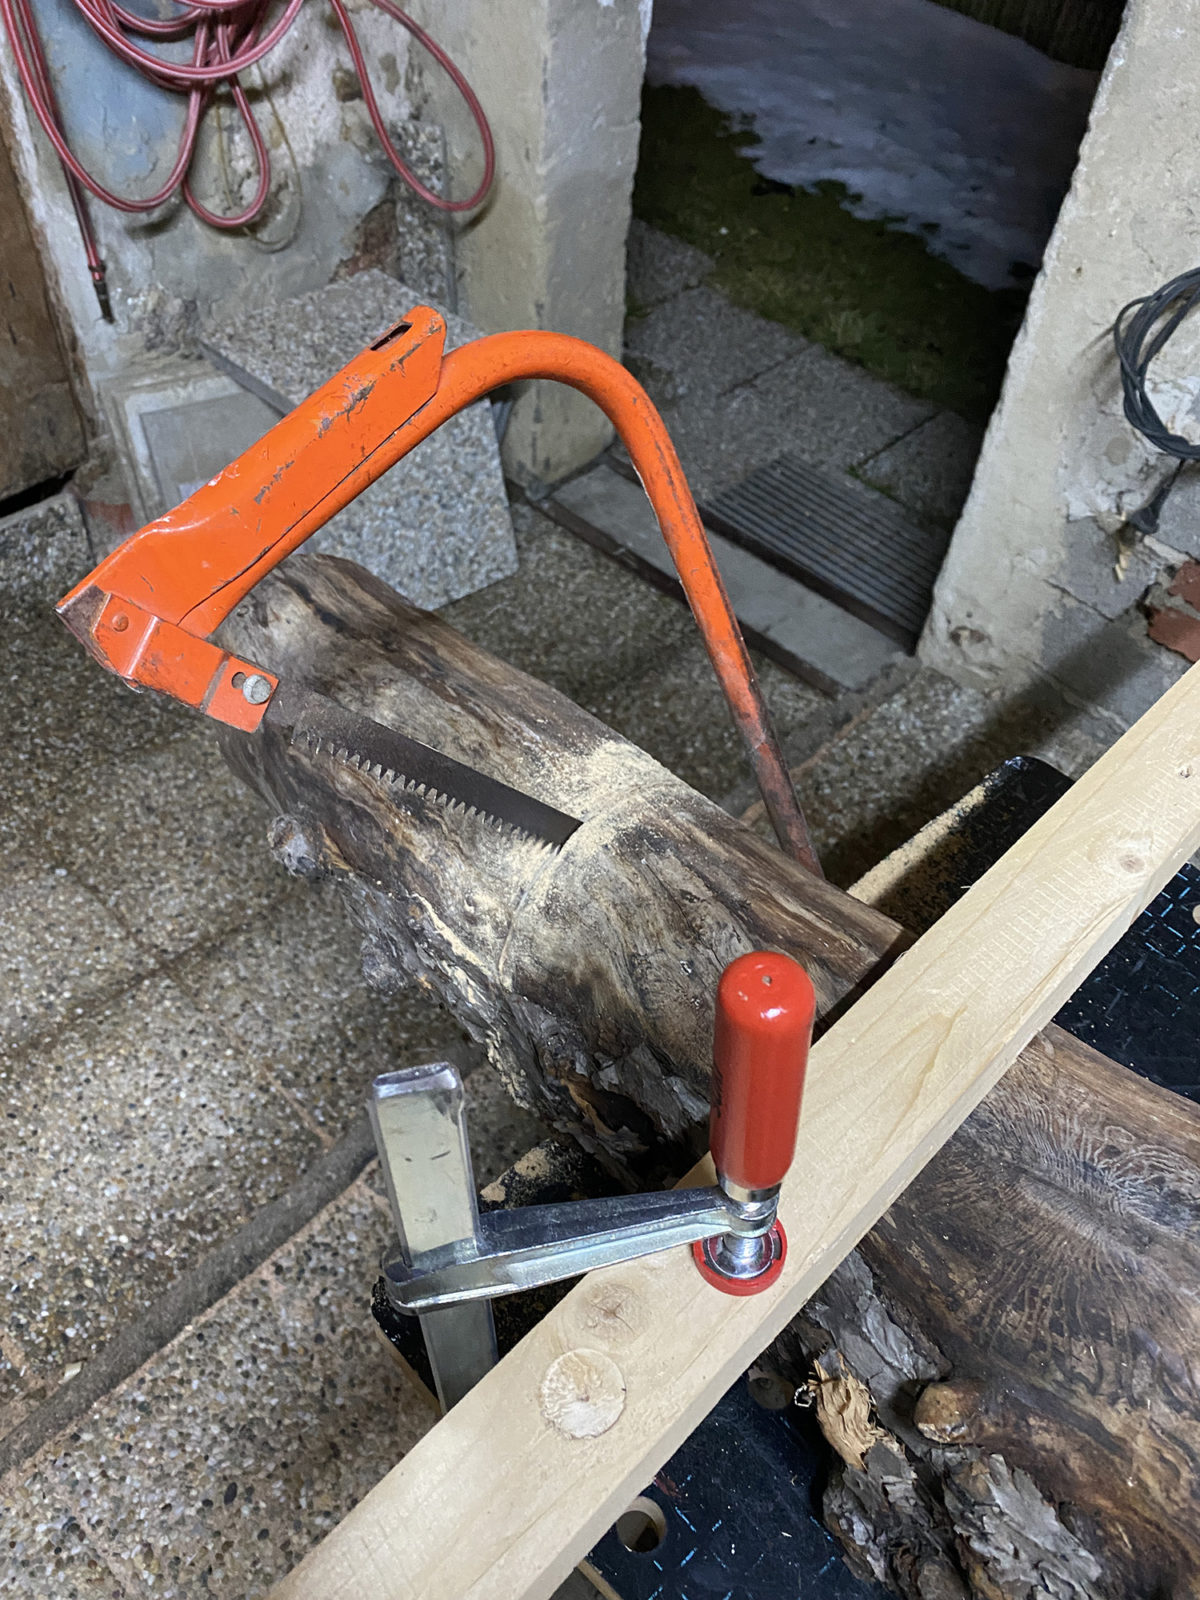
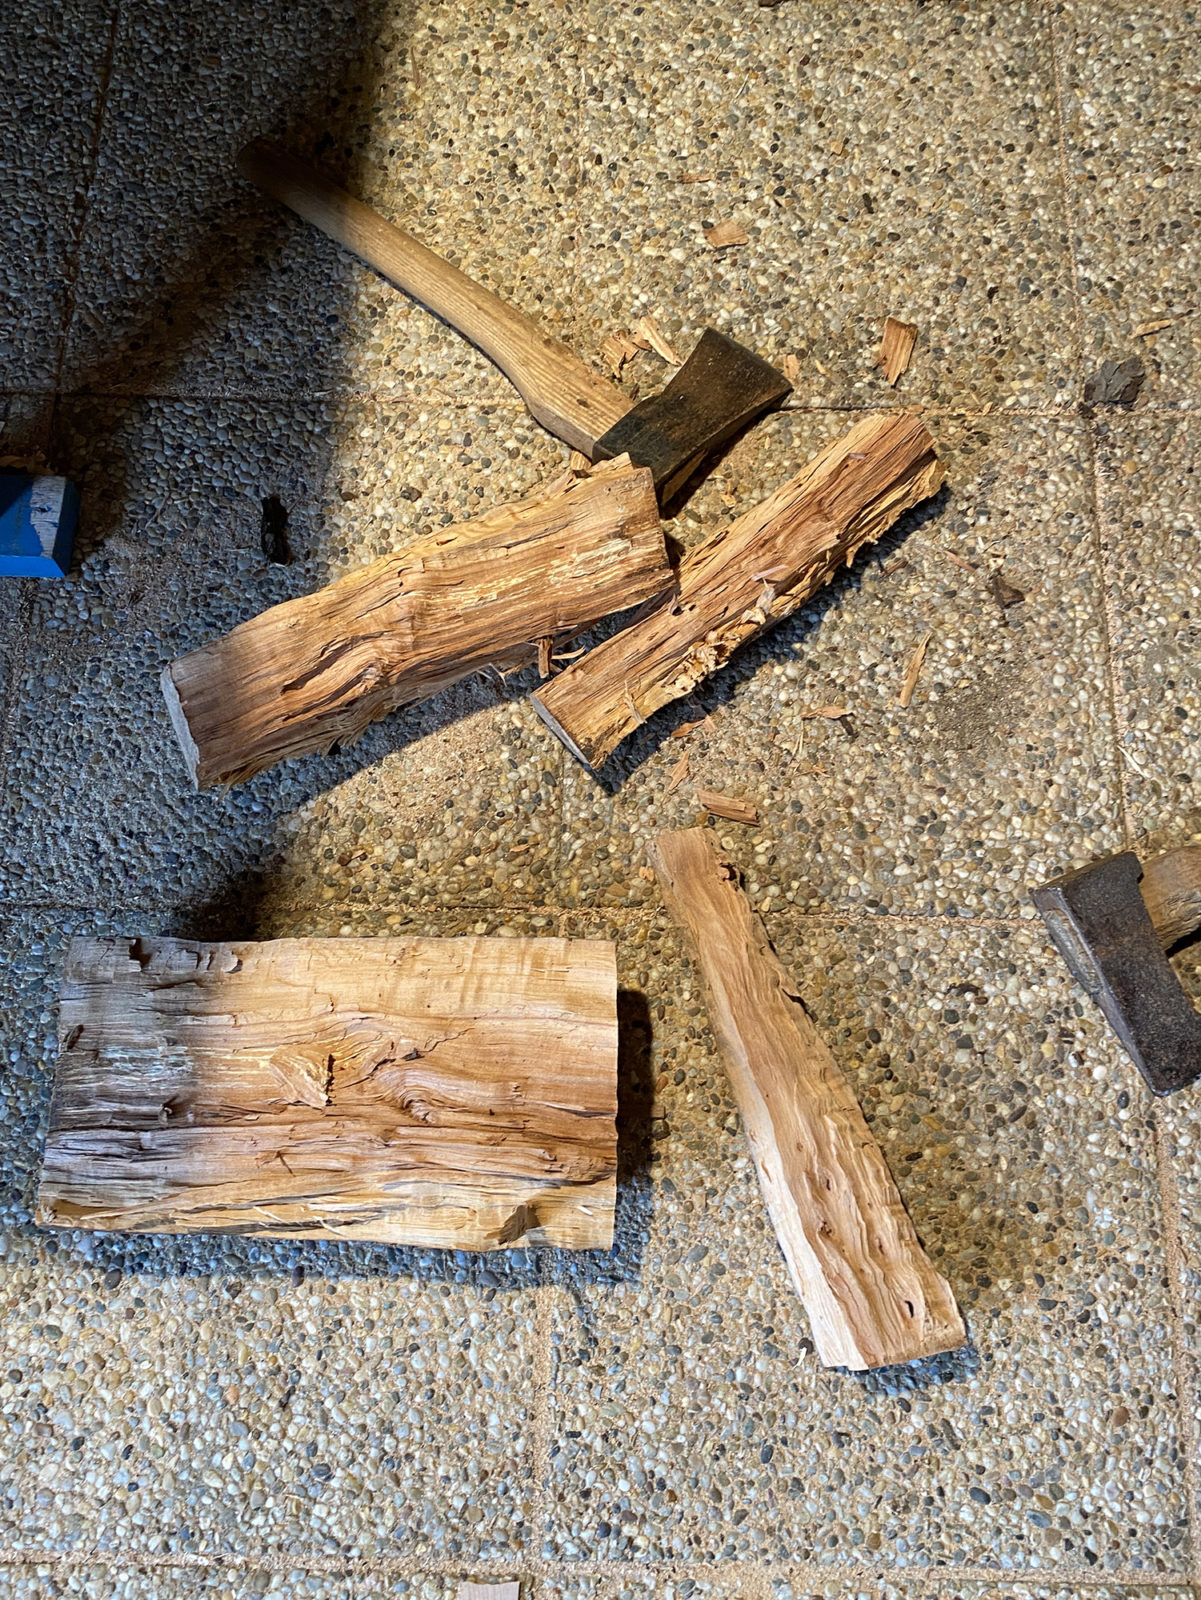
With the limited tools I have, I have to be creative. A band saw would help a lot in this case. But I managed 🙂
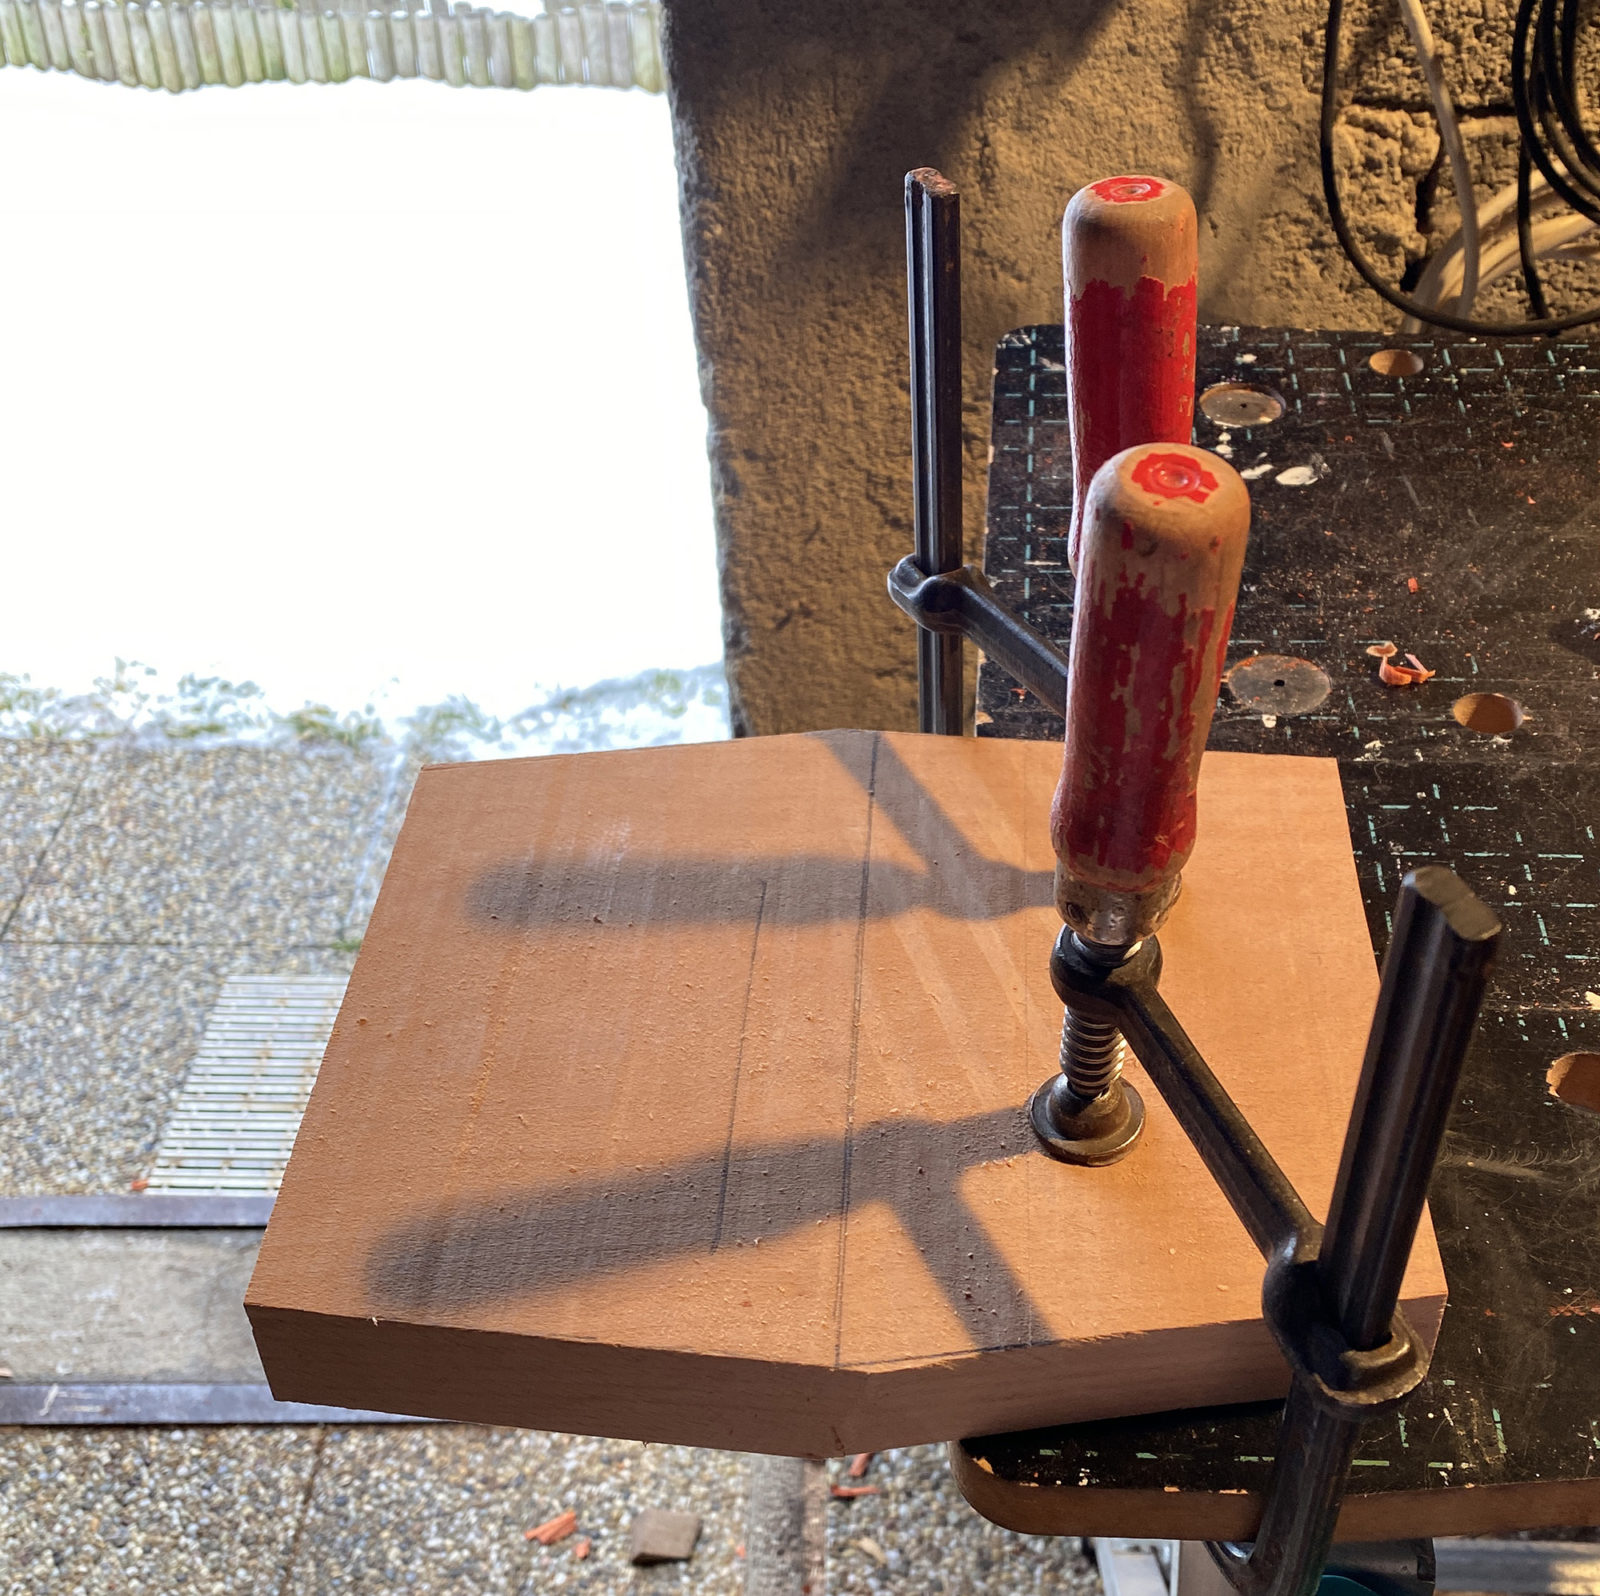
Now I need to remove a lot of wood:
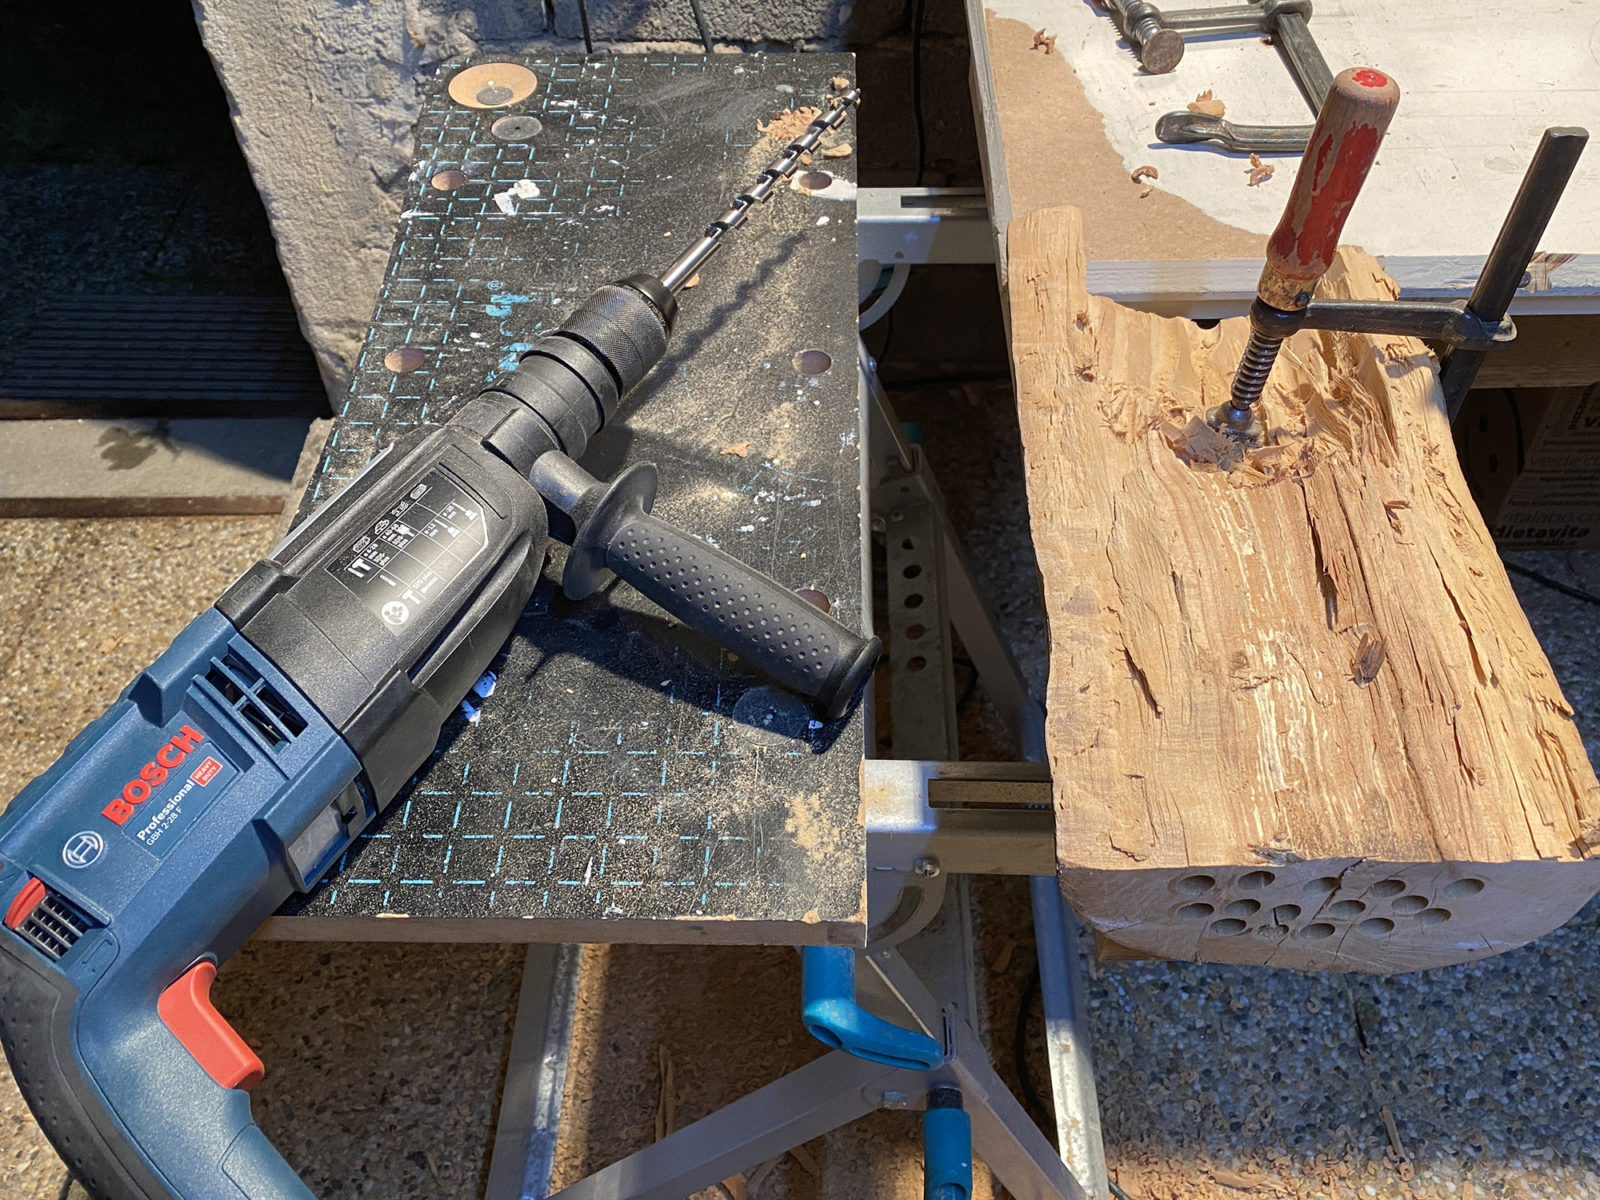
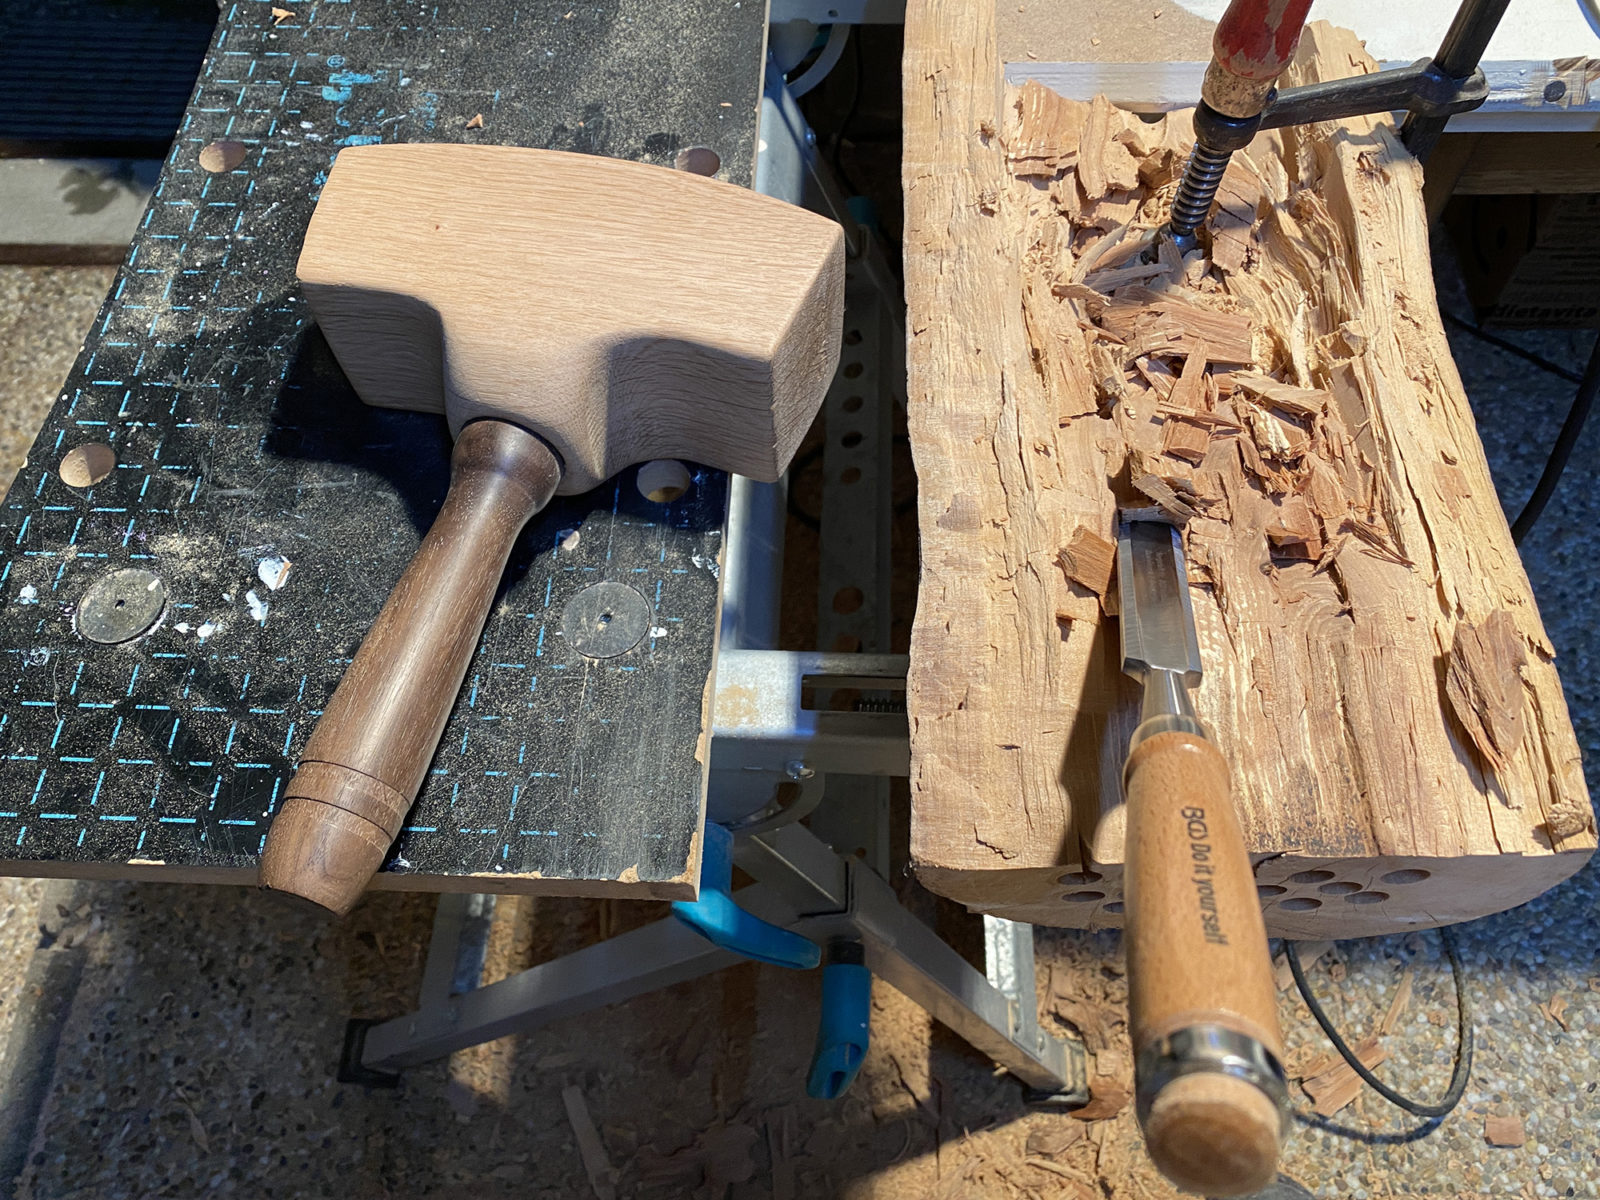
And afterwards a lot of planing, filing and sanding the wood. I was a bit too enthusiastic with drilling, so I needed to fill the holes. It won’t be visible later 🙂
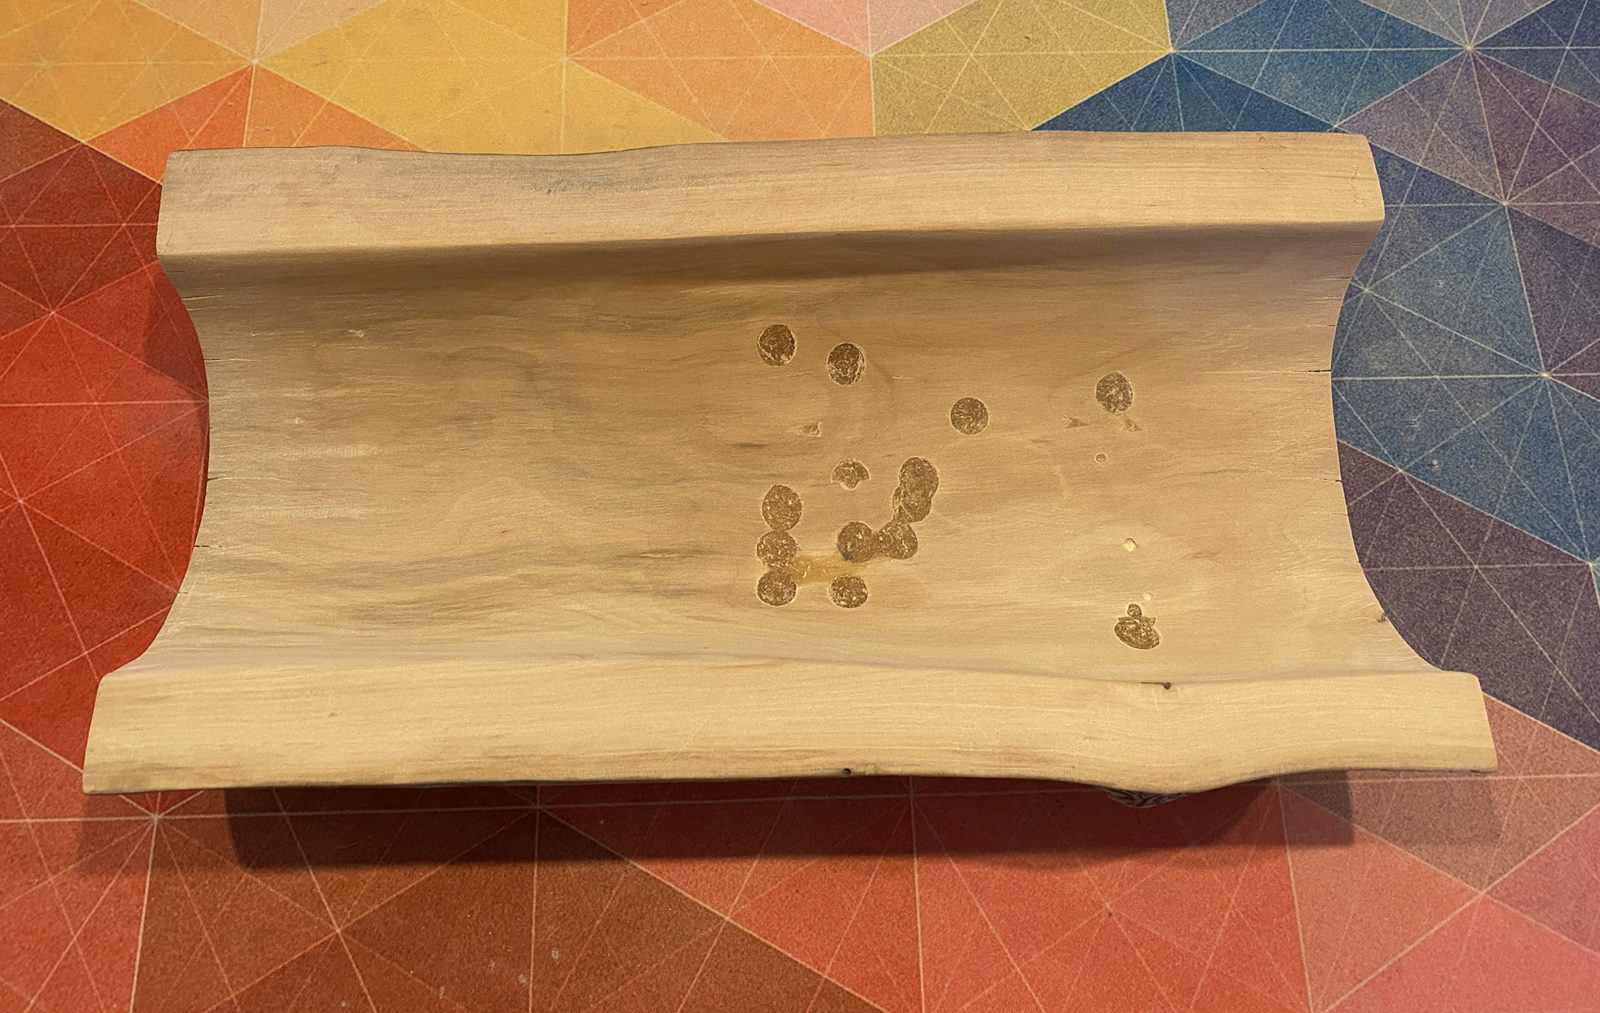
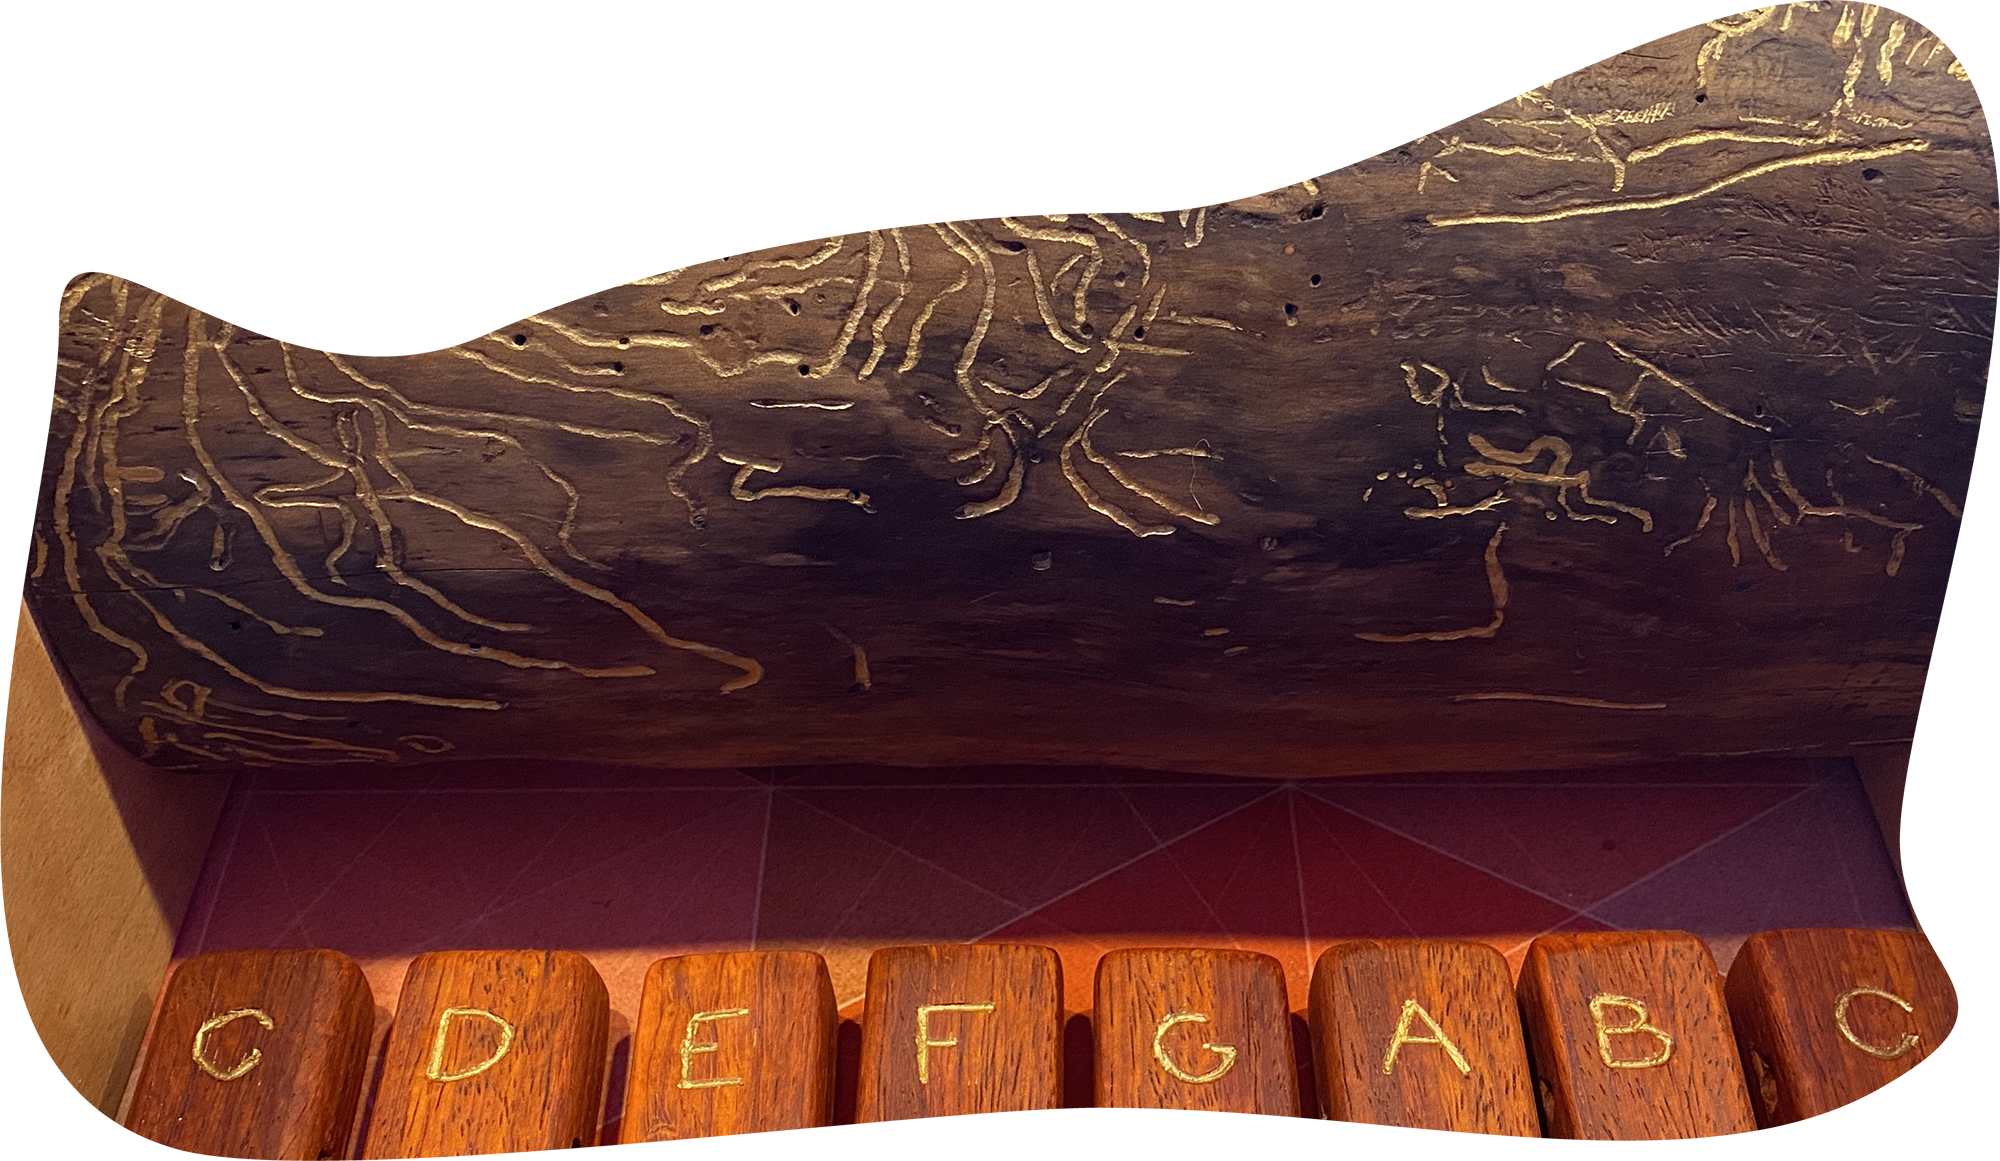
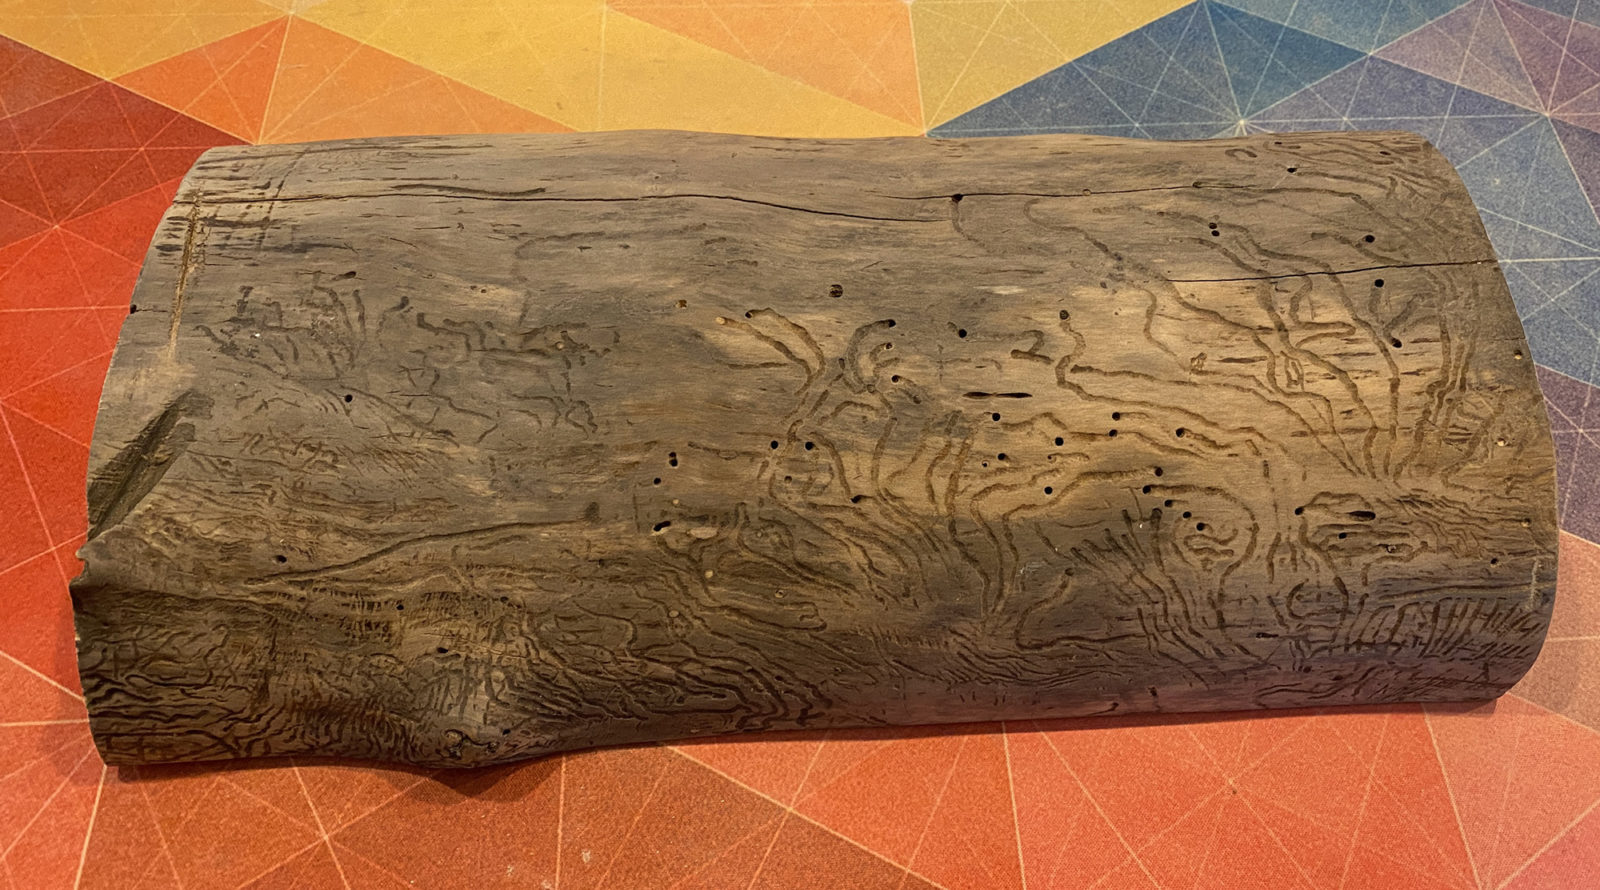
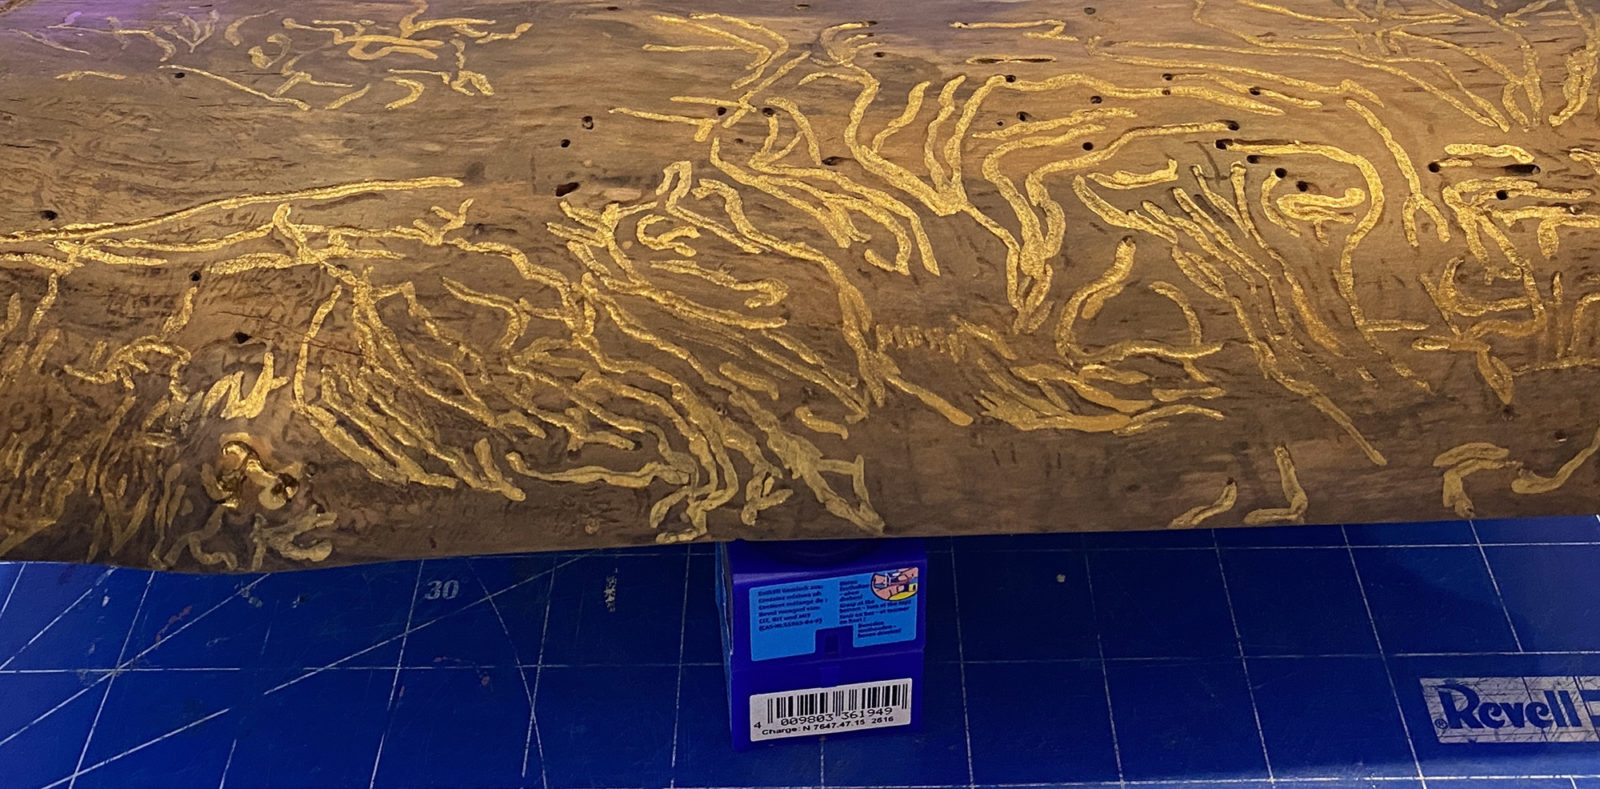
On the outside is an amazing pattern created by woodworm. Let’s make it more beautiful with gold-paint:
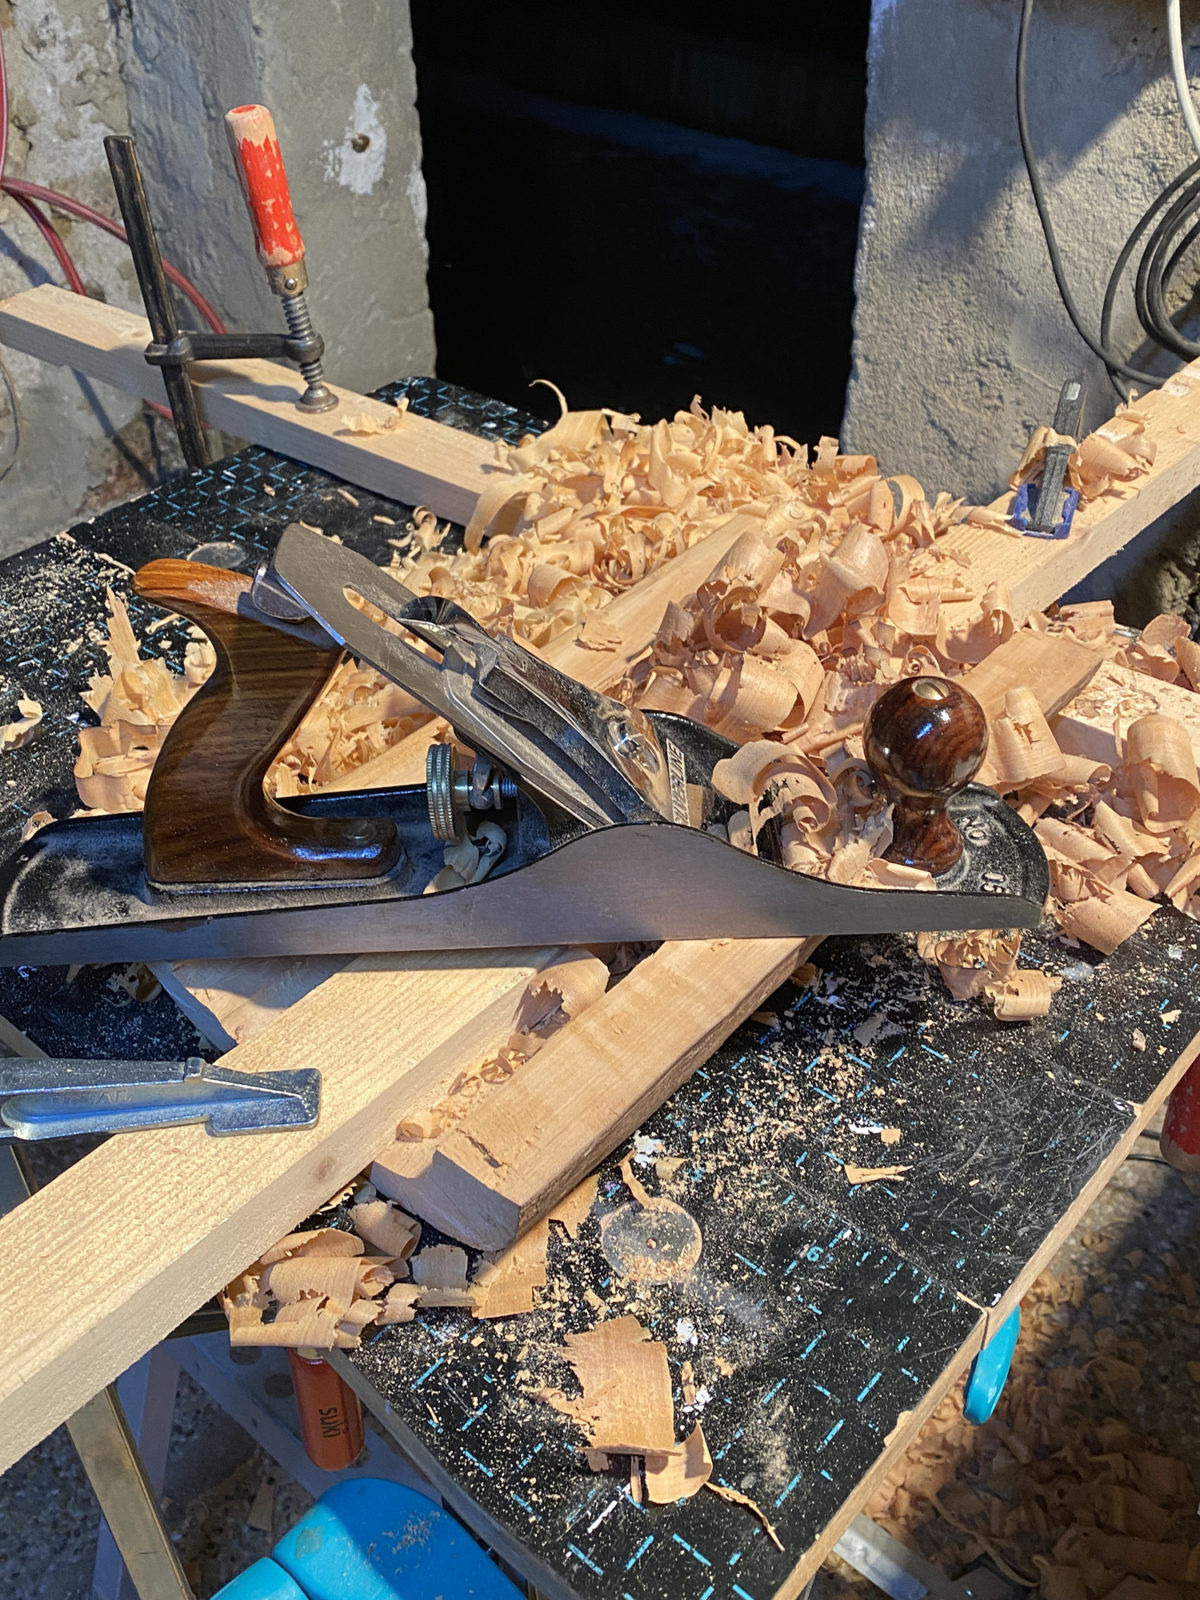
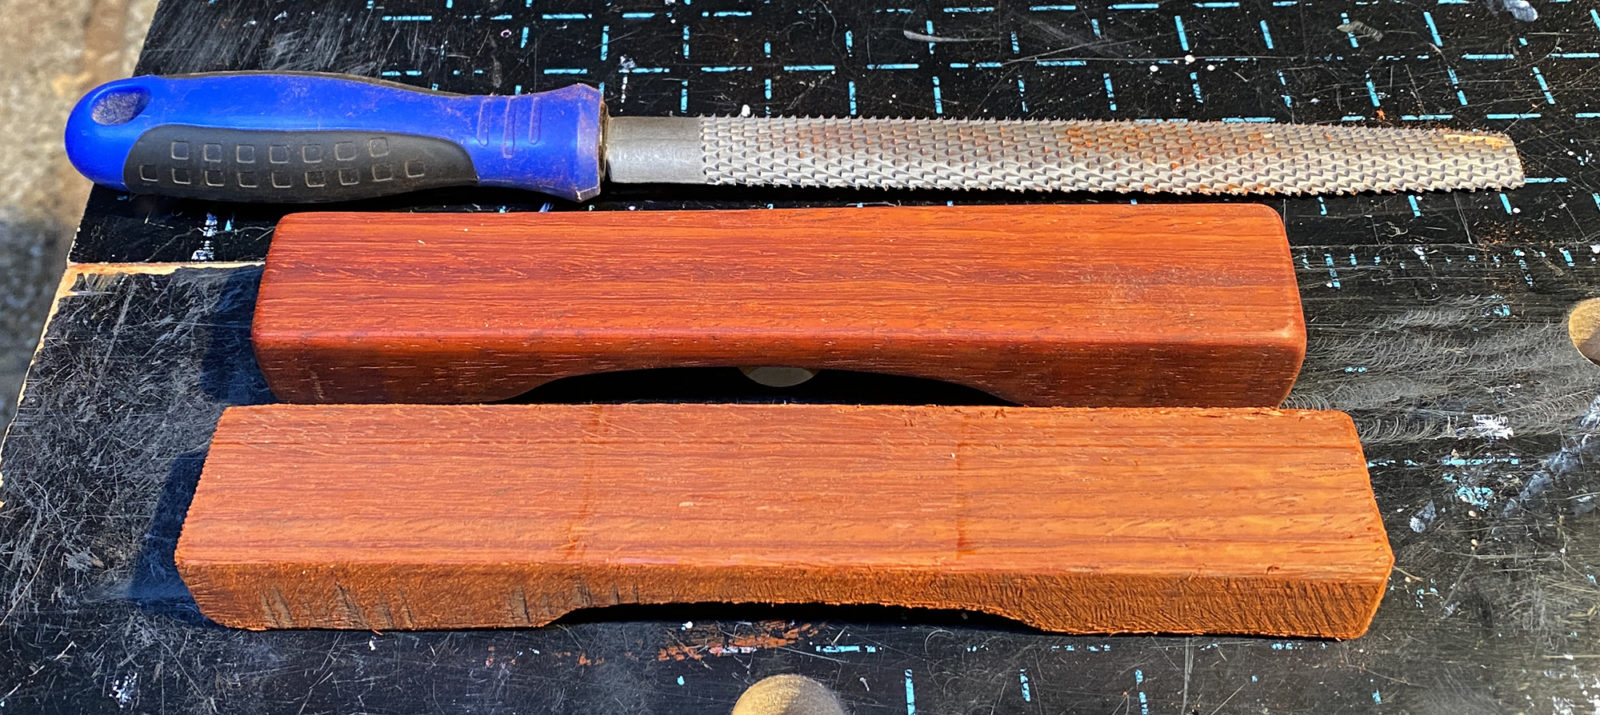
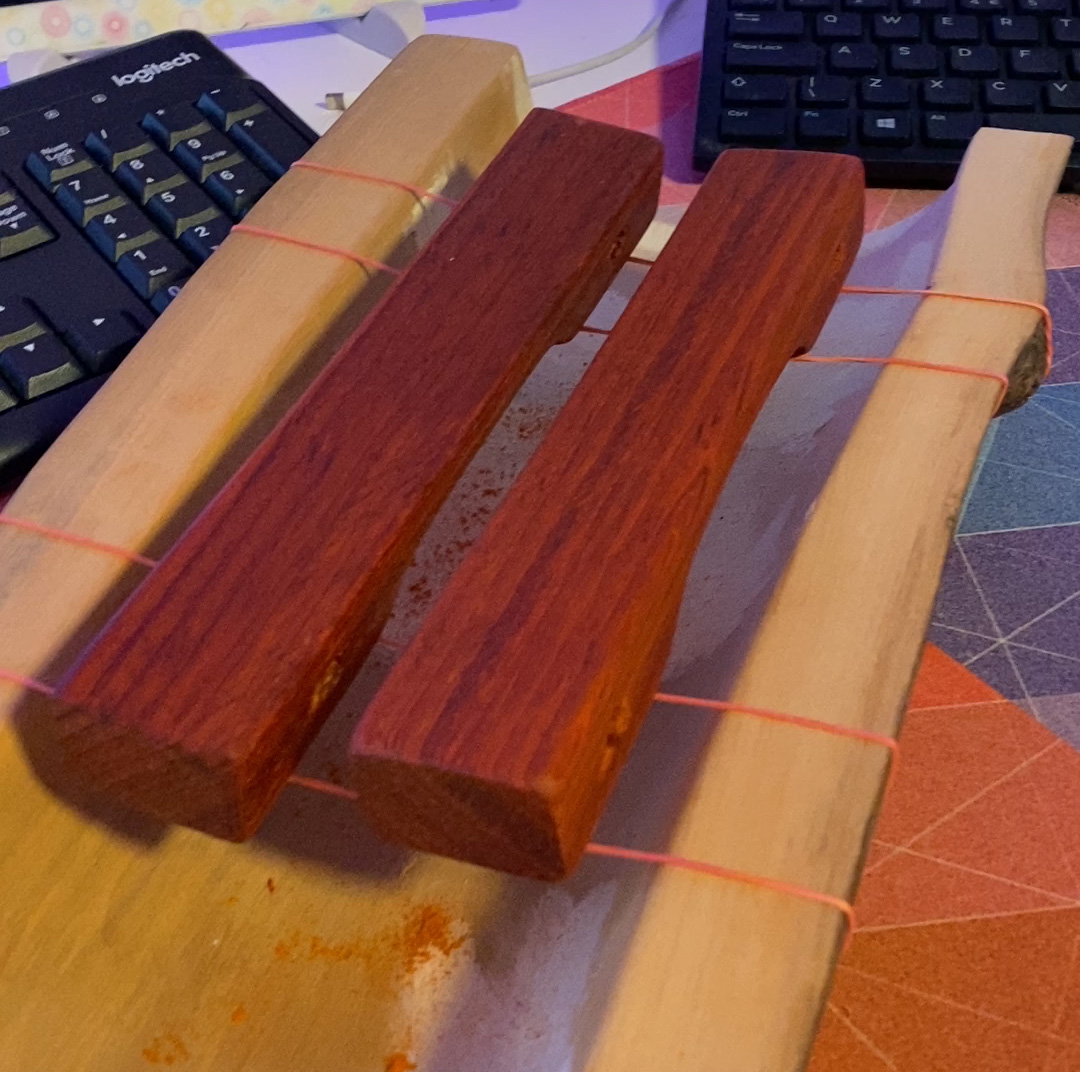
Meanwhile a beautiful piece of padauk wood arrived. I ordered it here: DesignHolz.com. This type of wood is perfect to make all kinds of instruments. Time to saw the keys:
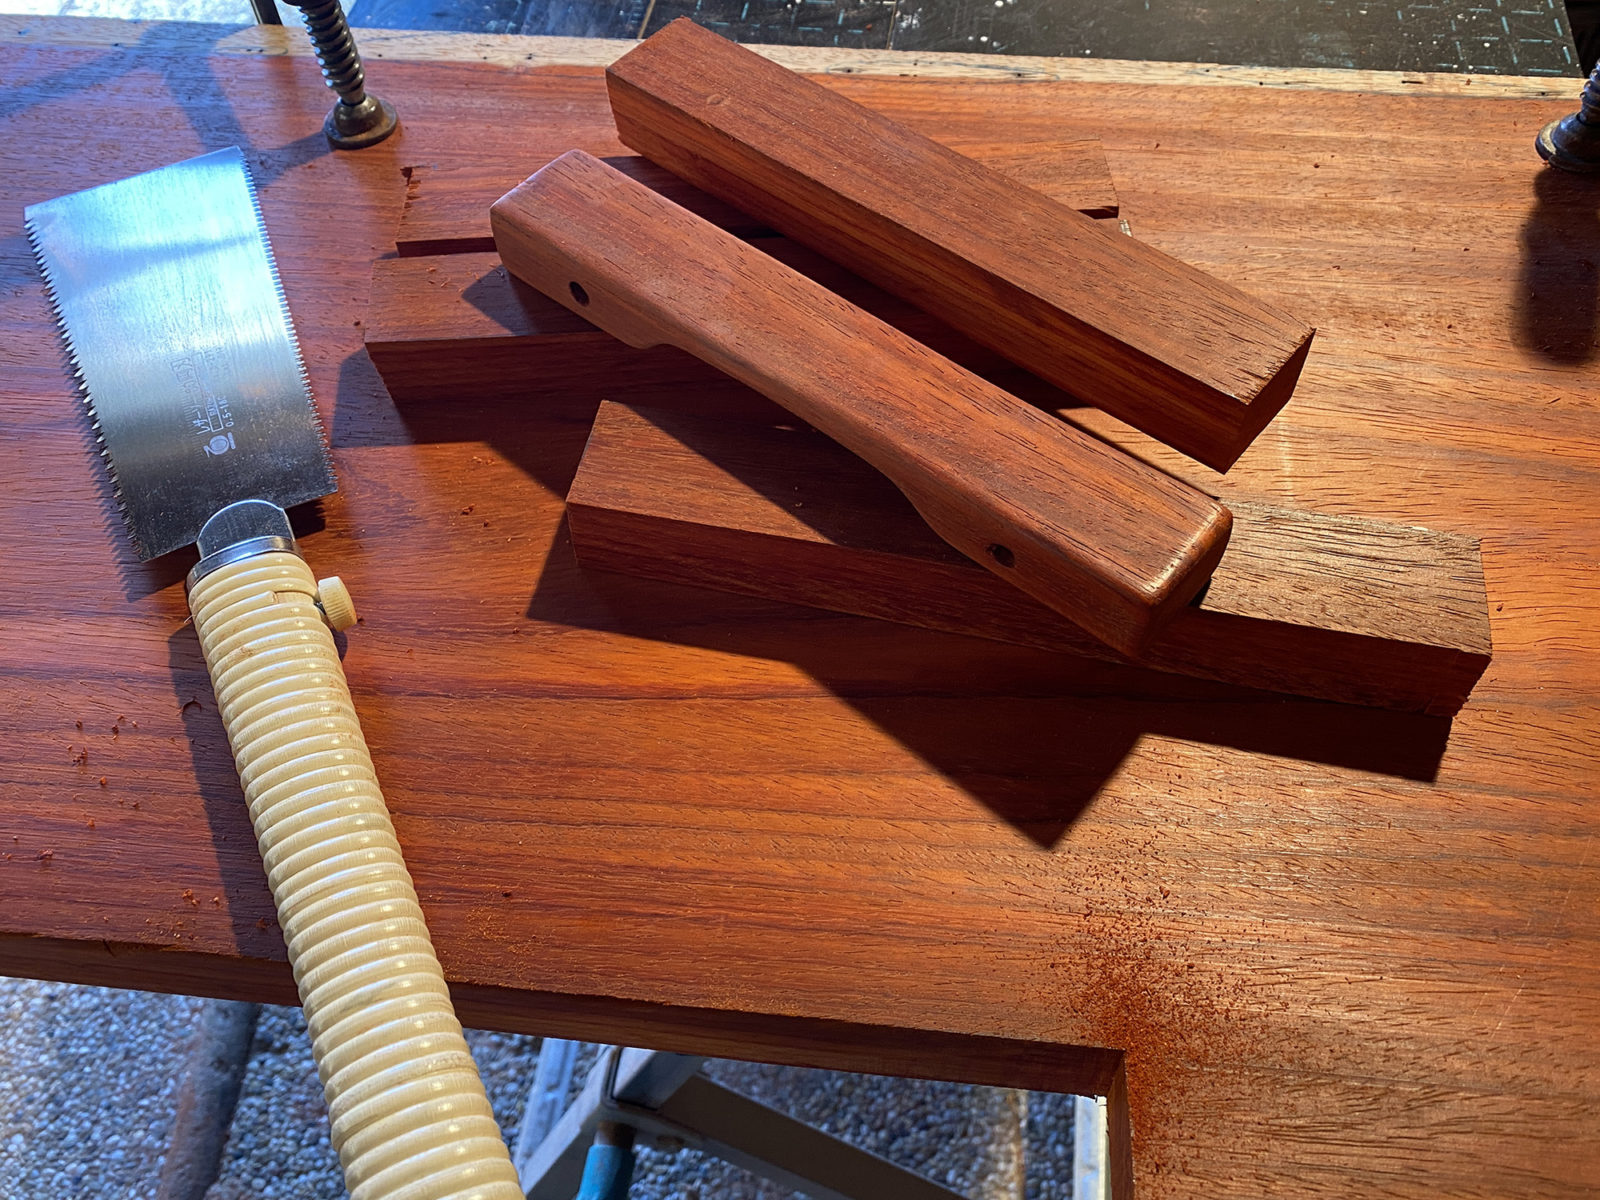
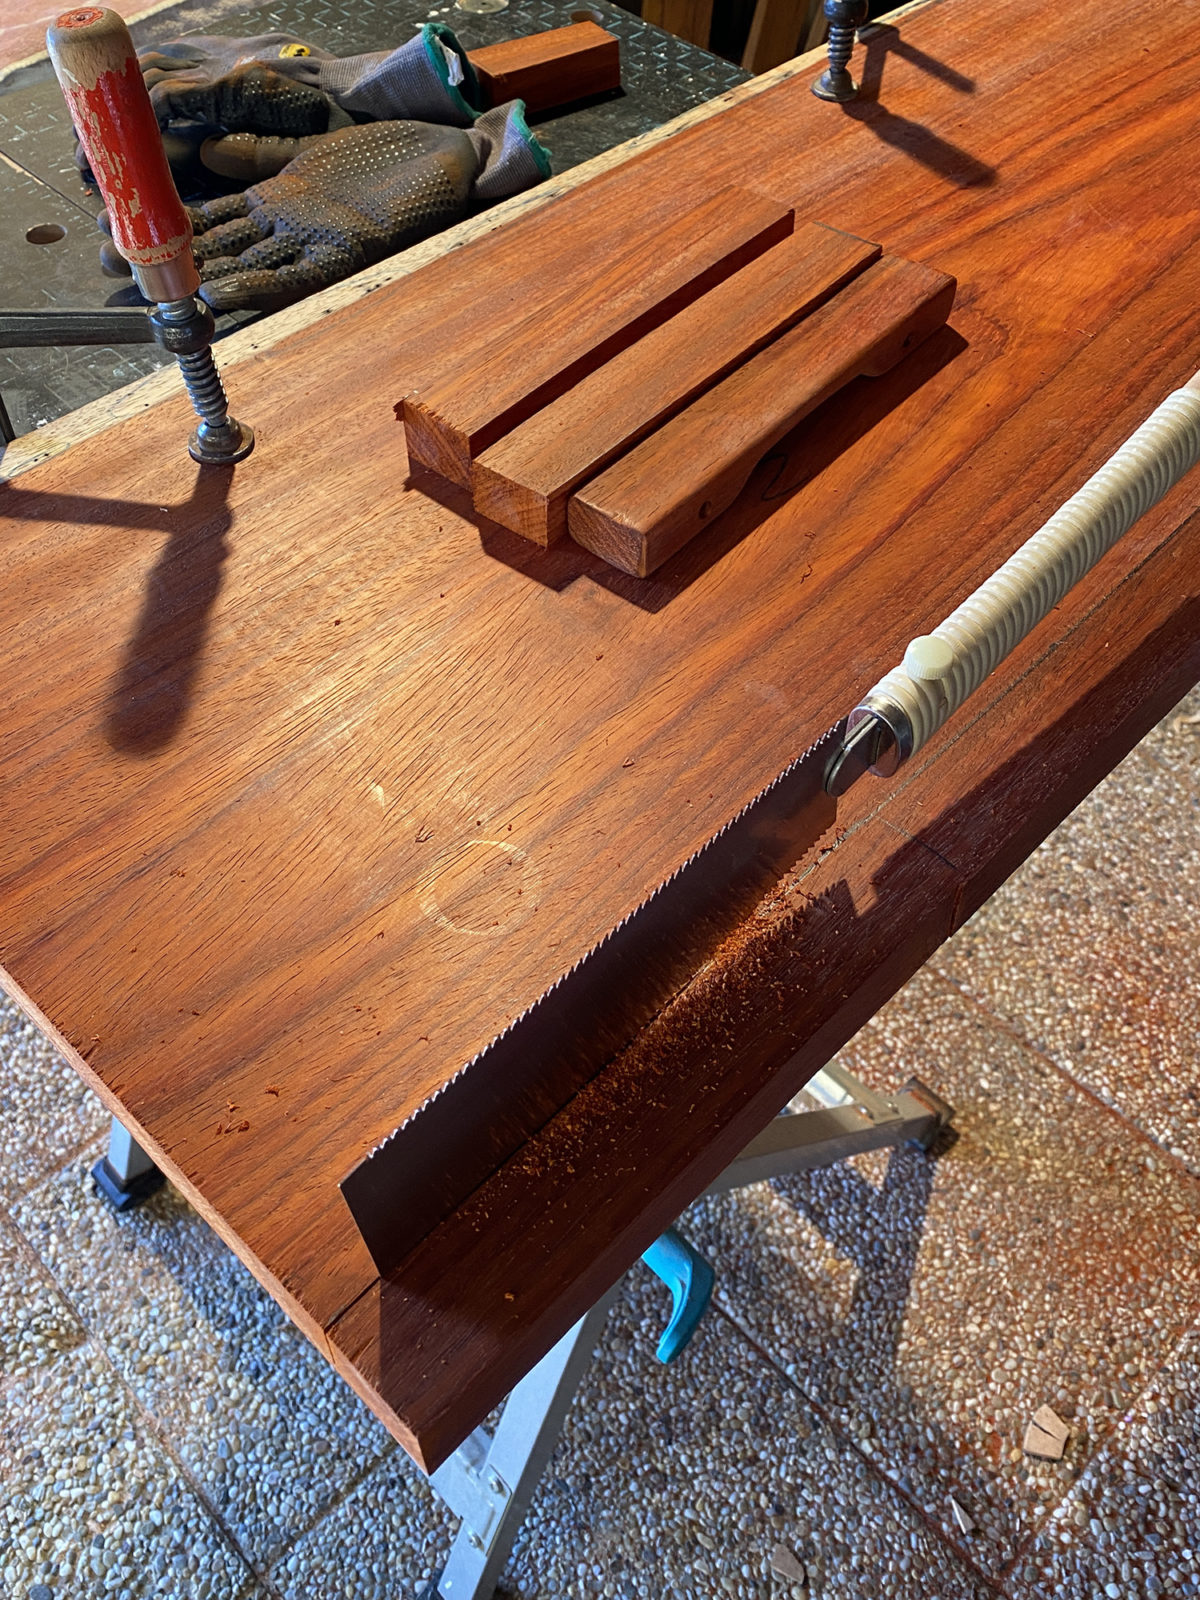
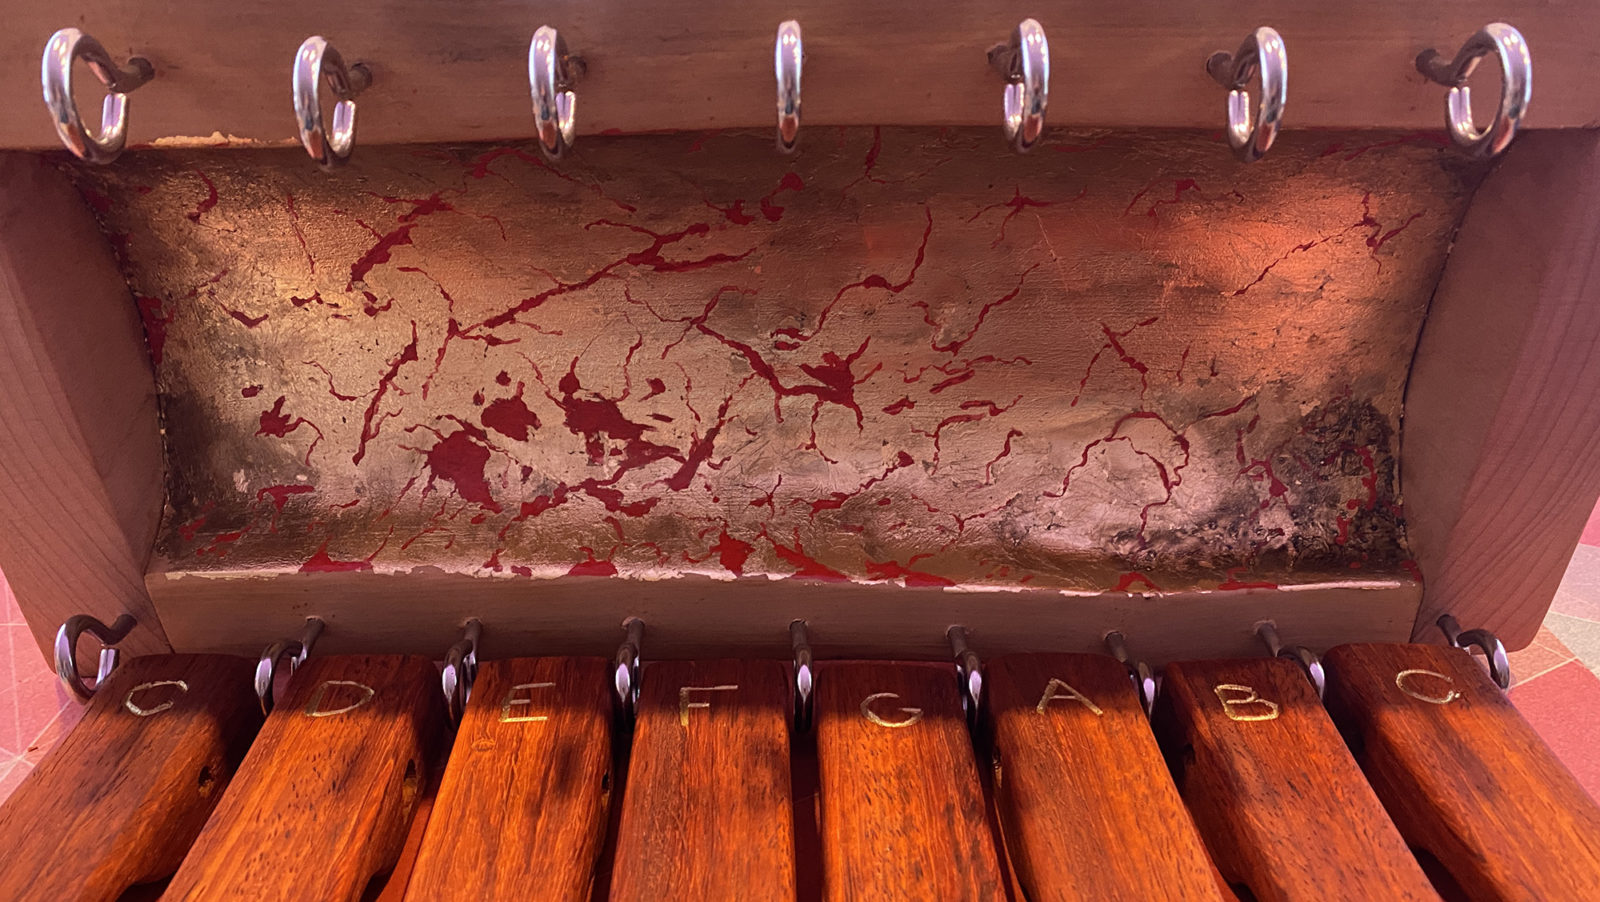
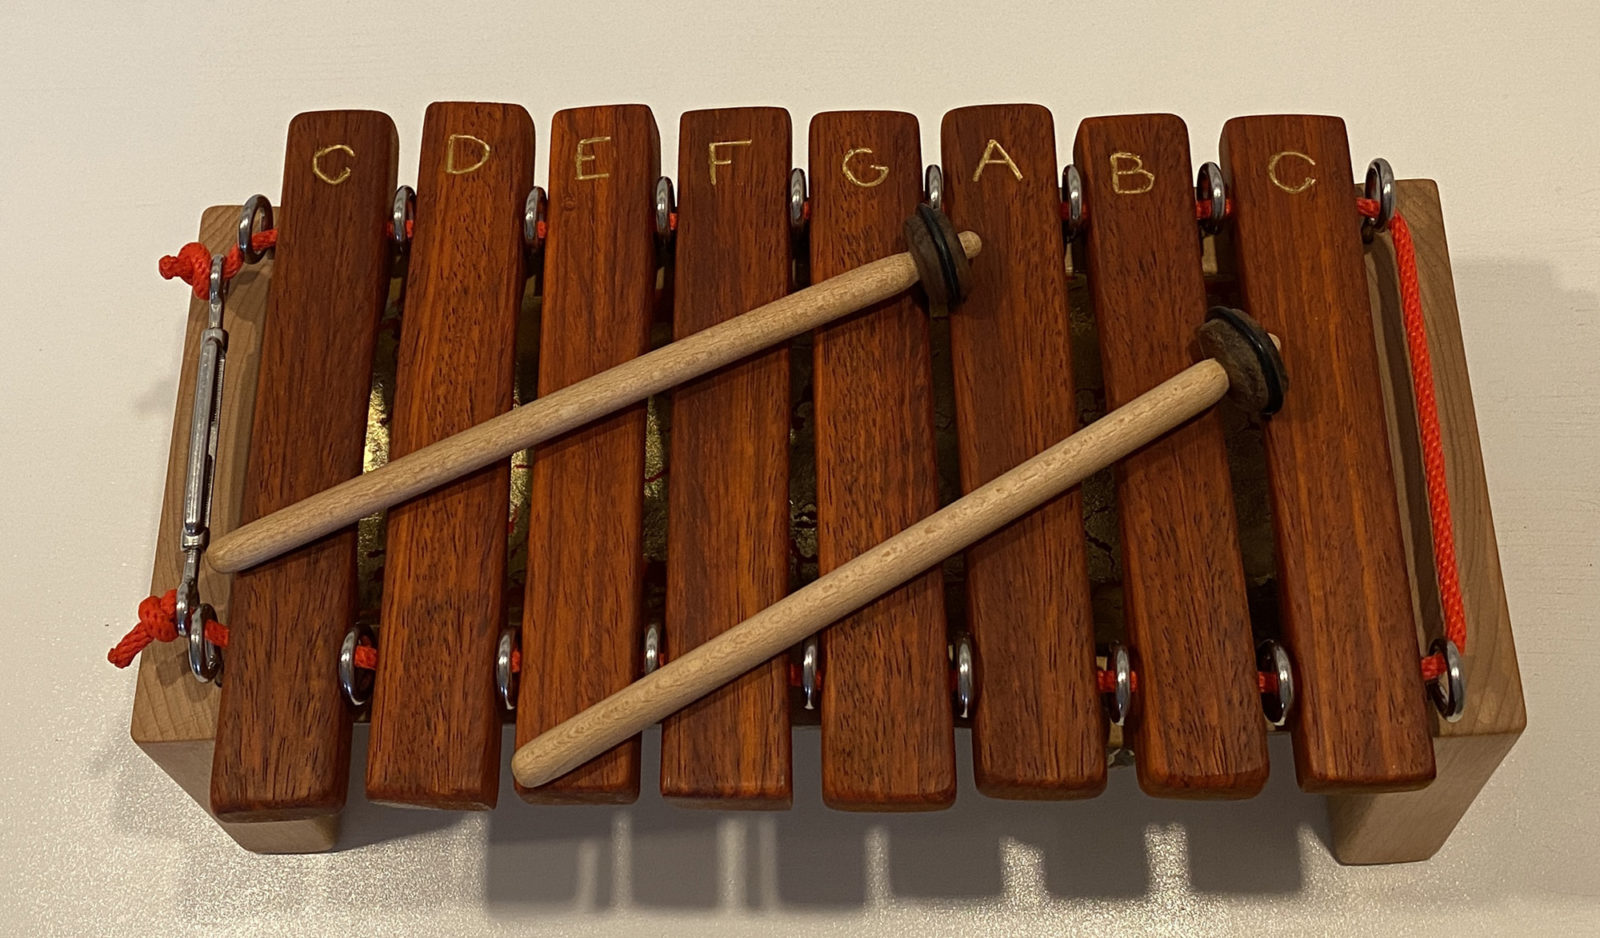
A lot of filing and sanding is needed to make the keys and tune them to the correct frequency. Instructions are all over YouTube, so that was easy. I want to create one octave, C major. So the xylophone will have 8 keys from C5 to C6. I tuned all the keys with the help of Tunable.
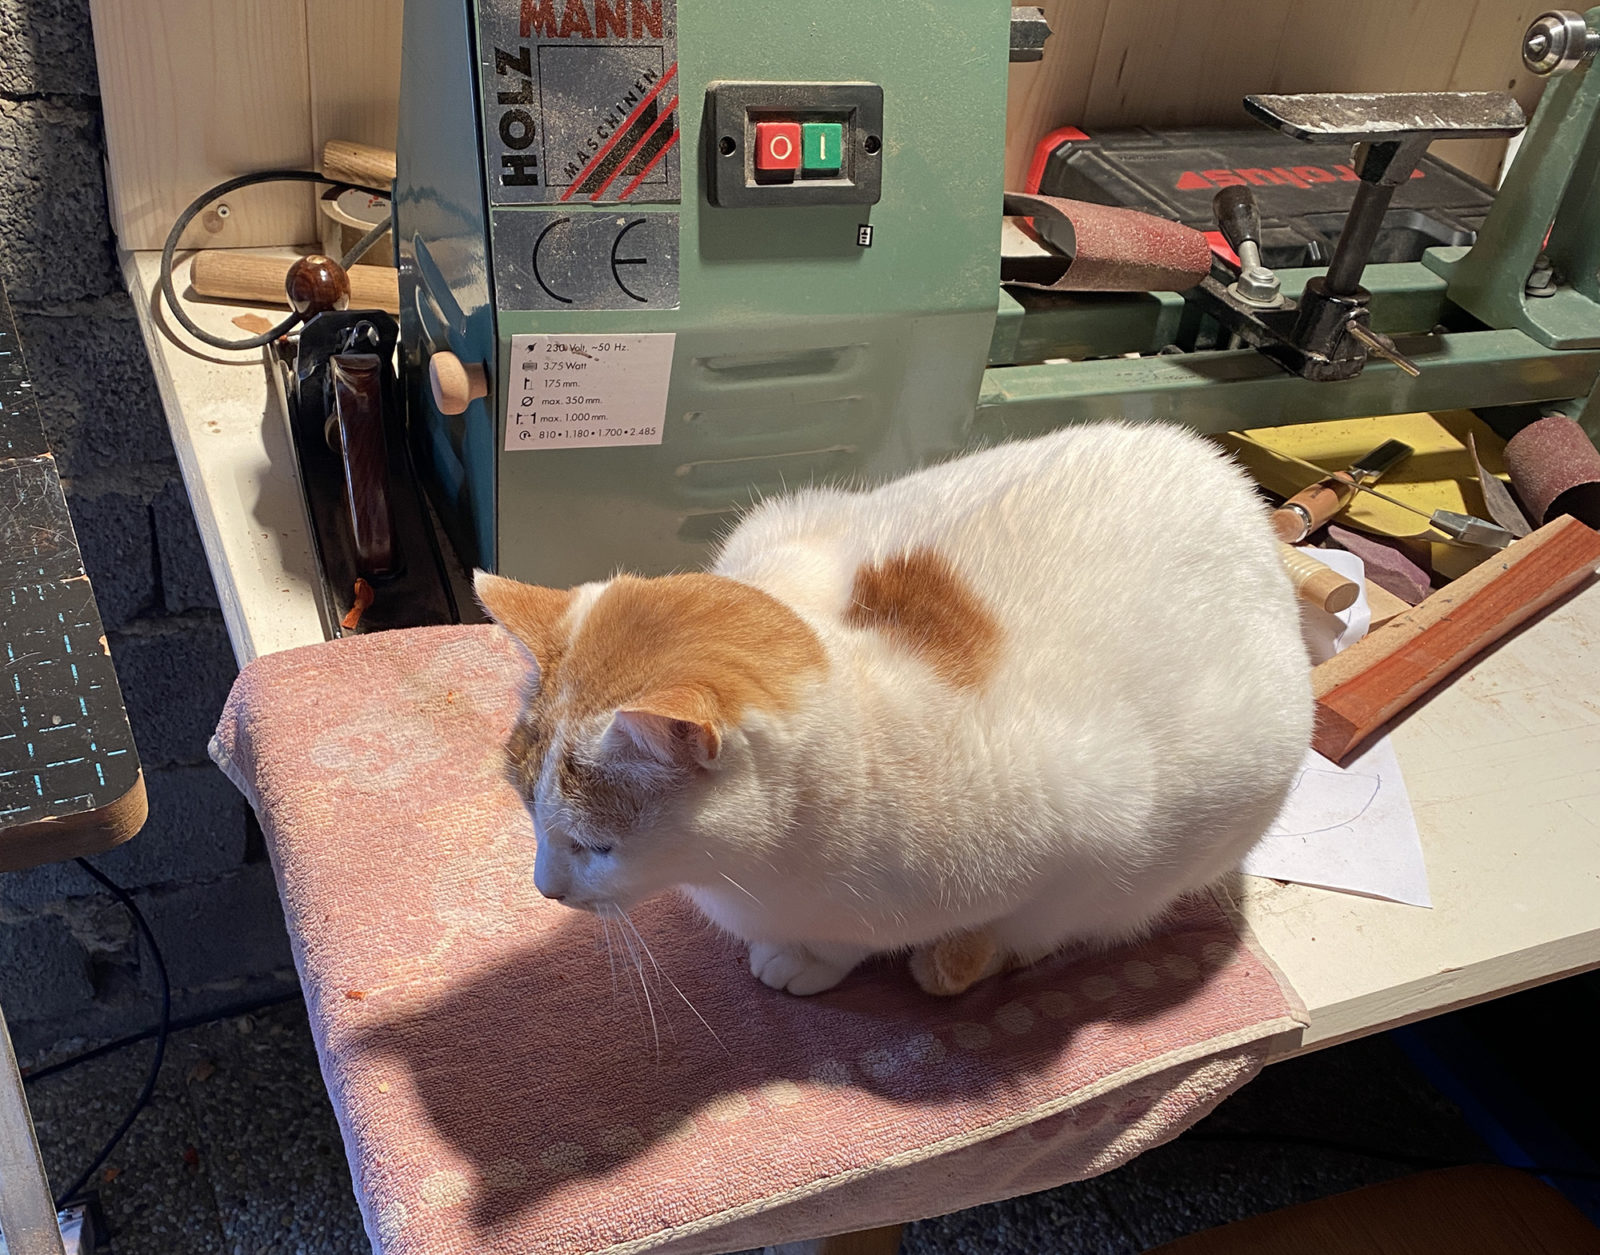
It’s very cold in my shed, between -3C and +3C, but I have a good and curious friend supporting me! (Aiko):
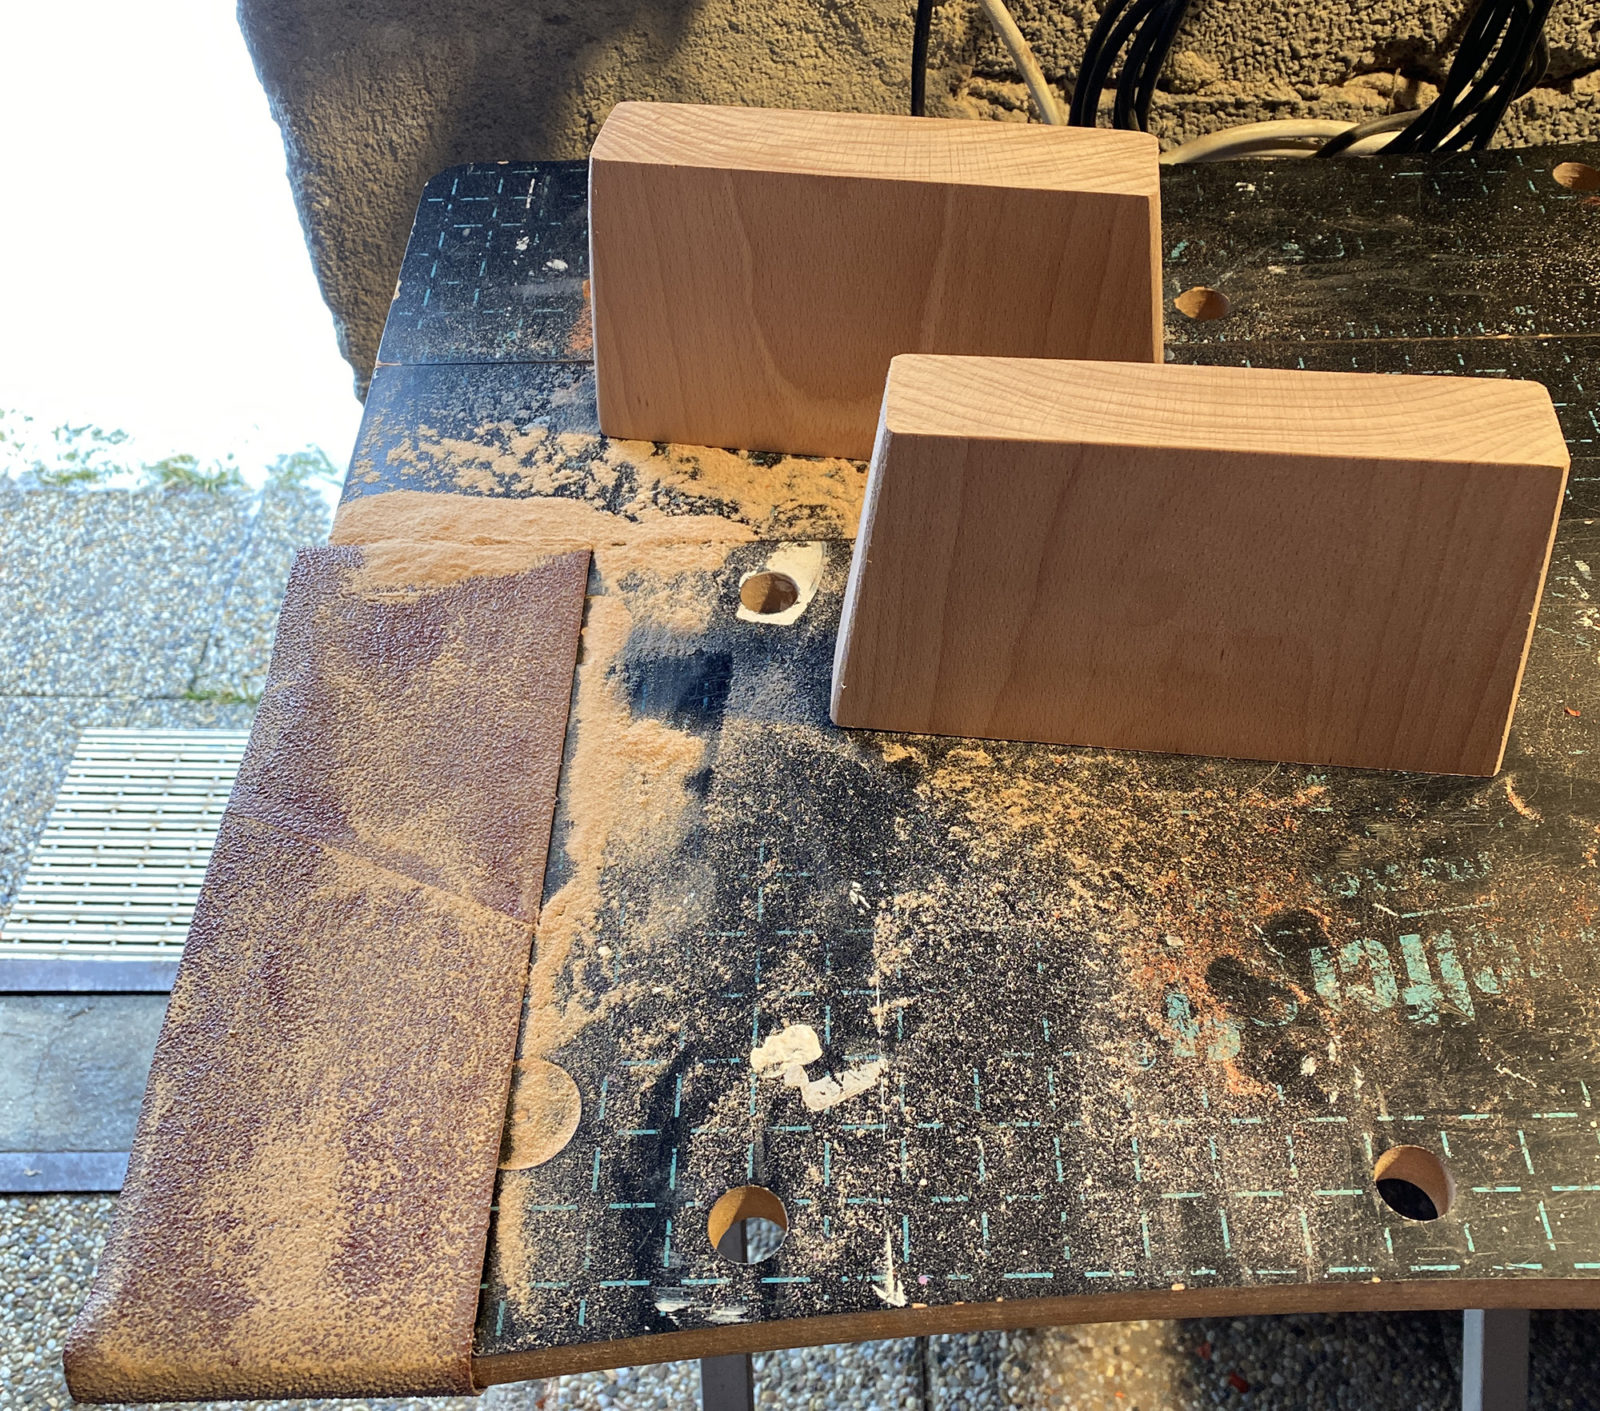
Let’s make a foot out of beech wood:
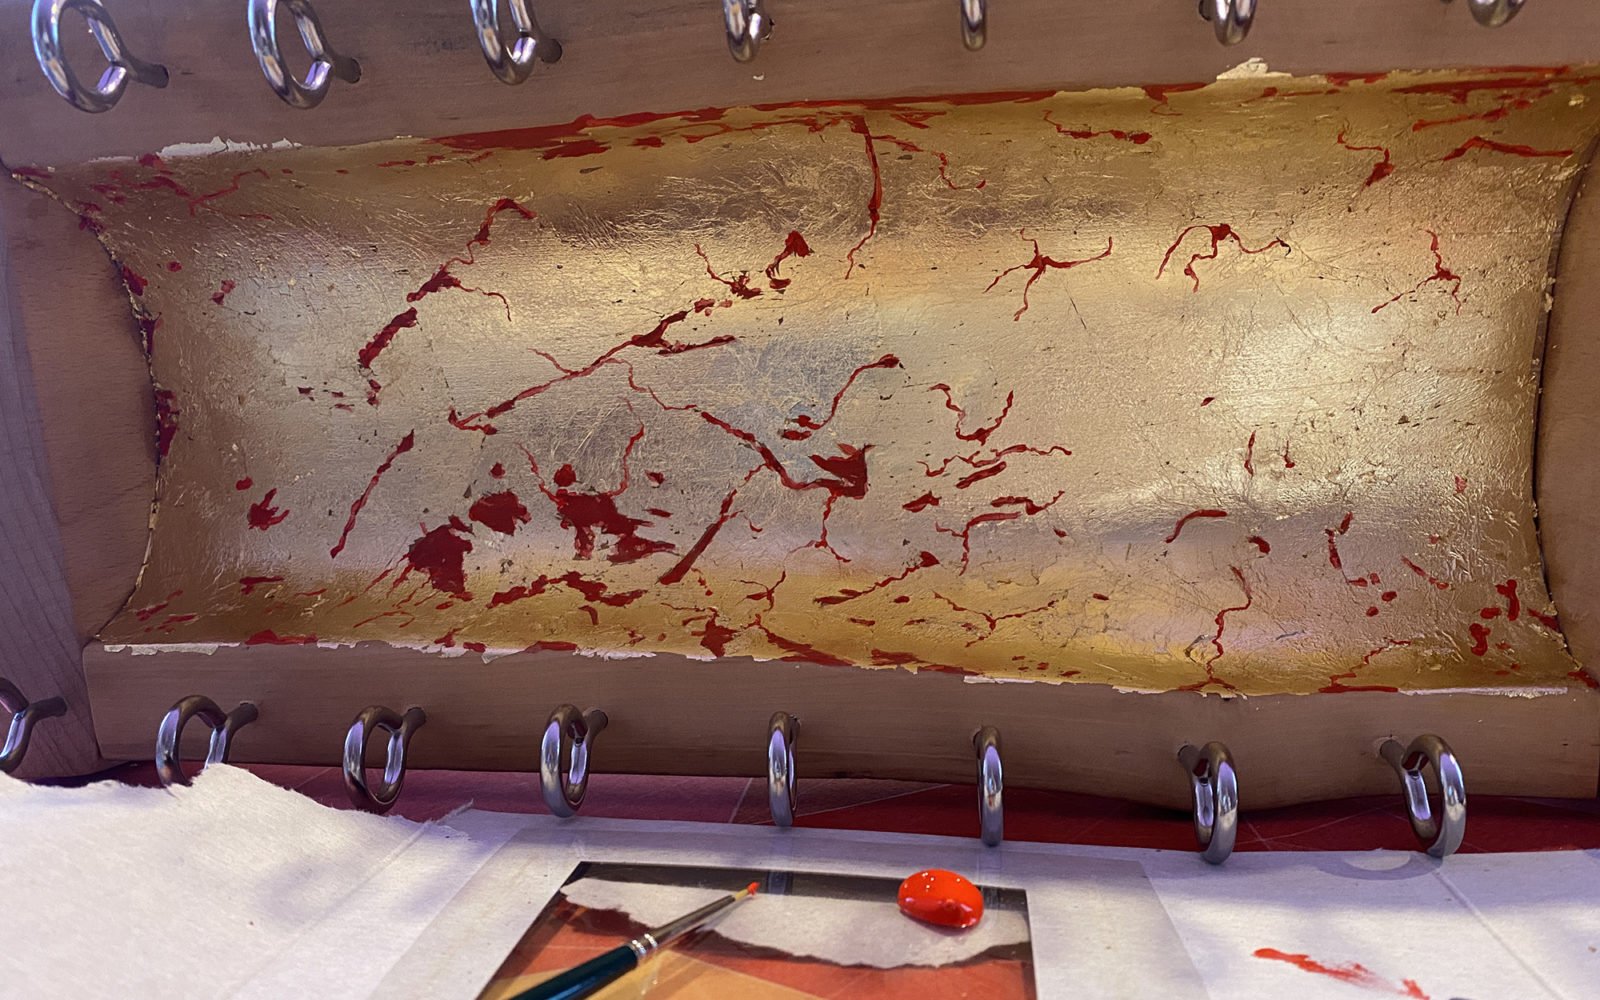
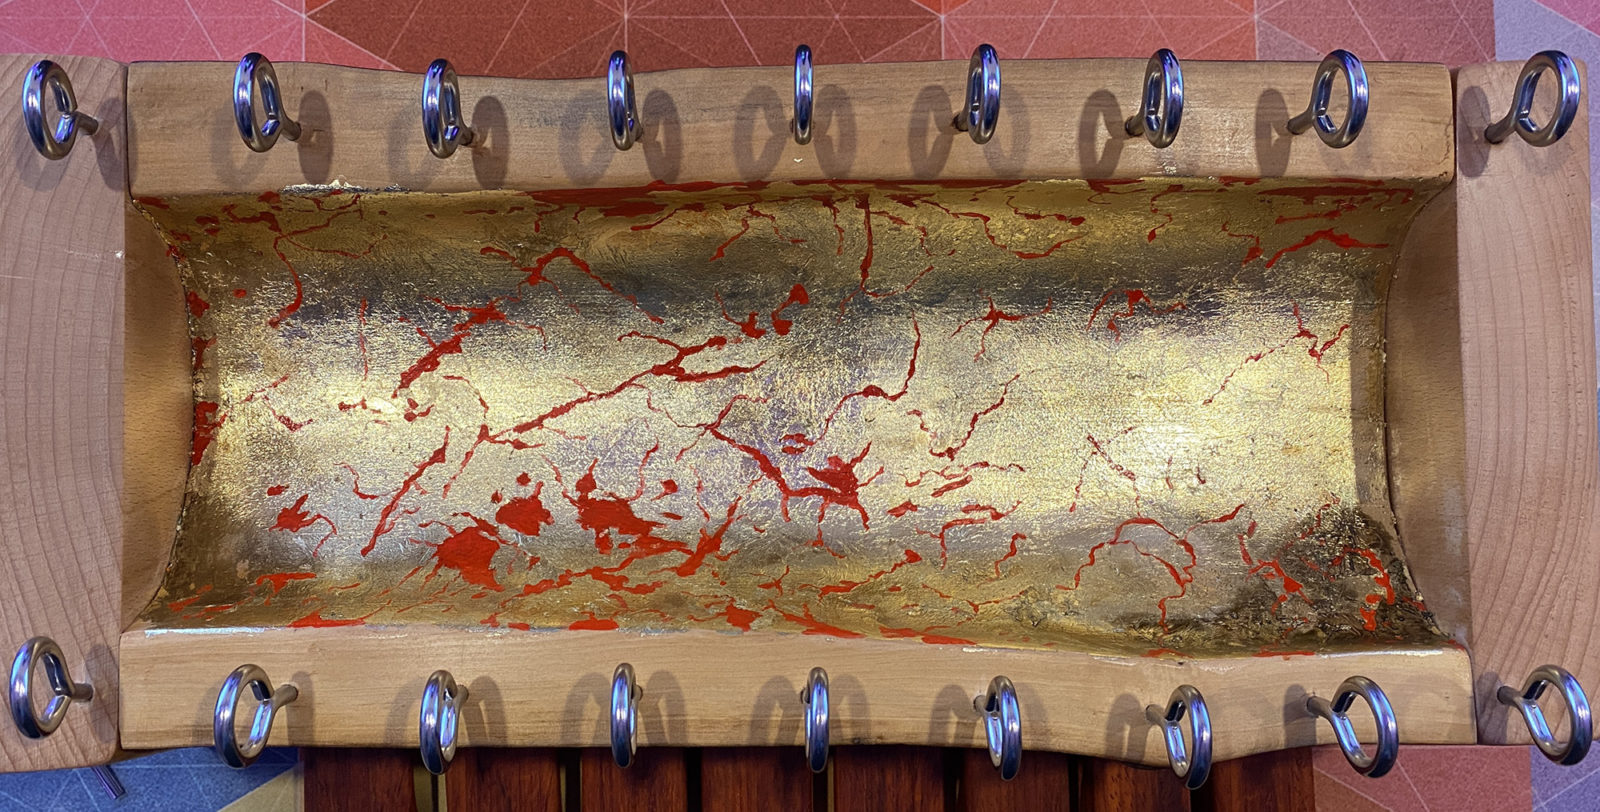
The ring screws arrived and it’s time to assemble and finish the Home Made Xylophone. But first let’s give the inside an artistic touch. I glued gold-leaf on the wood and painted a crackling pattern on the gold.
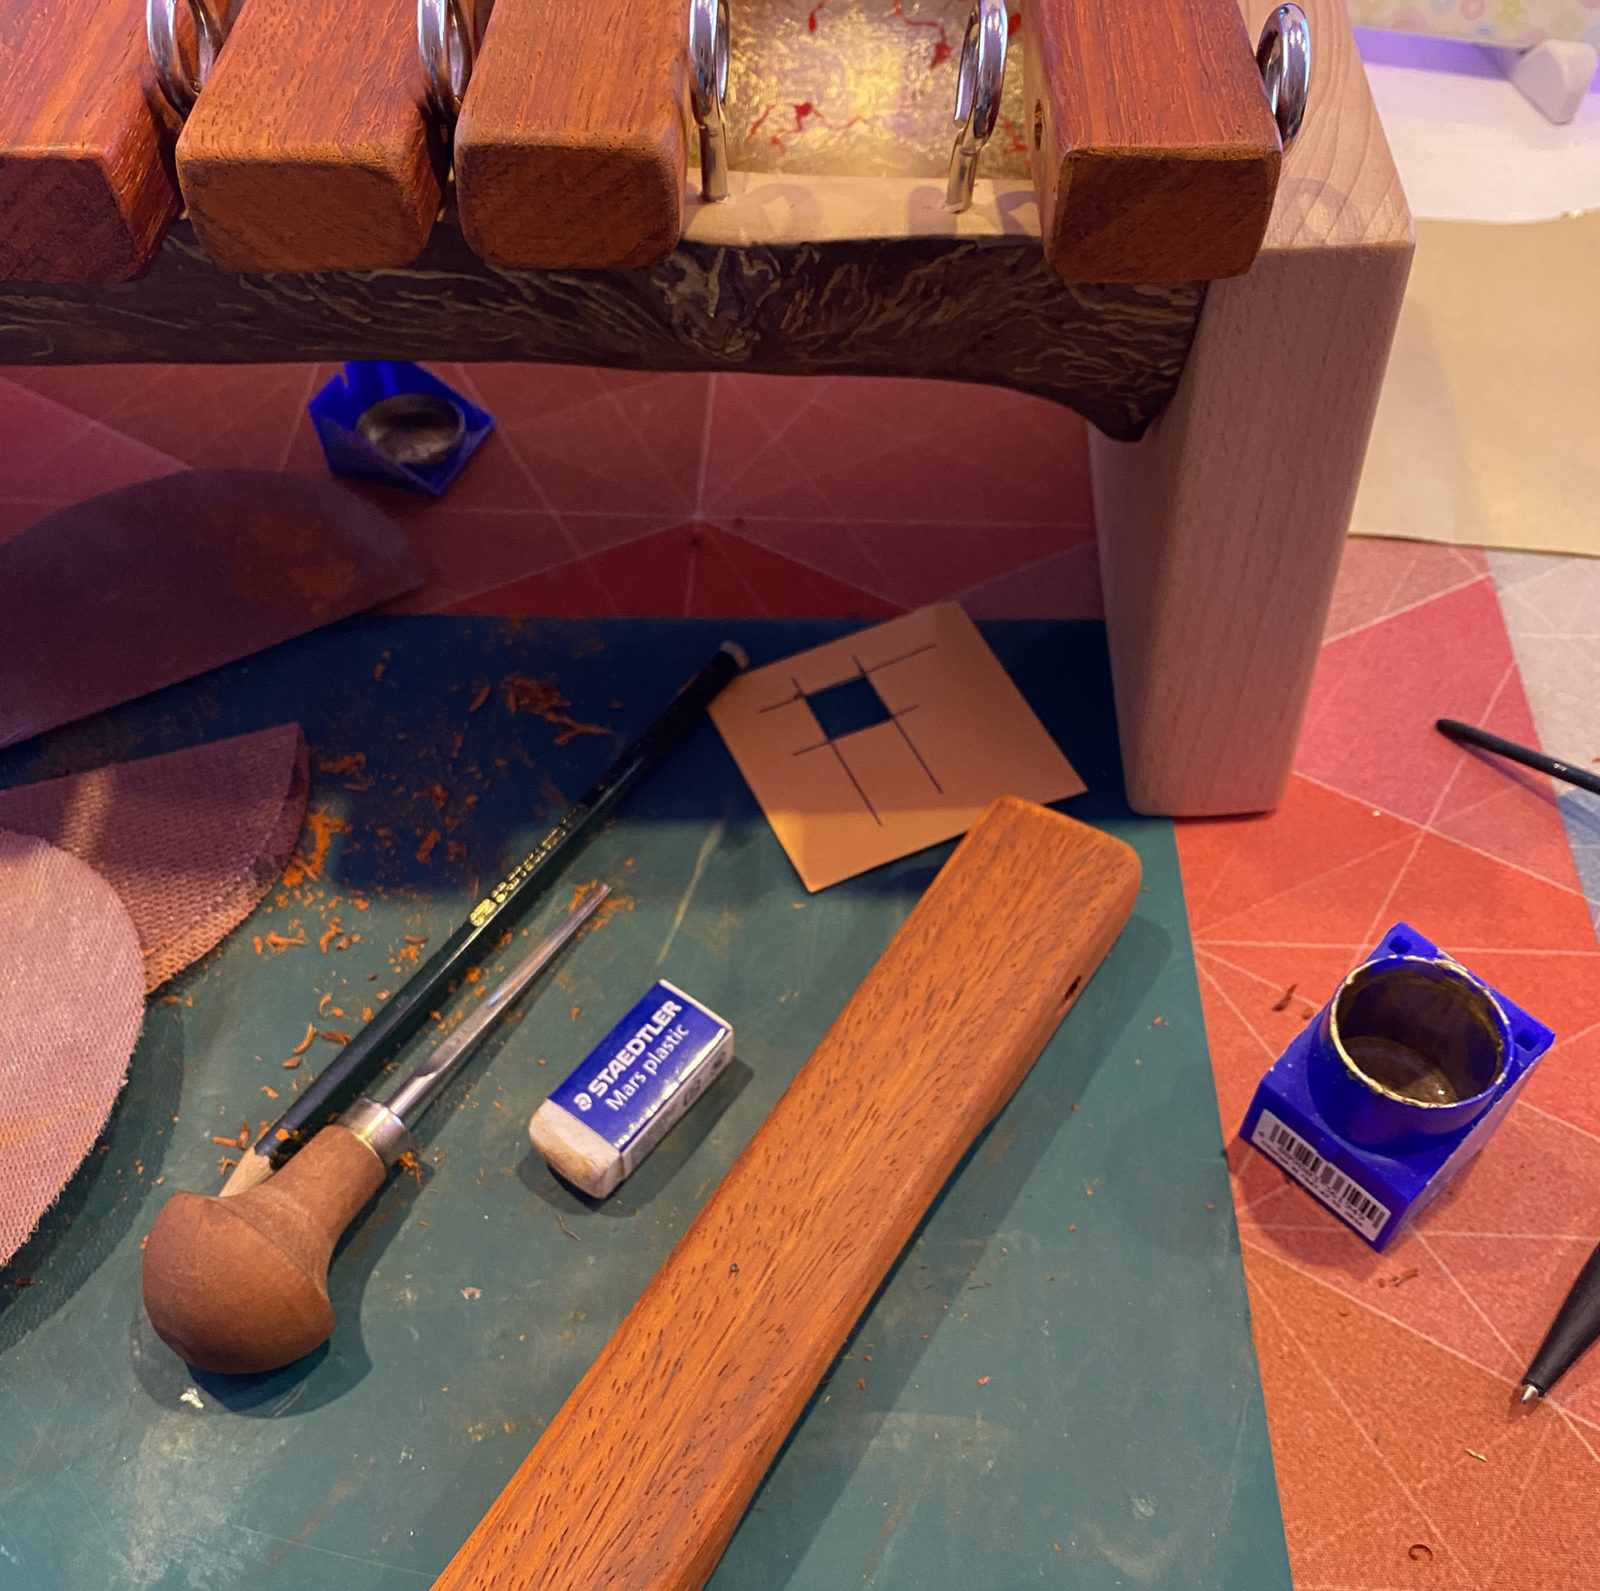
Final touch. Engrave the keys and make 2 mallets.
And that gives the following end result. It’s a piece of art and it sounds ok. I’ve learned a lot to create more instruments in the future. I still have a big chunk of the padauk to be creative with :).
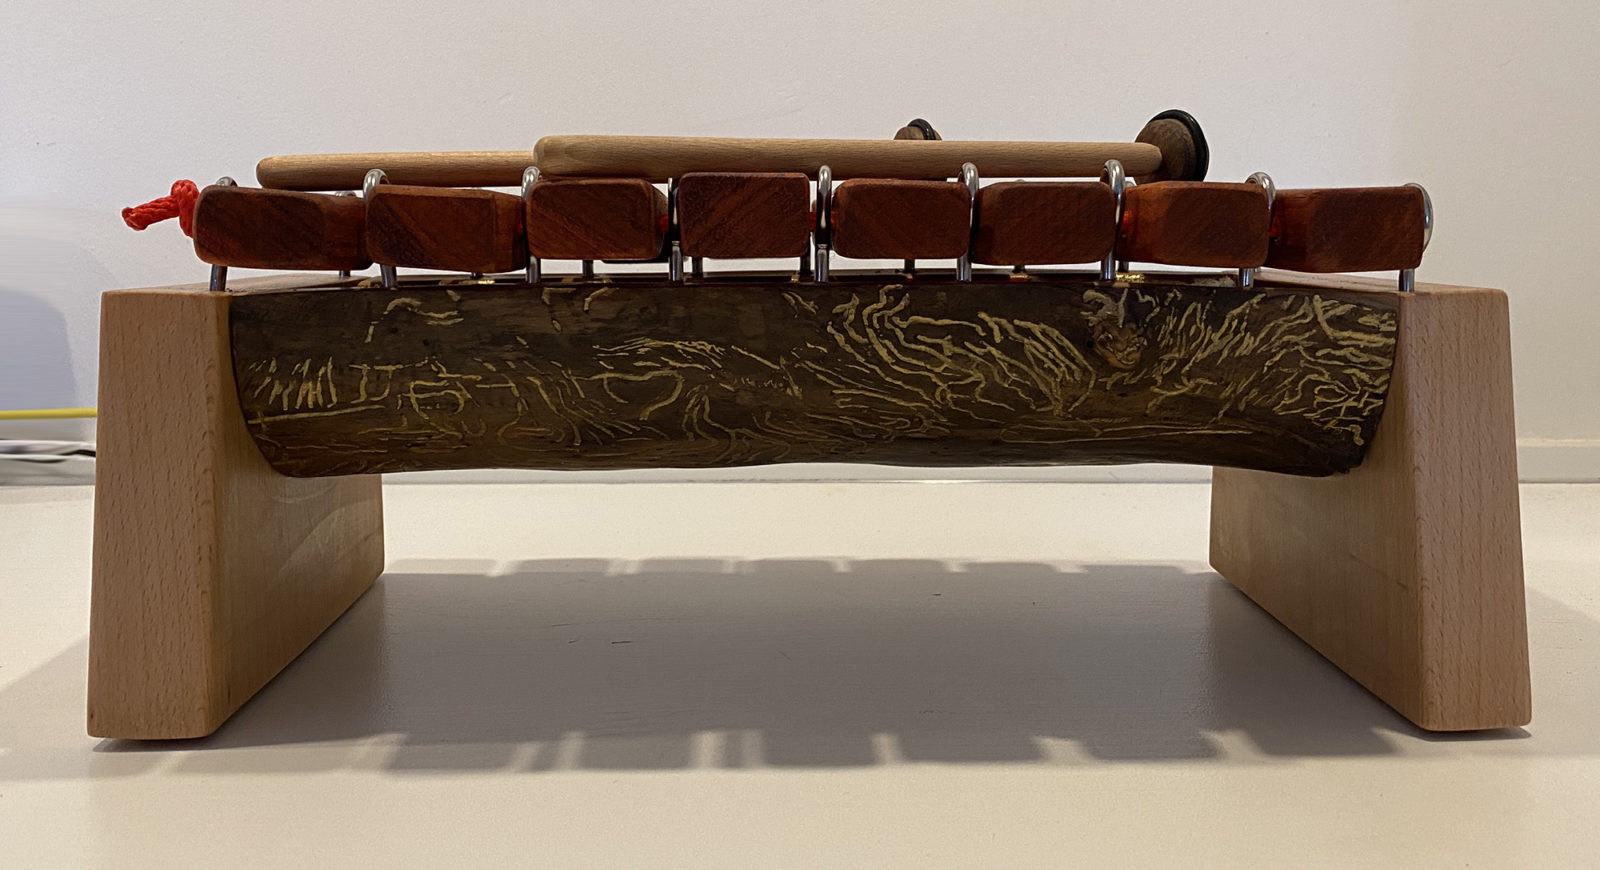
Music maestro! 🙂
またね (Until next time),
ロナルド
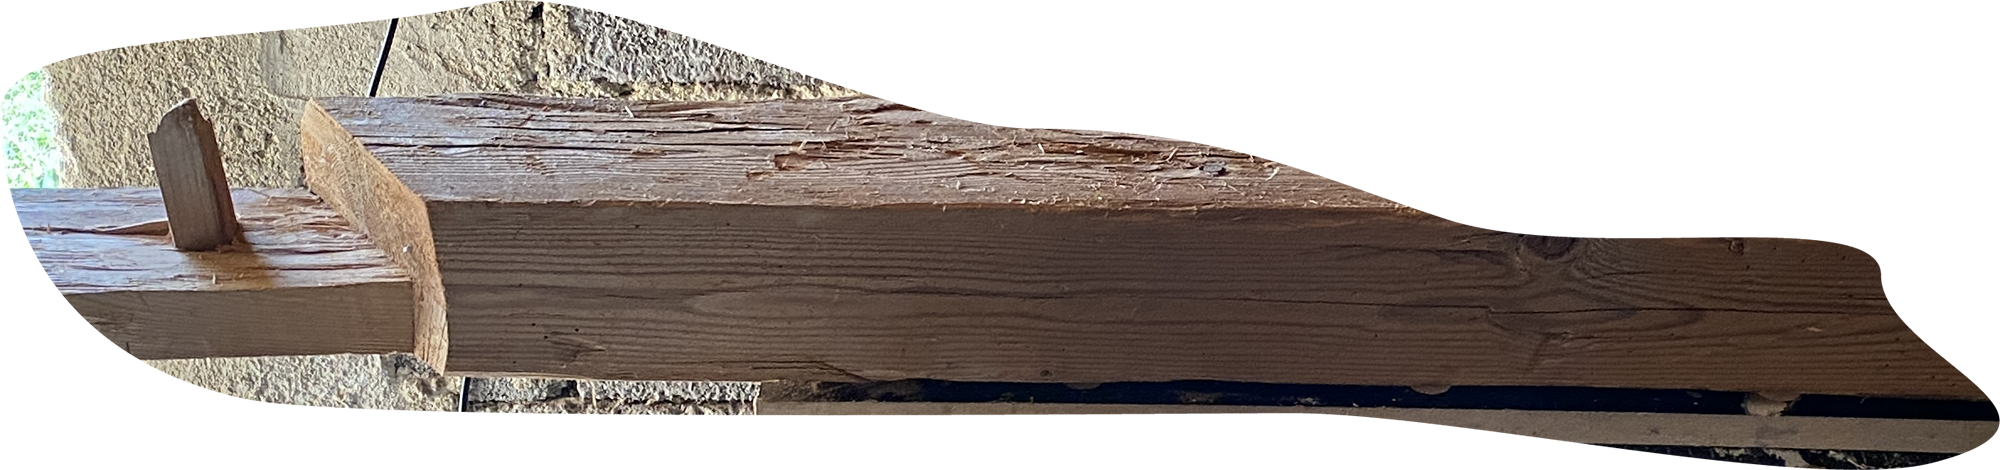
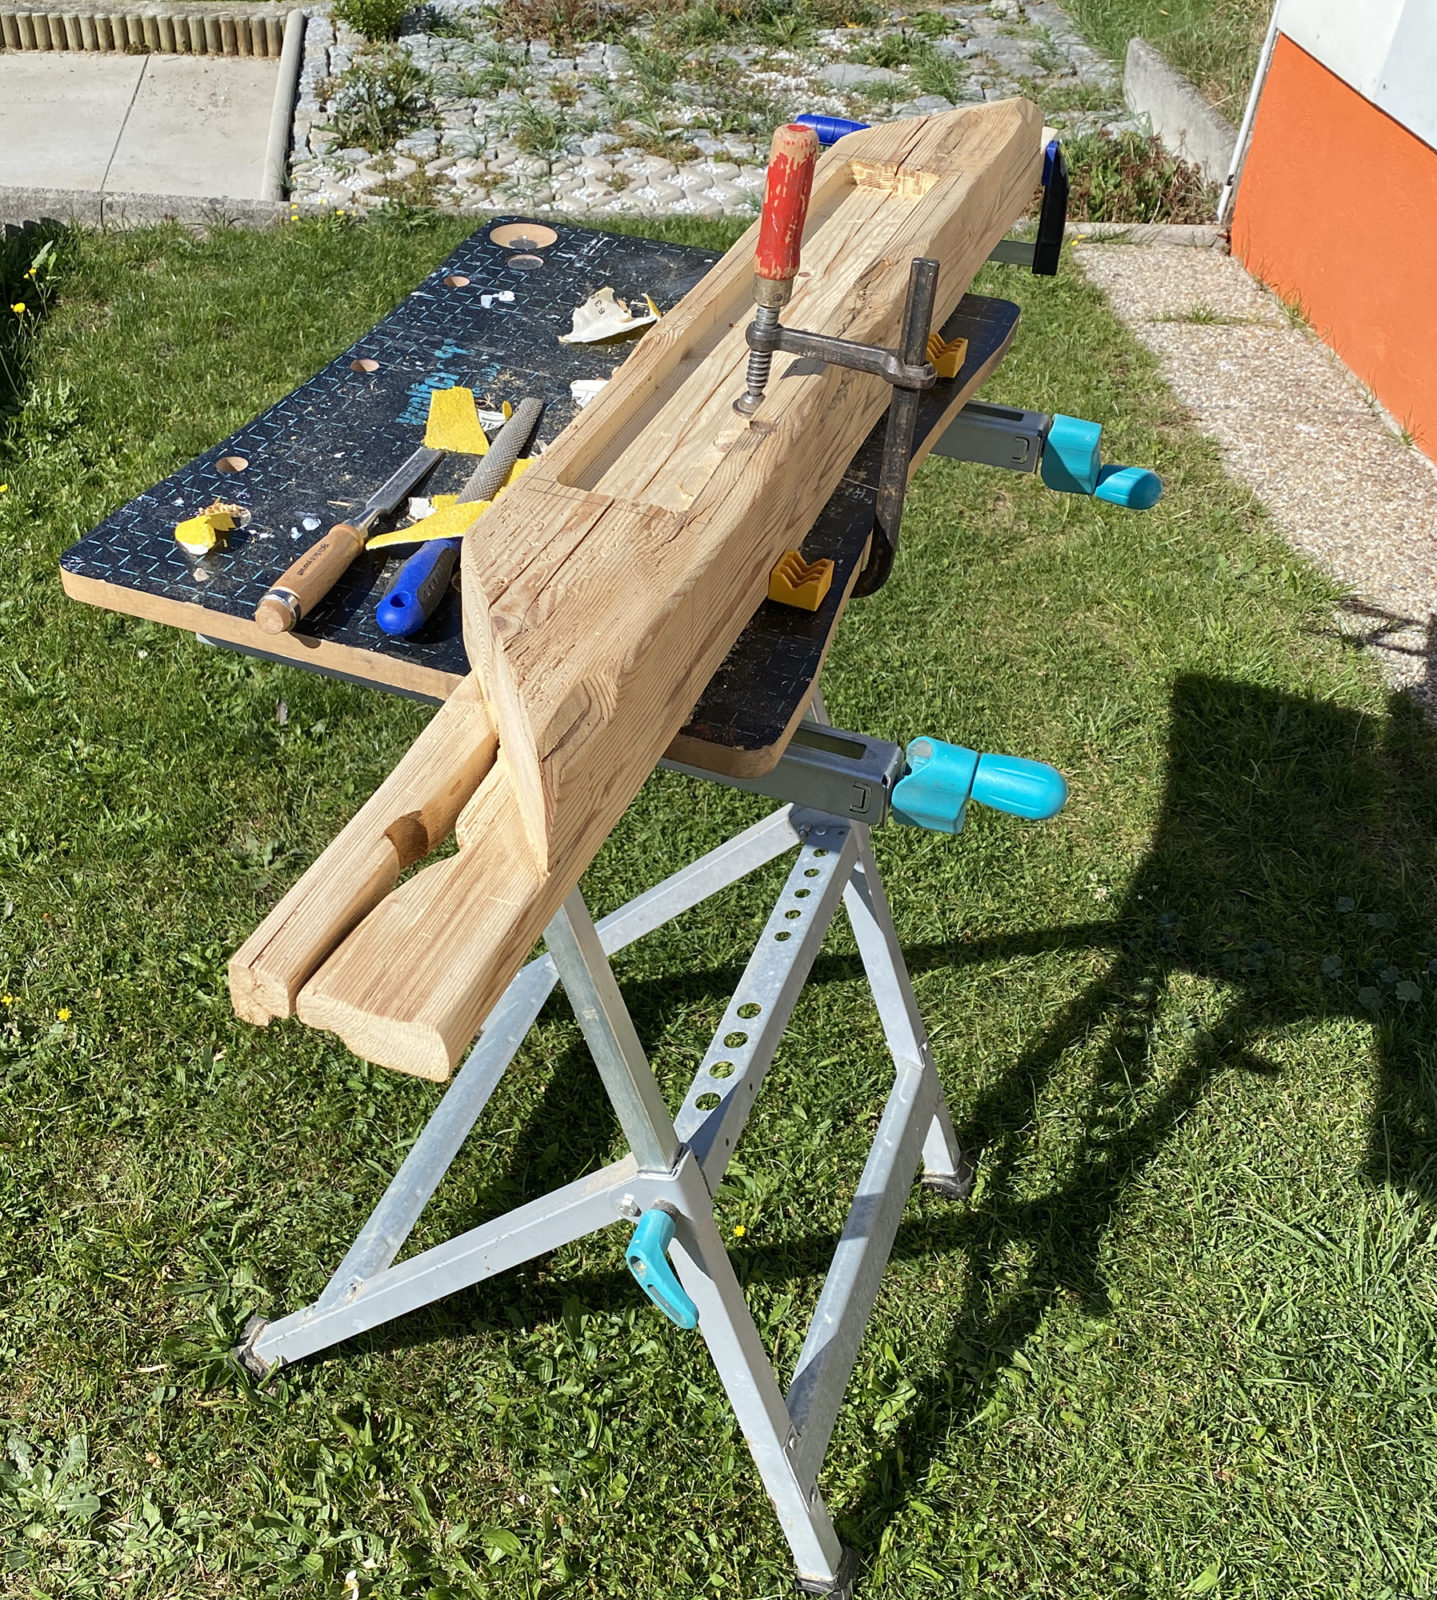
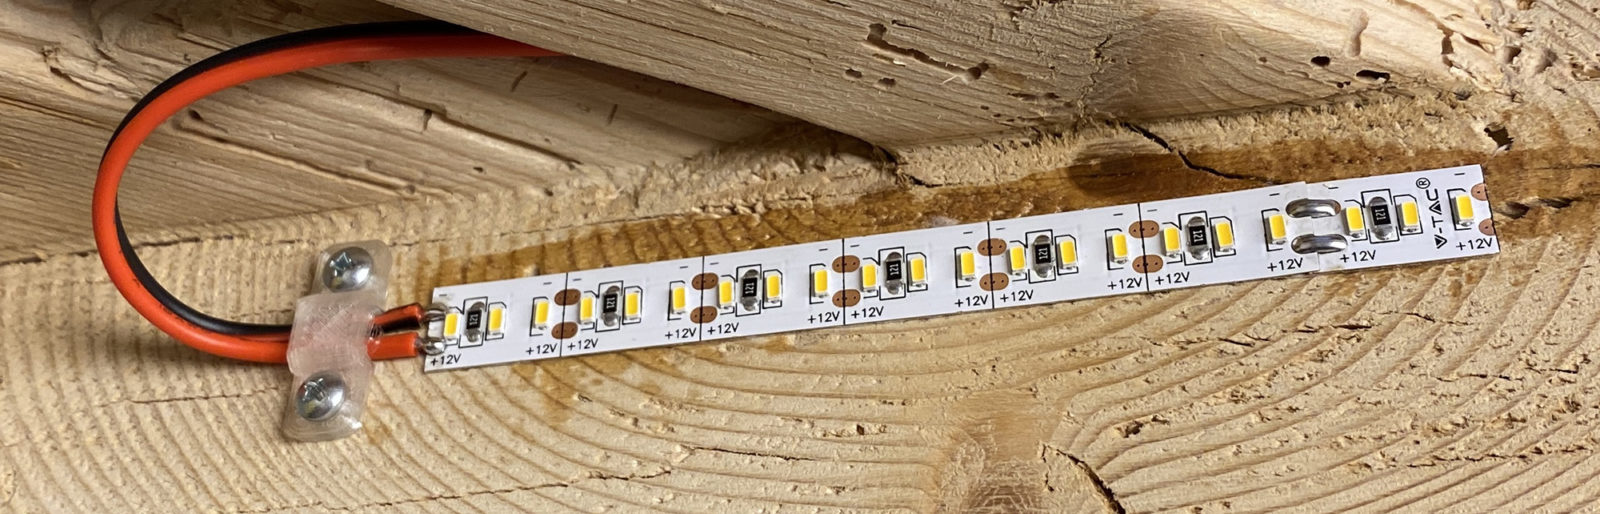
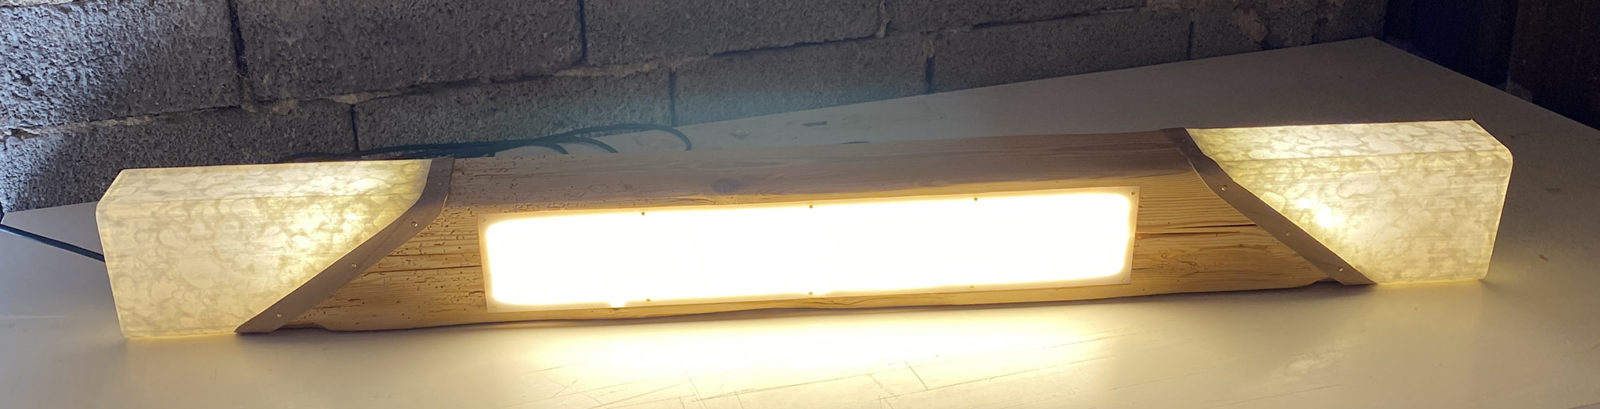
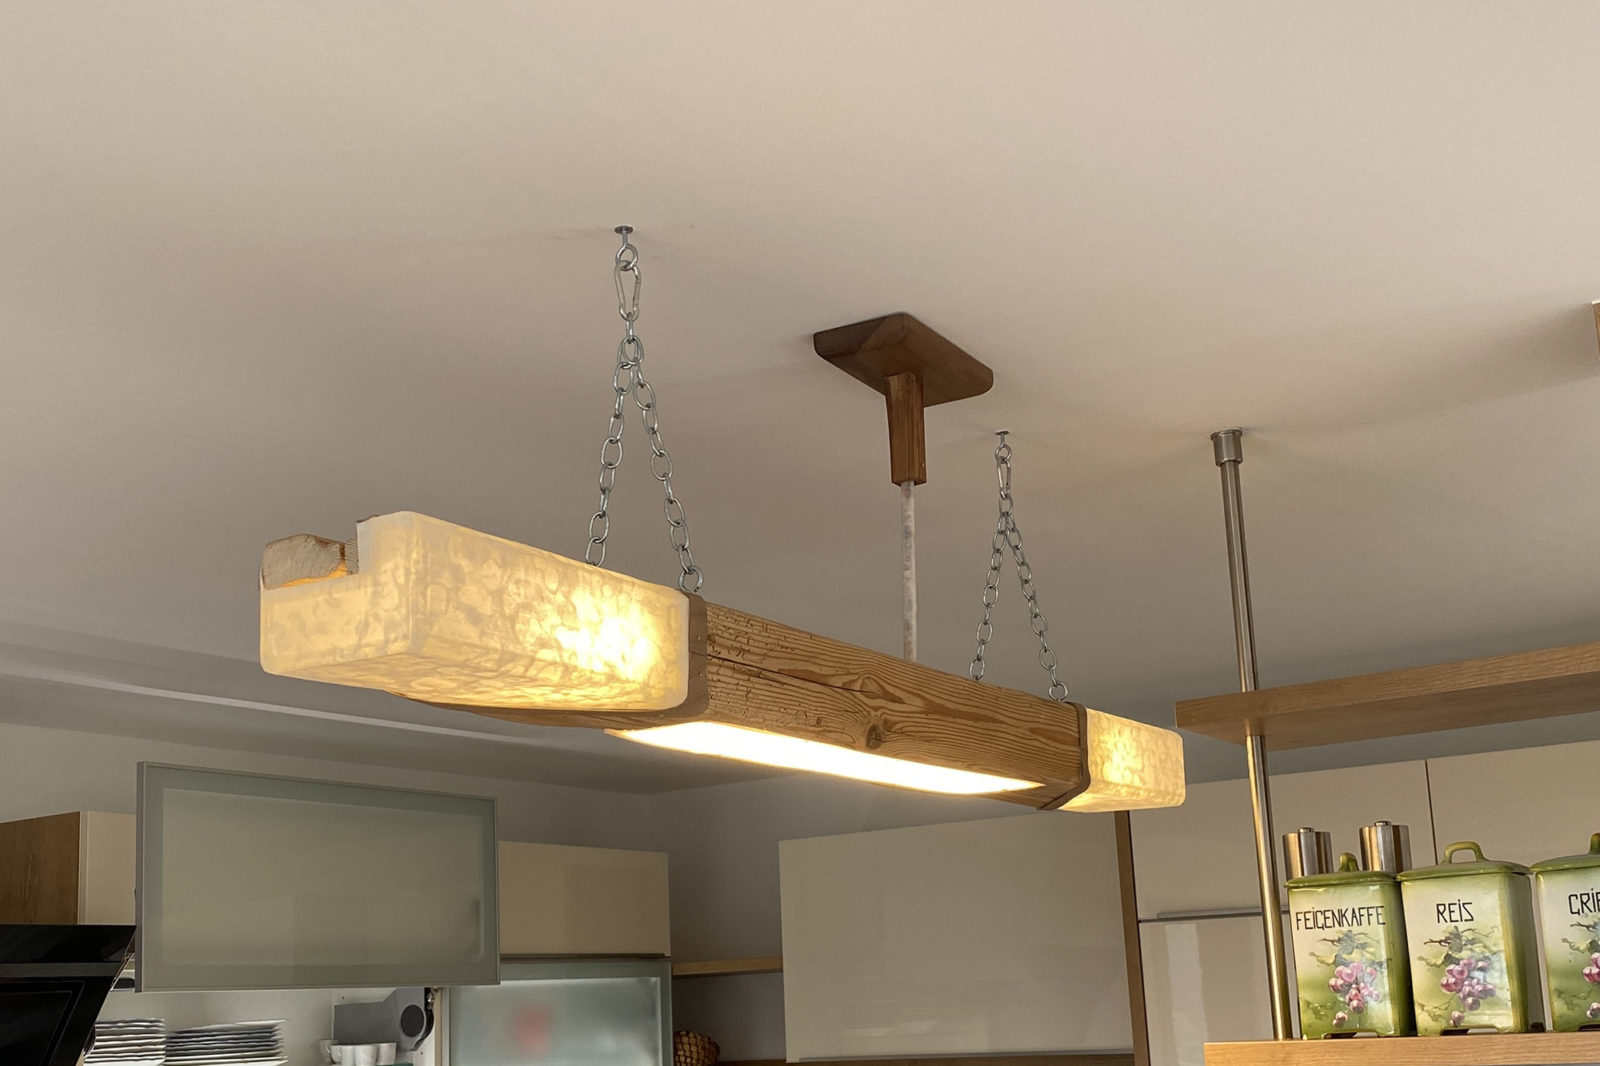
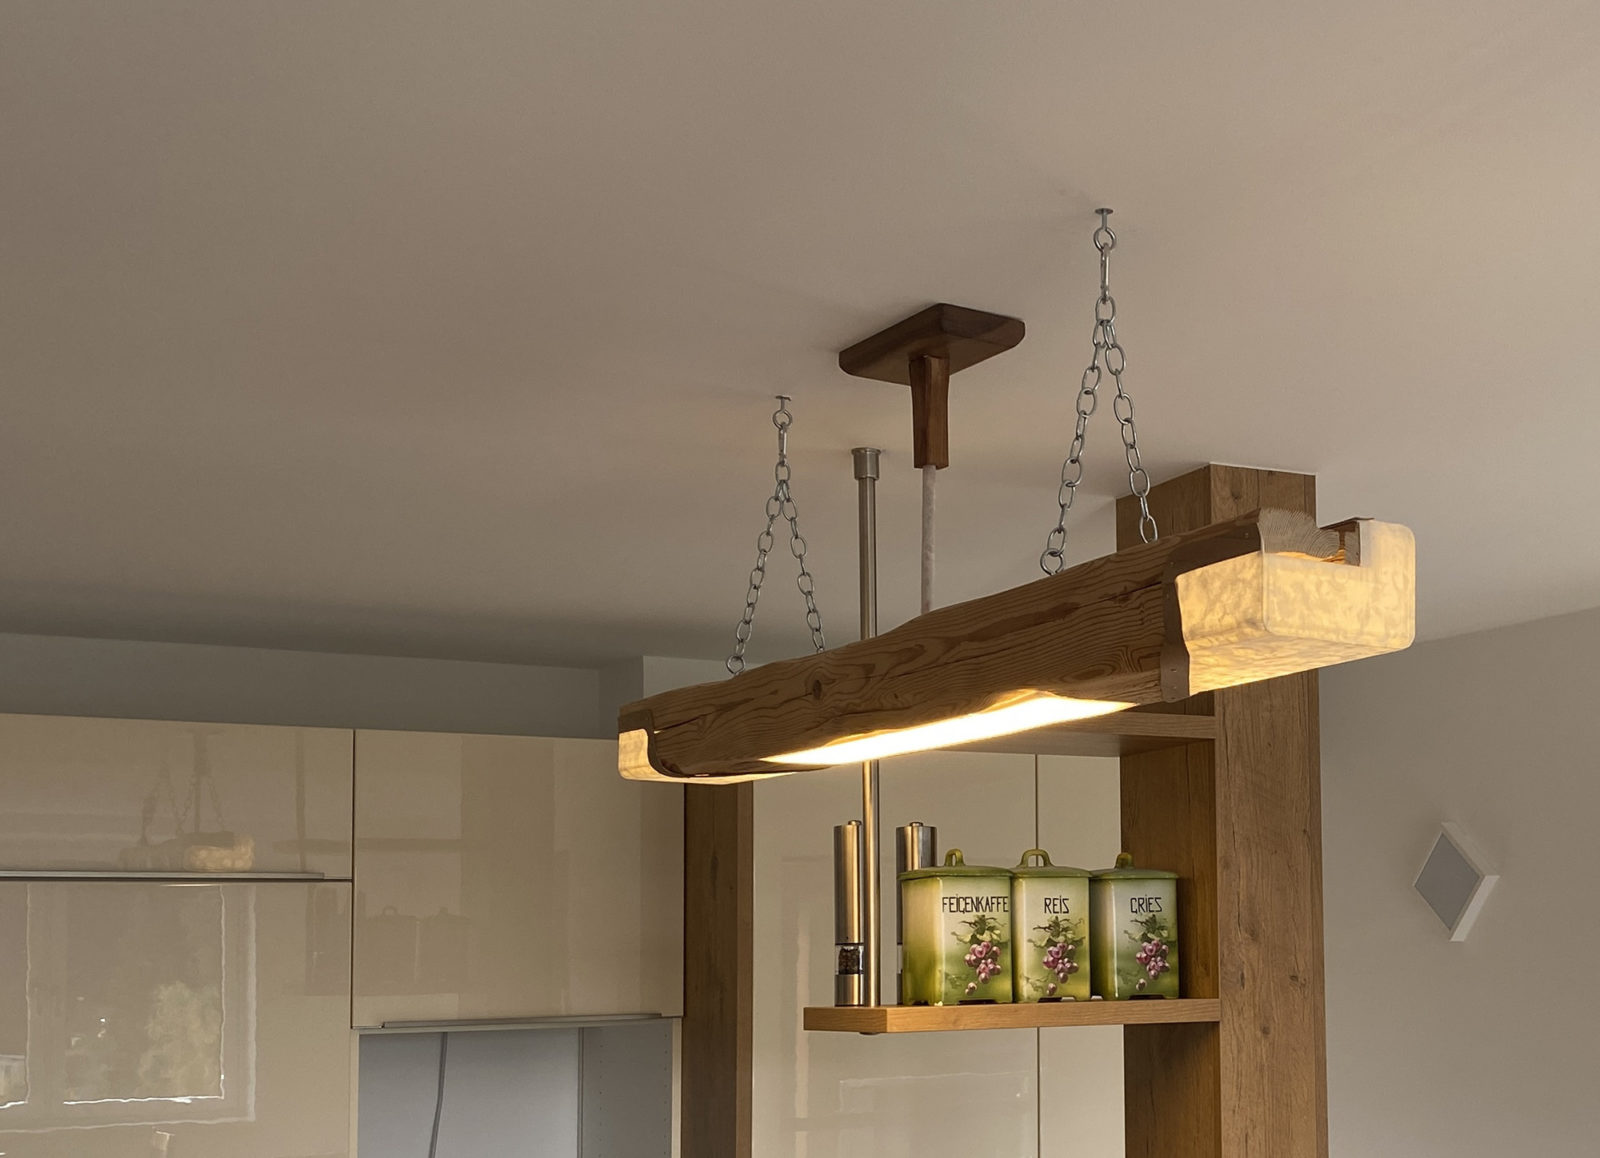
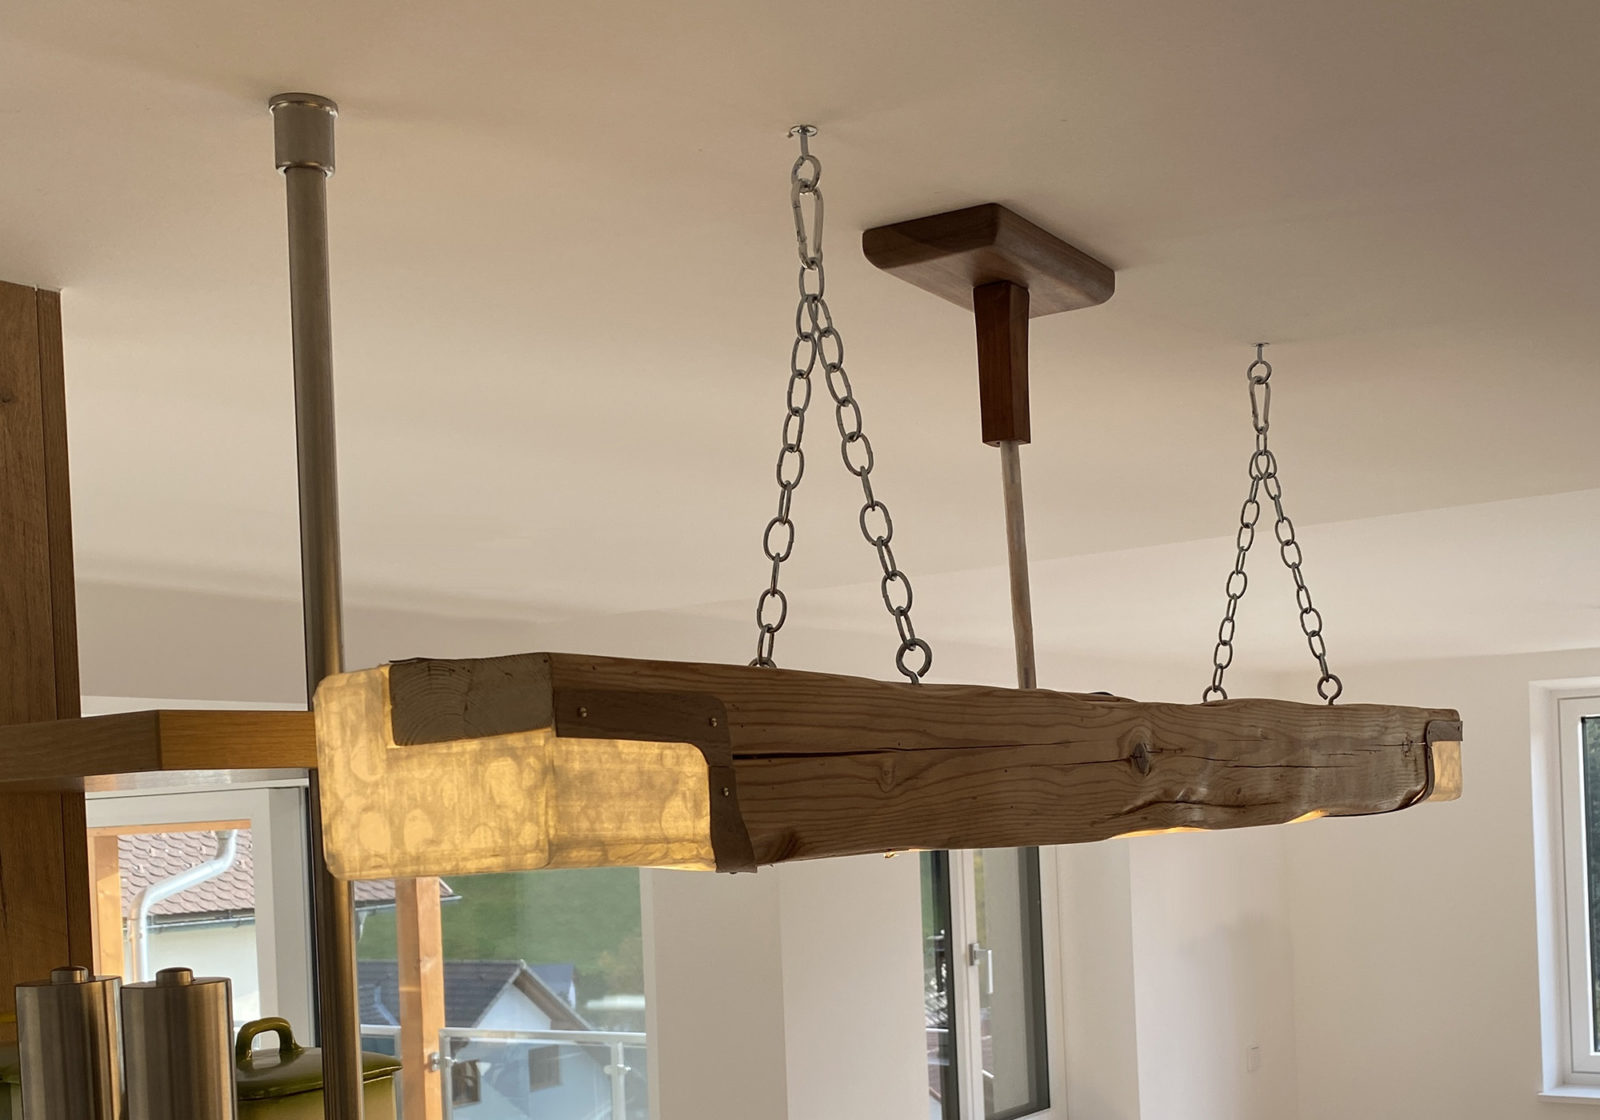
I turned an old piece of wood into a Lamp. My neighbours just renovated their house. They asked me if I could make a lamp from an old piece of construction wood. They had a few pieces of this wood which were waiting for a new life. The wood was originally used for the construction of a farm here in Austria over 100 years ago. When I saw one of the pieces, directly an idea entered my mind. In the center of the piece I would mill a space to glue LED strips in, and the ends I would cover with Japanese paper for decorative light.
I created a model in Fusion 360, 3D printed the holders for the paper and started sanding the wood. A lof of sanding was required, the wood was full of splinters. This is how the wood looked like before I started:

I wanted to keep the wood as original as possible, but it seemed right to me to make the ends a bit more symmetrical. So I altered the ends a bit:
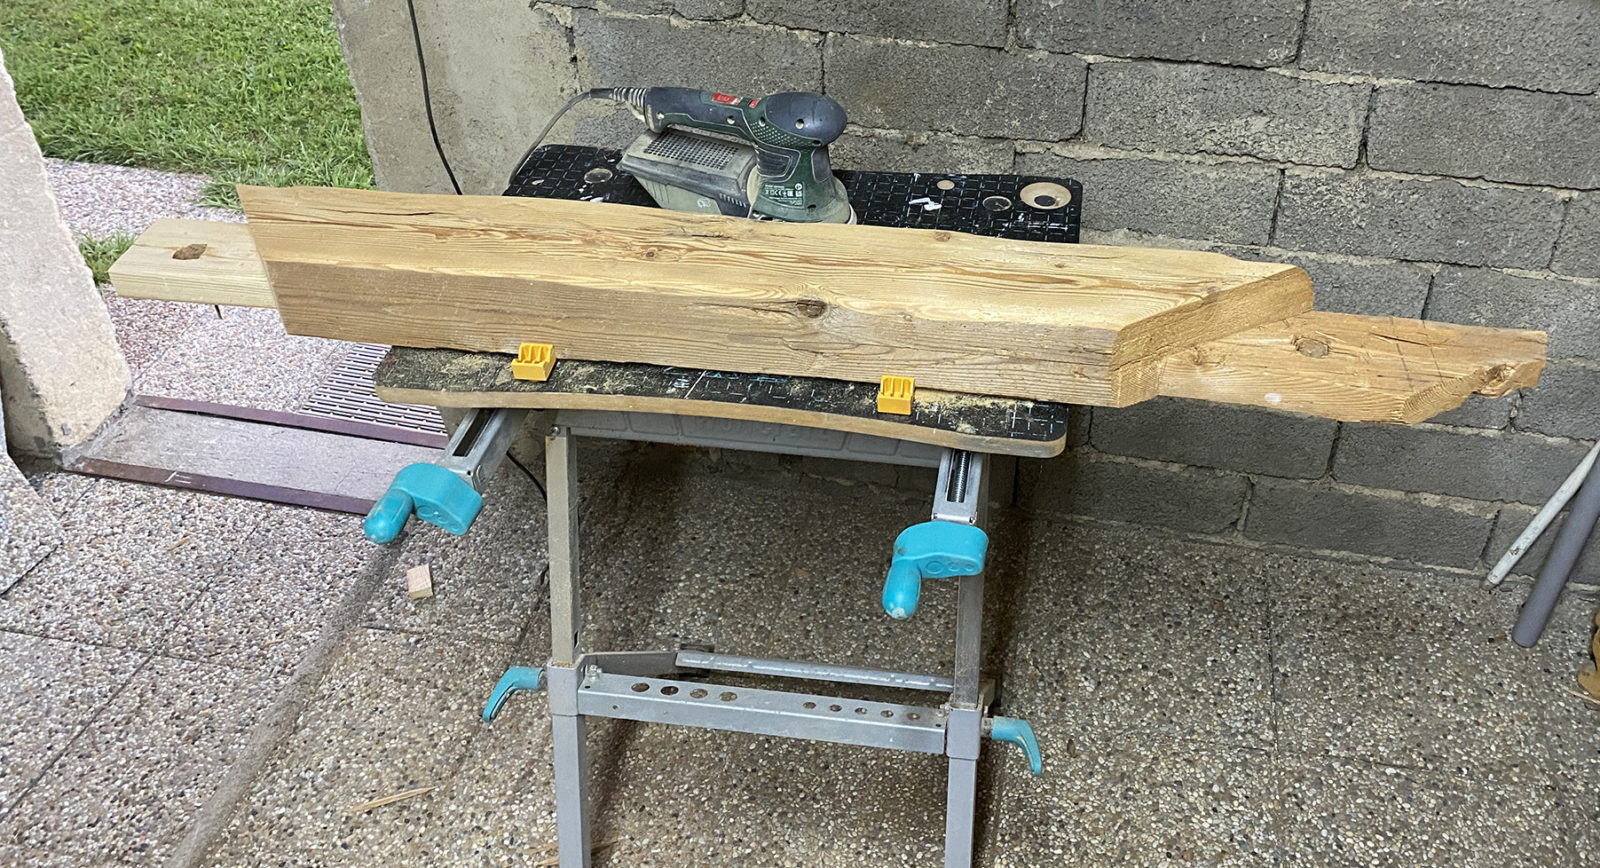
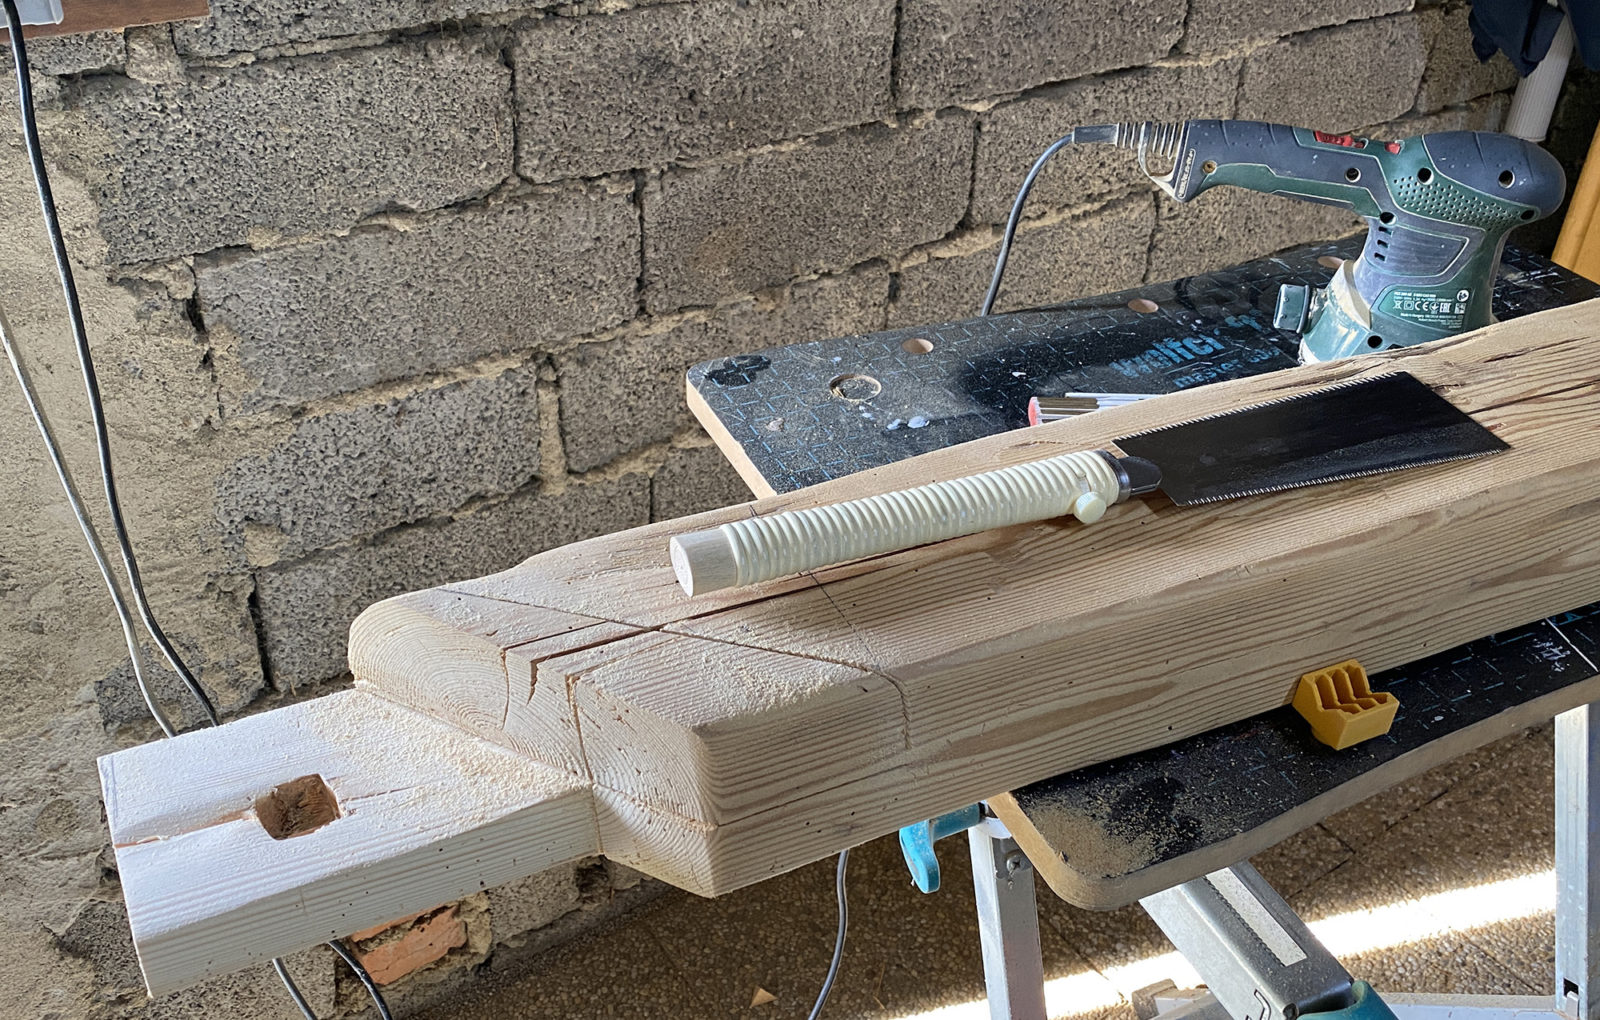
Sanding, sanding, milling and sanding. And the weather was still very good, so an opportunity to work outside:
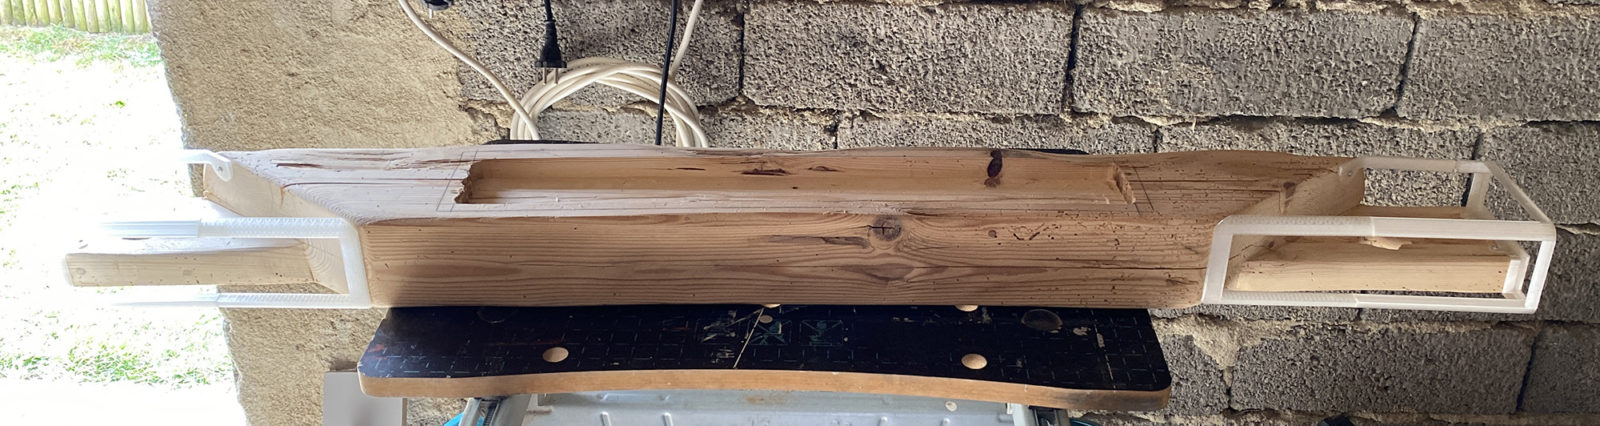
Meanwhile the prototypes for the paper holders were printed too. They fit very well and needed only a bit of modification:

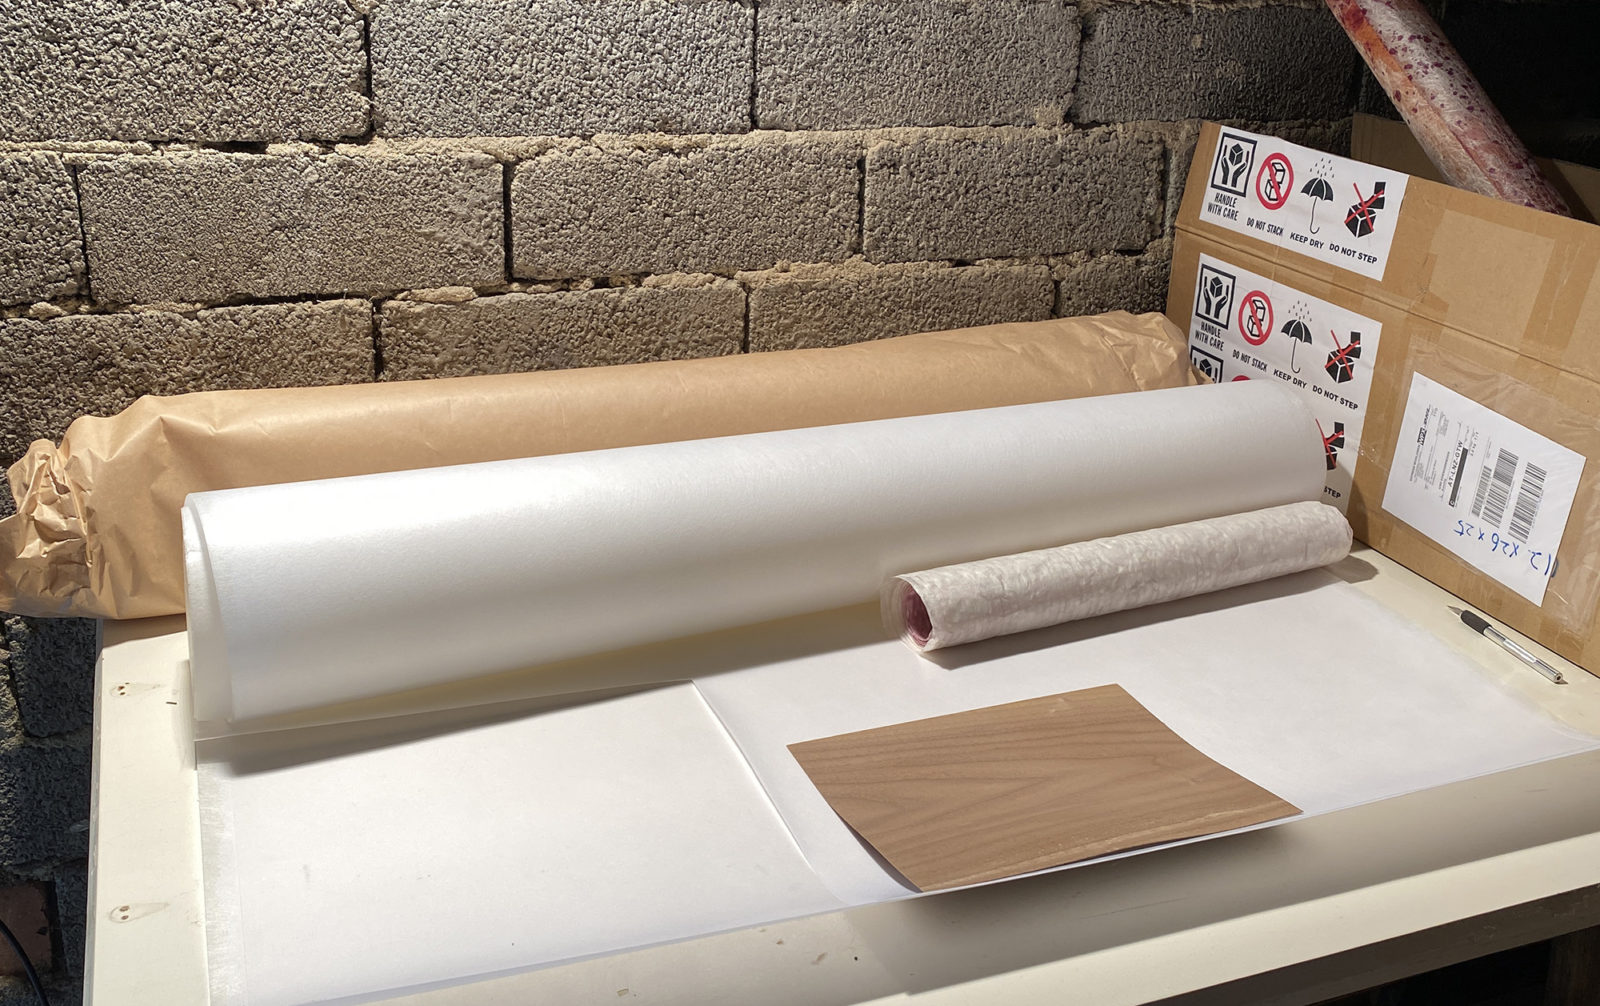
After more sanding and milling I got my veneer and I prepared the veneer by glueing it on fiber glass sheets. The Japanese paper is also glued on these sheets. The paper is bought in Tokyo from Kamism. This one is called ‘Ame’, which means rain.
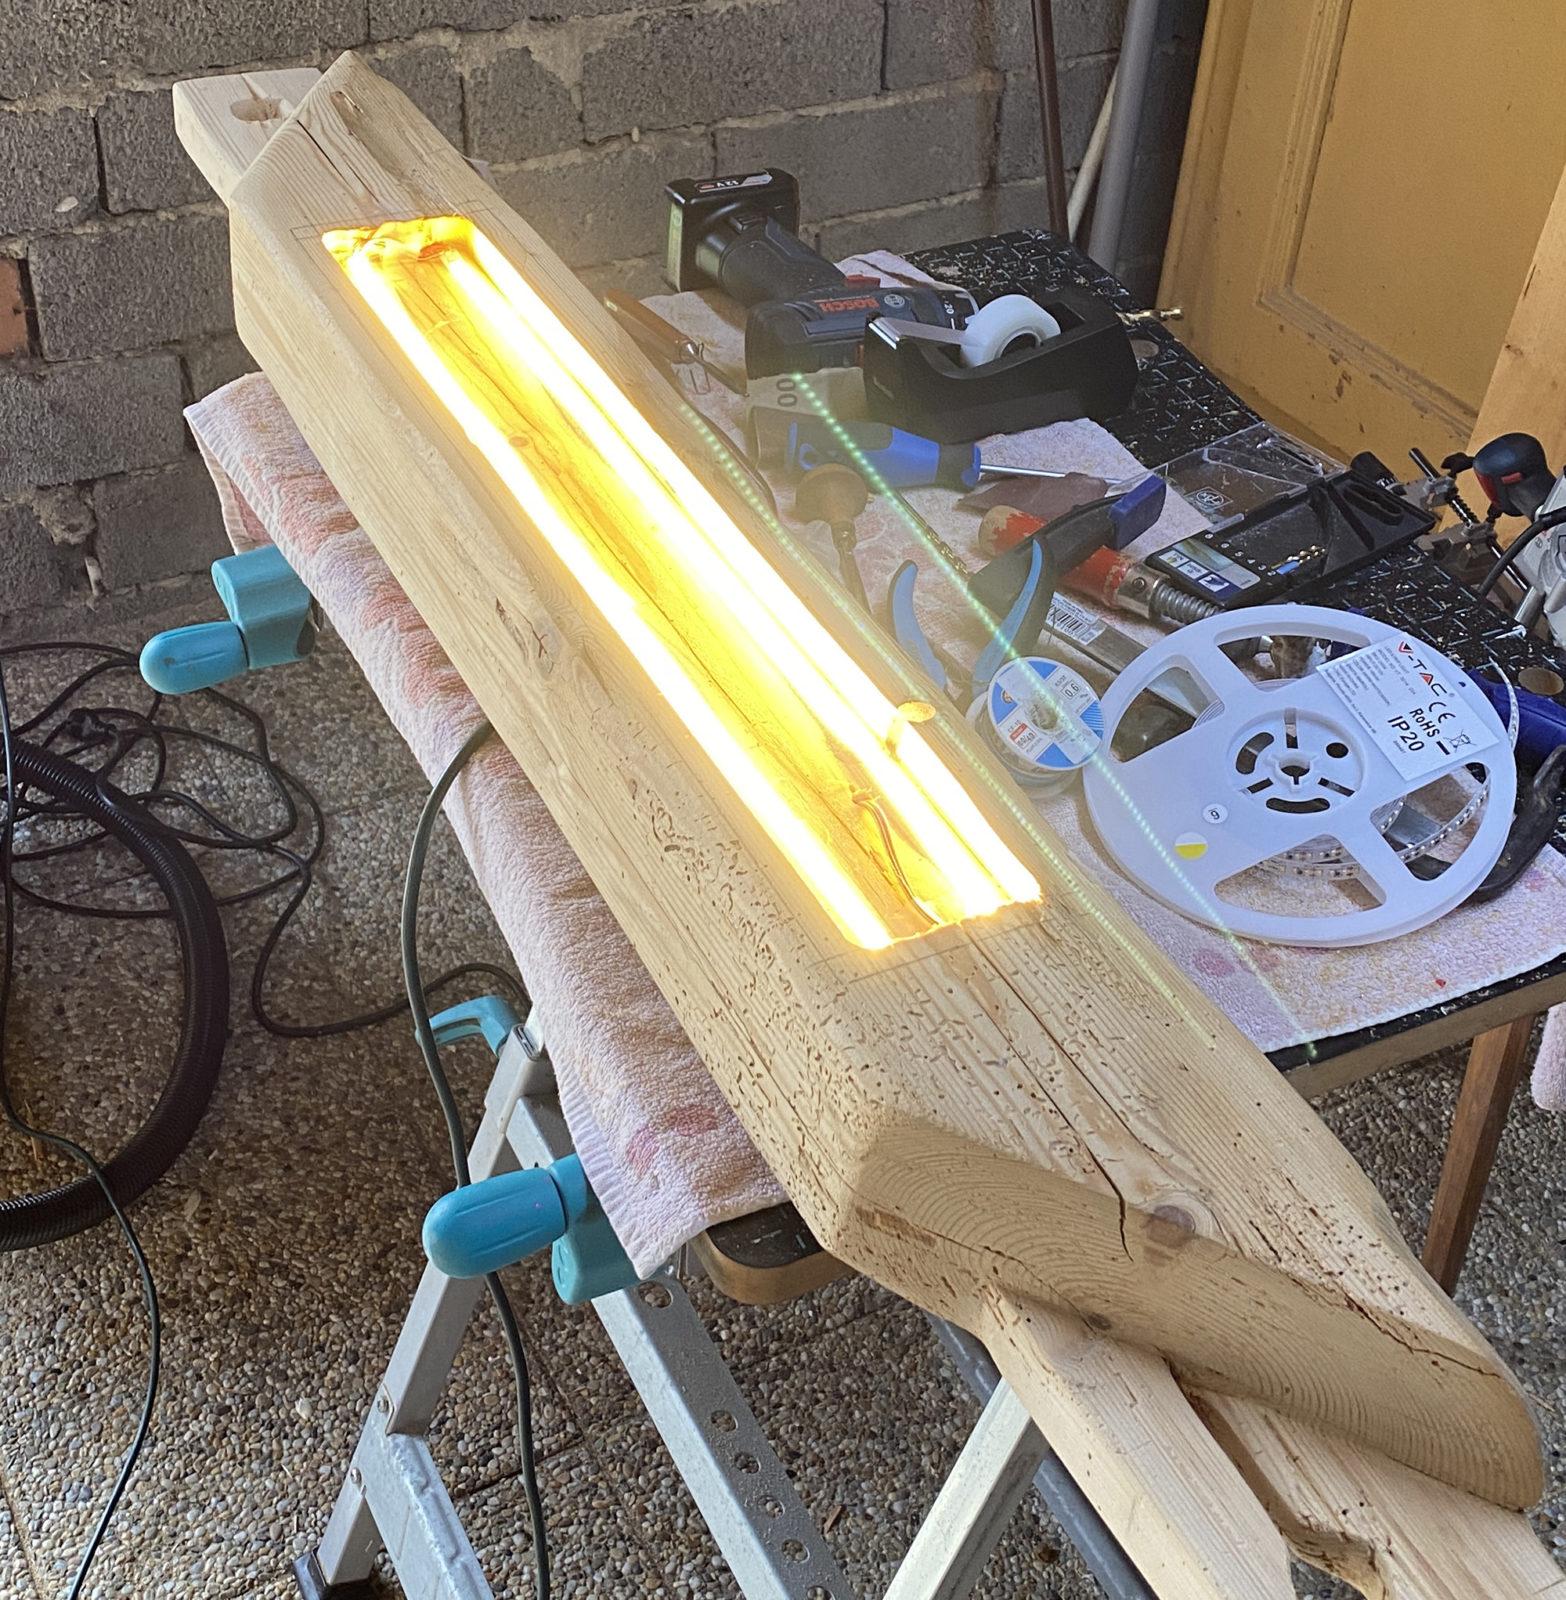
I did some tests with the LED strips, first I tried 2 strips, but the neighbour wanted 3 strips to generate more light.
I cut a piece of plexiglass to size, but this might be changed in the future for one that is more transparent. Plexiglass I buy directly from the manufacturer here: The Plexiglass Shop.

And I started preparing the ends too. First I glued the fiber glass on the plastic frames:

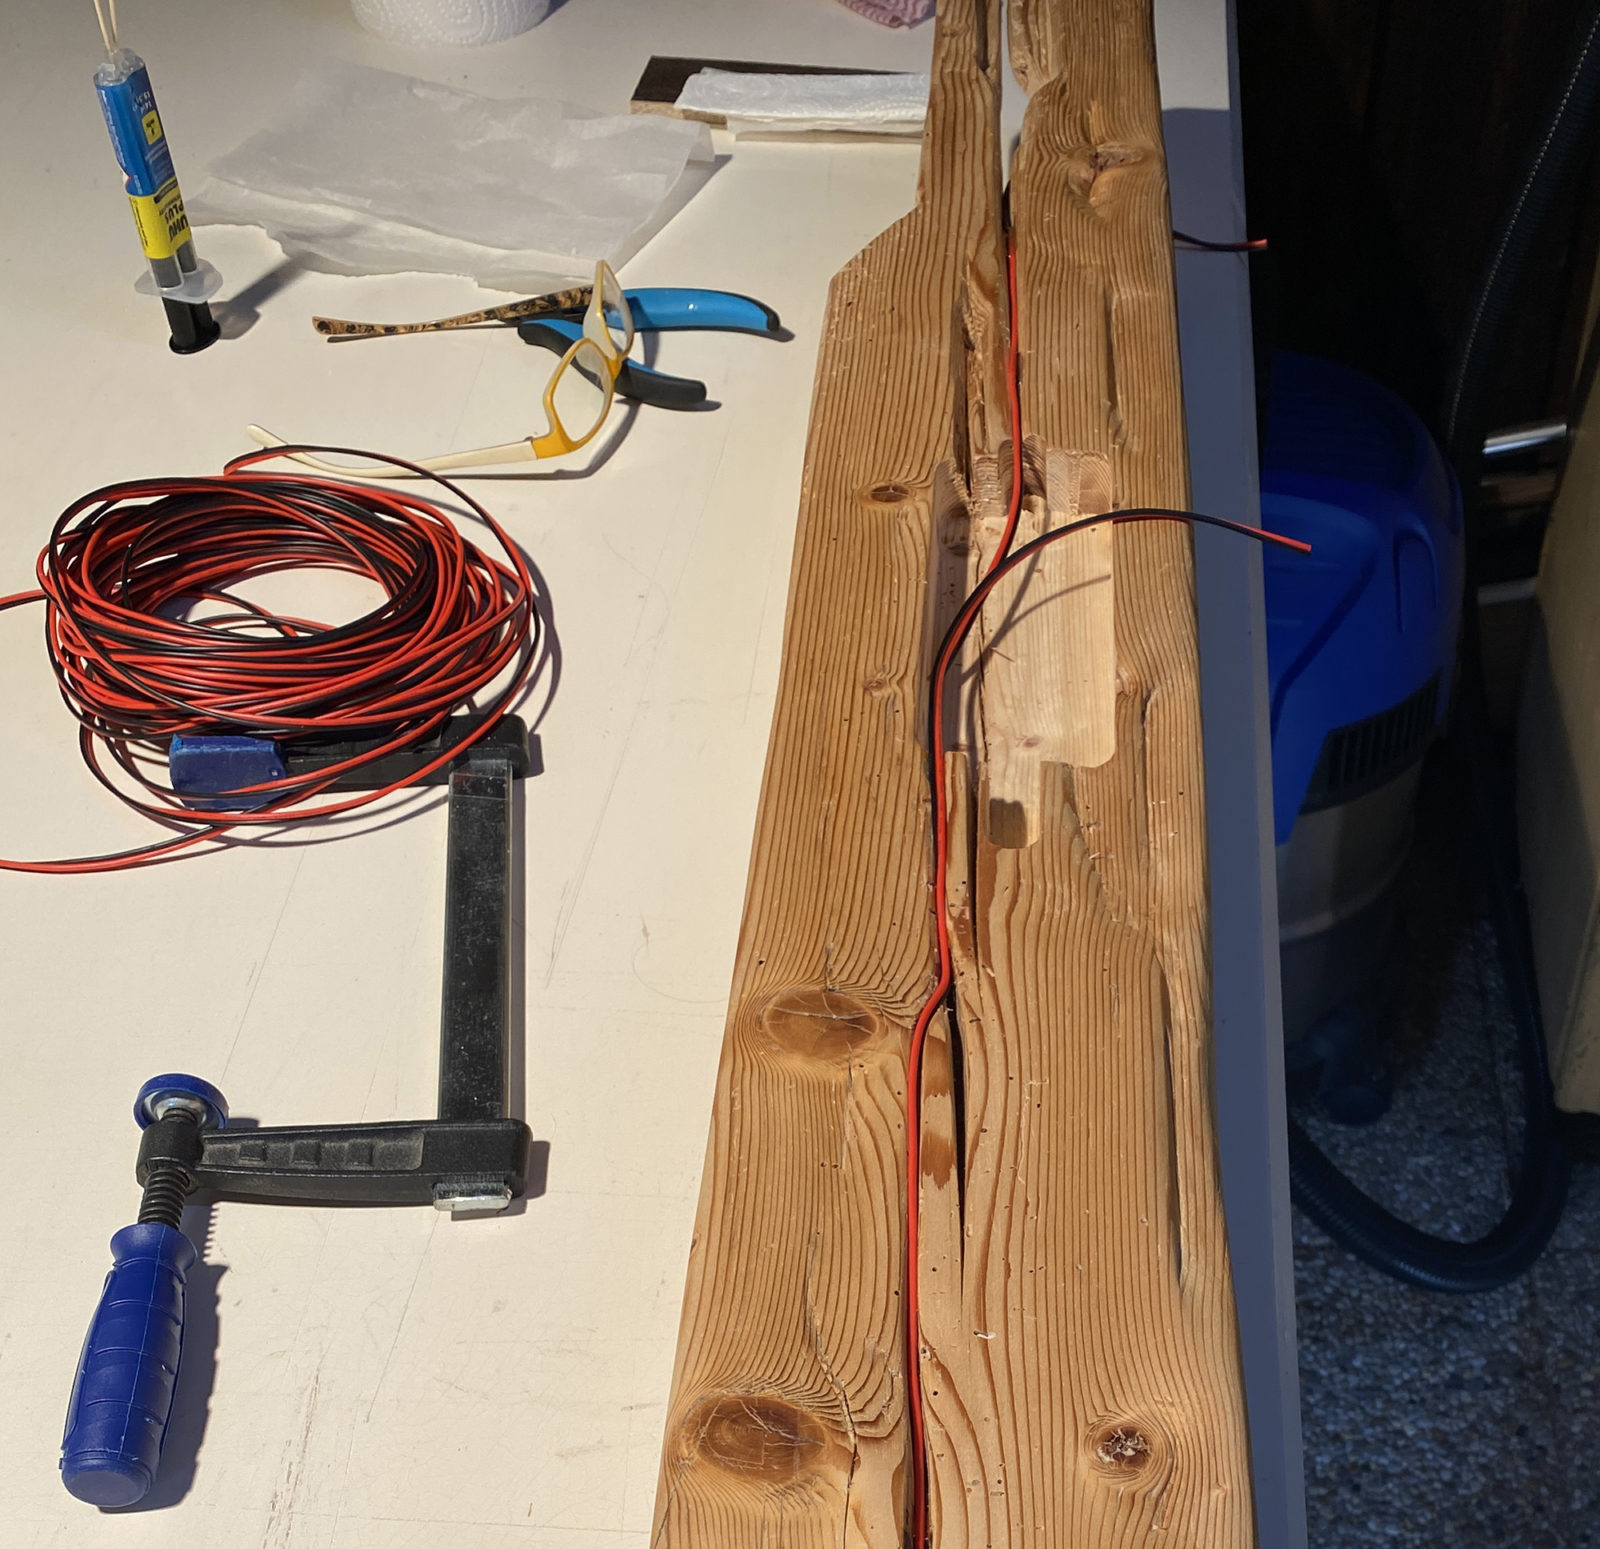
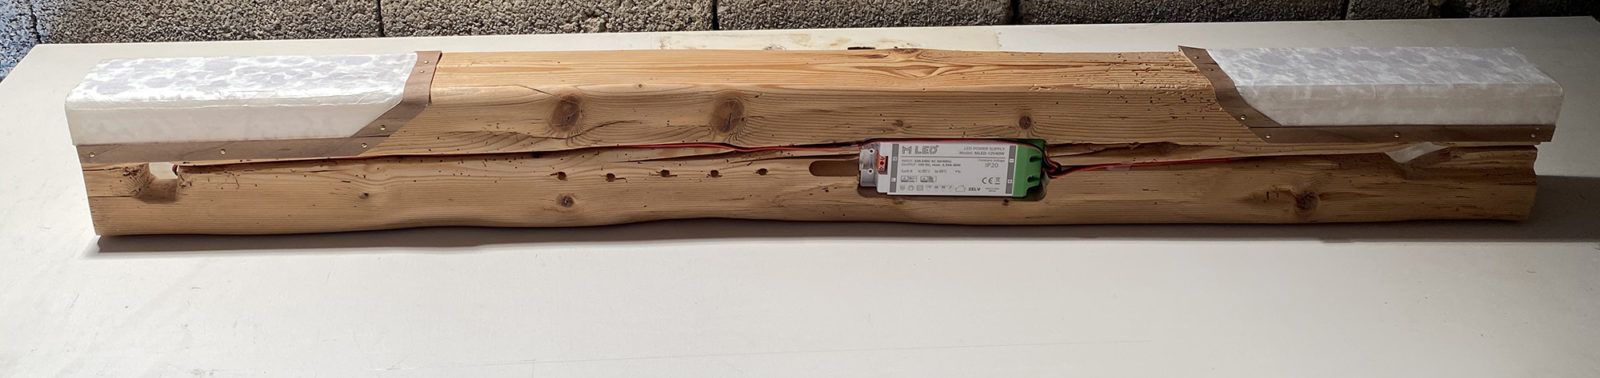
Let’s start wiring, glue the wire and the LEDs on the wood ( I forgot to make pictures of the center LED part). This type of strips doesn’t become very hot, otherwise I should have glued them on aluminium profiles.
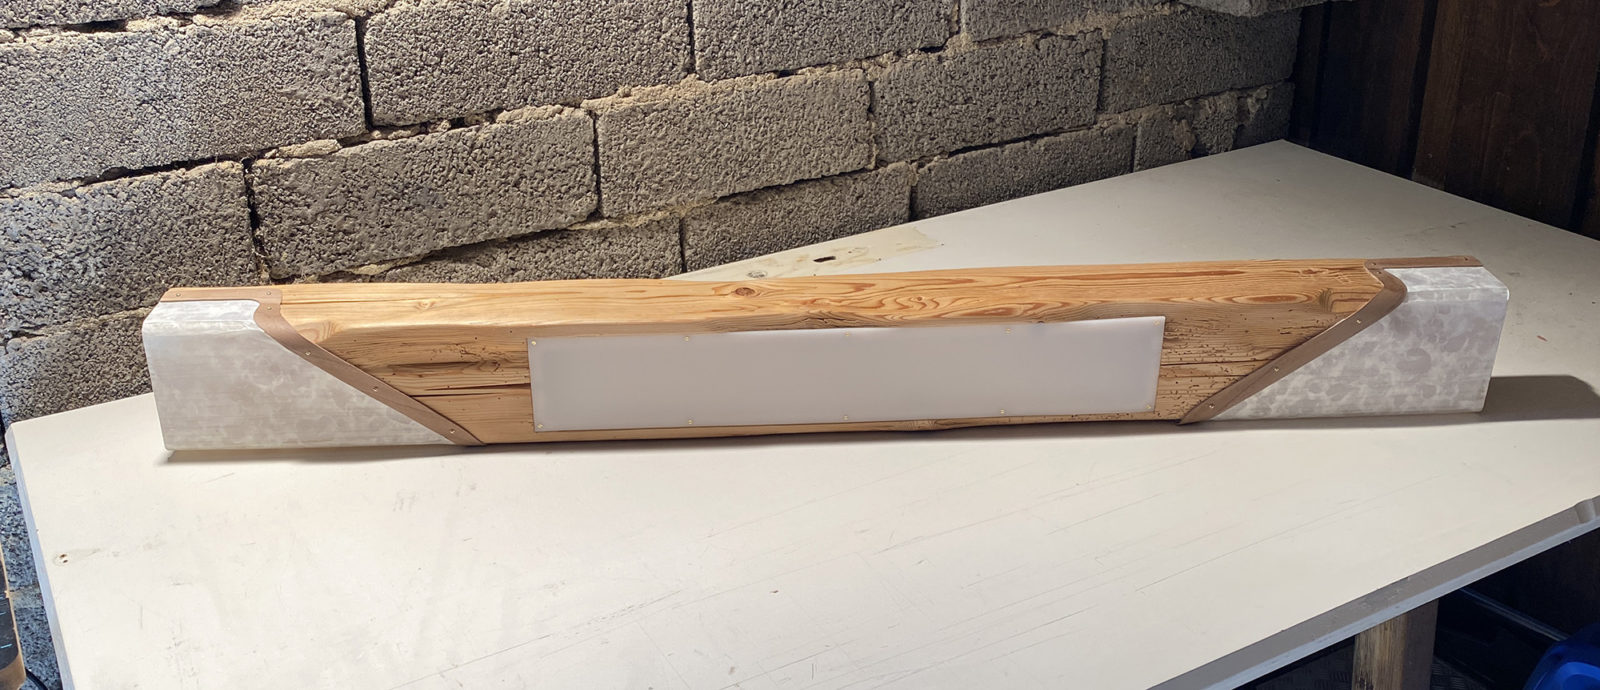
The paper is also glued on the end frames. I’ve bent the veneer by steaming it. Then I’ve cut everything to size and applied bees wax on the wood and veneer. Here is the end result, I hope you like it. If the neighbours give their permission, I will add more pictures to this page when the lamp has been installed in their kitchen.

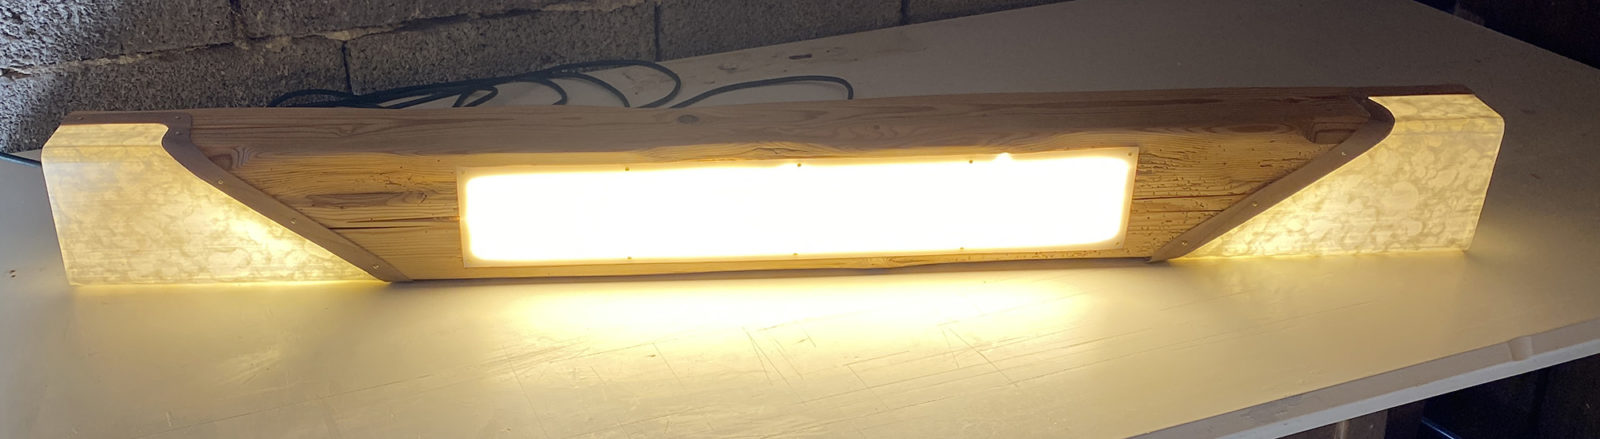
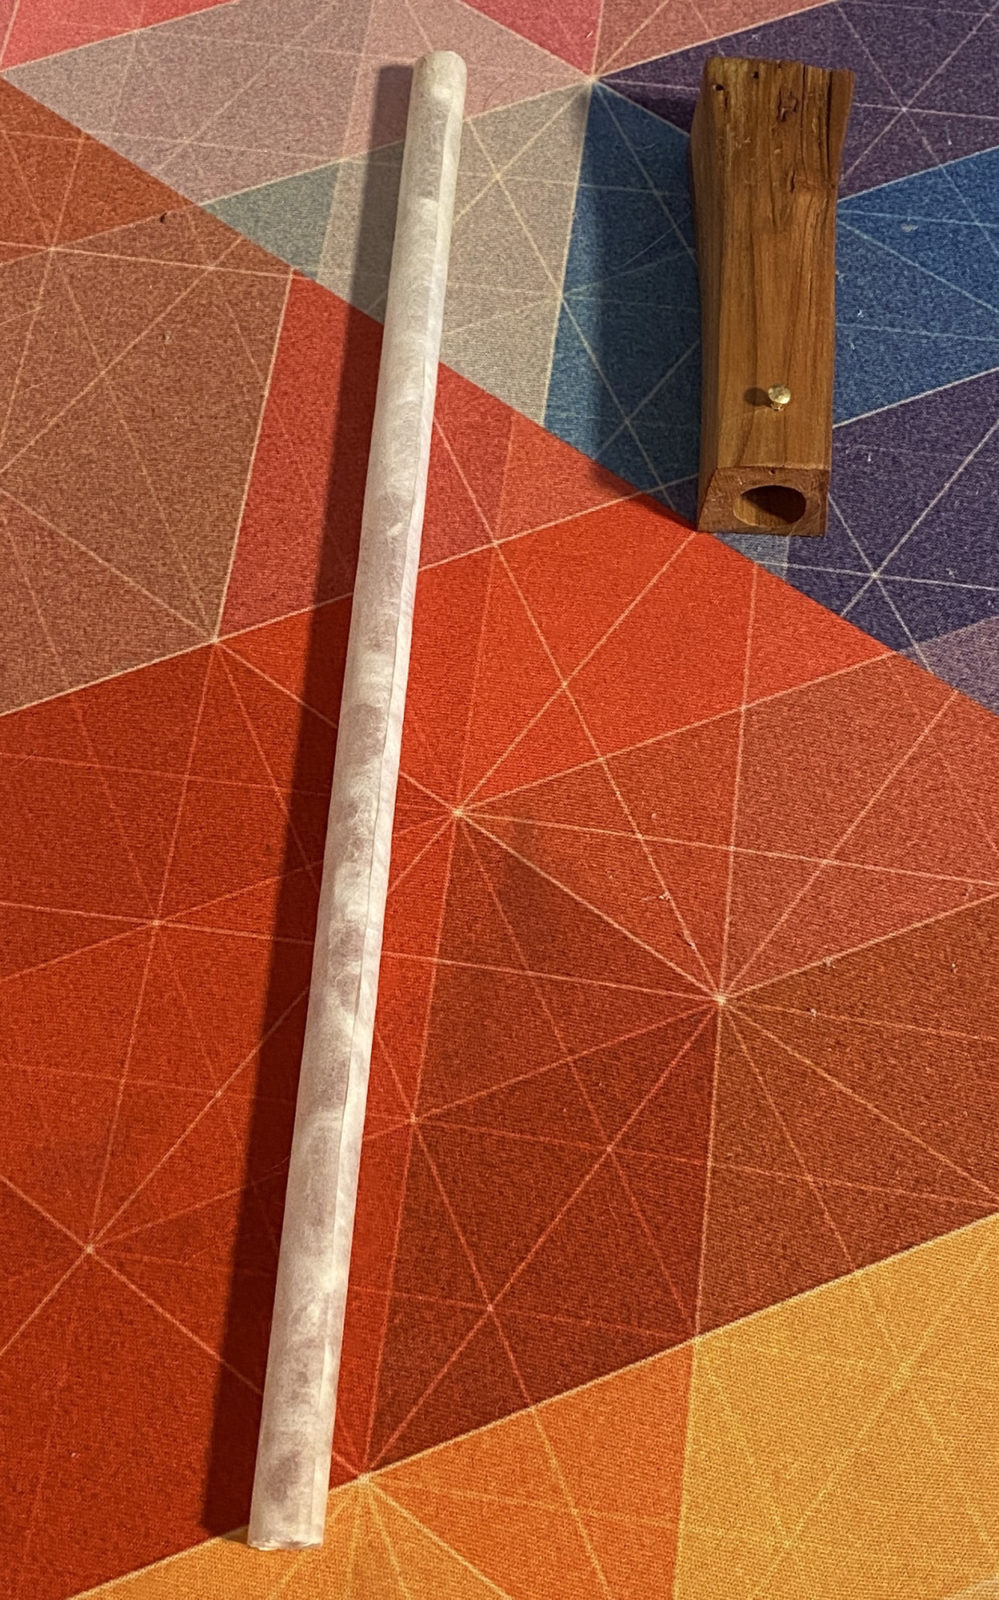
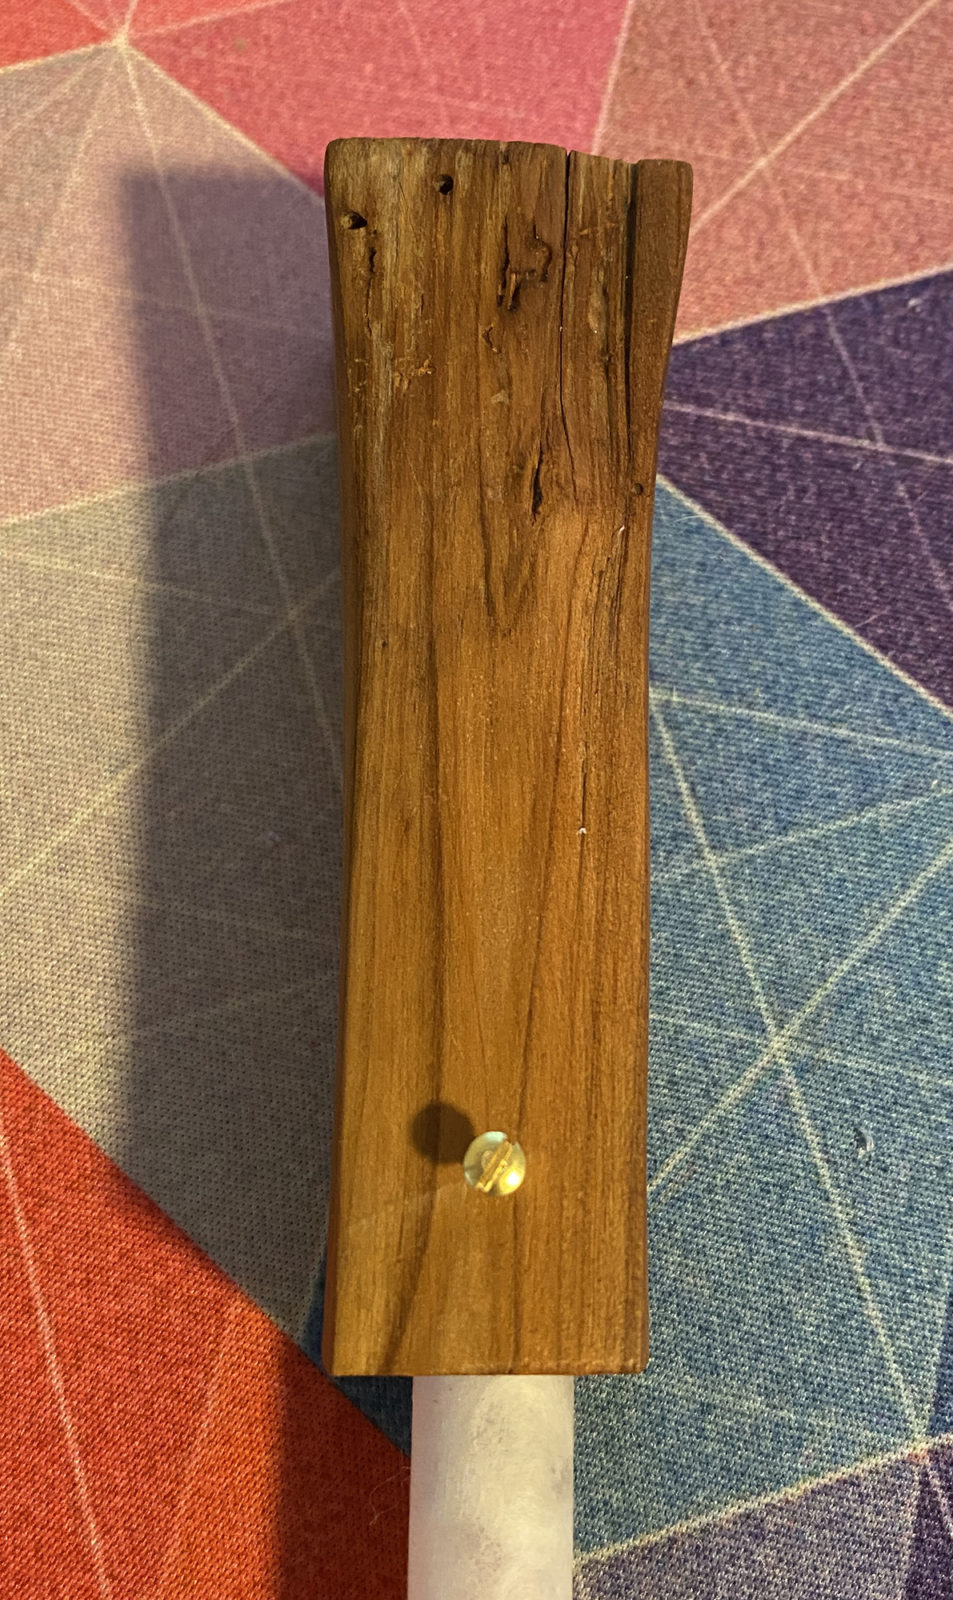
Oh, and I almost forgot… As you can see on the first picture, there was a peg in the wood. I used this peg to create a ceiling piece to cover the wire. Together with a plexiglass tube. I glued some of the Japanese paper on the tube and this is really the cherry on the cake! I think the peg is cherry wood :).
That’s it, a lot of new ideas to make lamps entered my mind!
またね (Until next time),
ロナルド
What is a Prusa I3 MK3S+? 3D-print fans know this of course. For everyone else: This is the latest version of a very good 3D printer designed by Josef Prusa and his team in Czech Republic.
Hello, a very short blog post this week. I always have my glasses lying around somewhere. So it was time to design a 3D printed holder for my glasses.
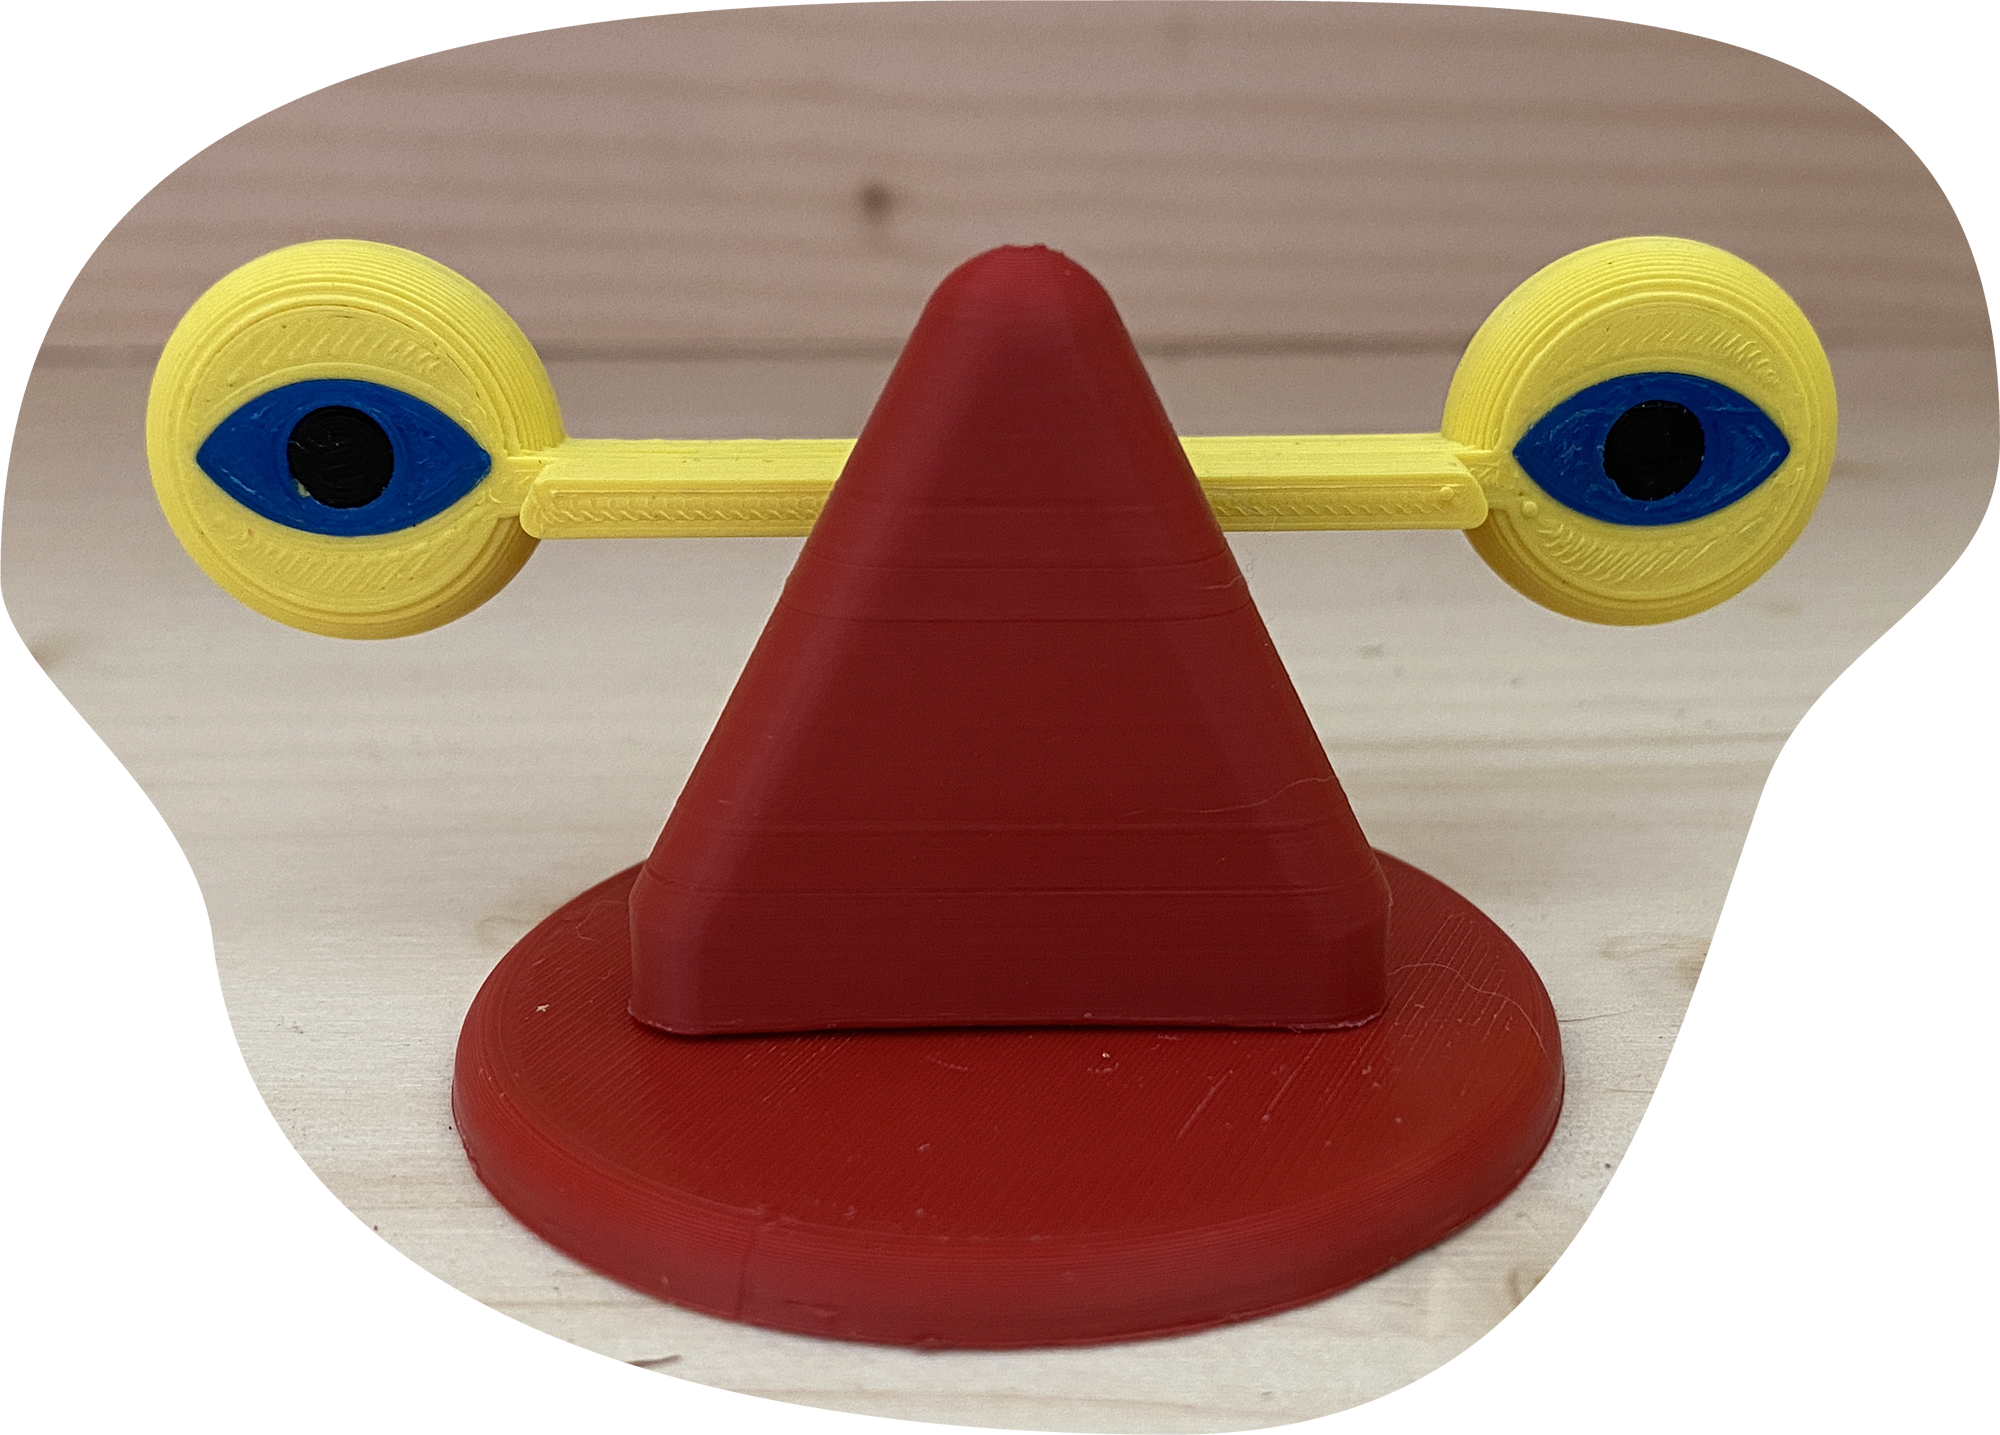
I was asked by a good friend if I could make 3D printed atoms on my printers to create molecule structures. I said to him: There must be plenty of kits for sale everywhere on line. The issue he has is that the existing kits are not really representative and most of the are kits with sticks and spheres, or some of them have spheres with one or more flat surfaces. He wanted just spheres with some kind of connection.
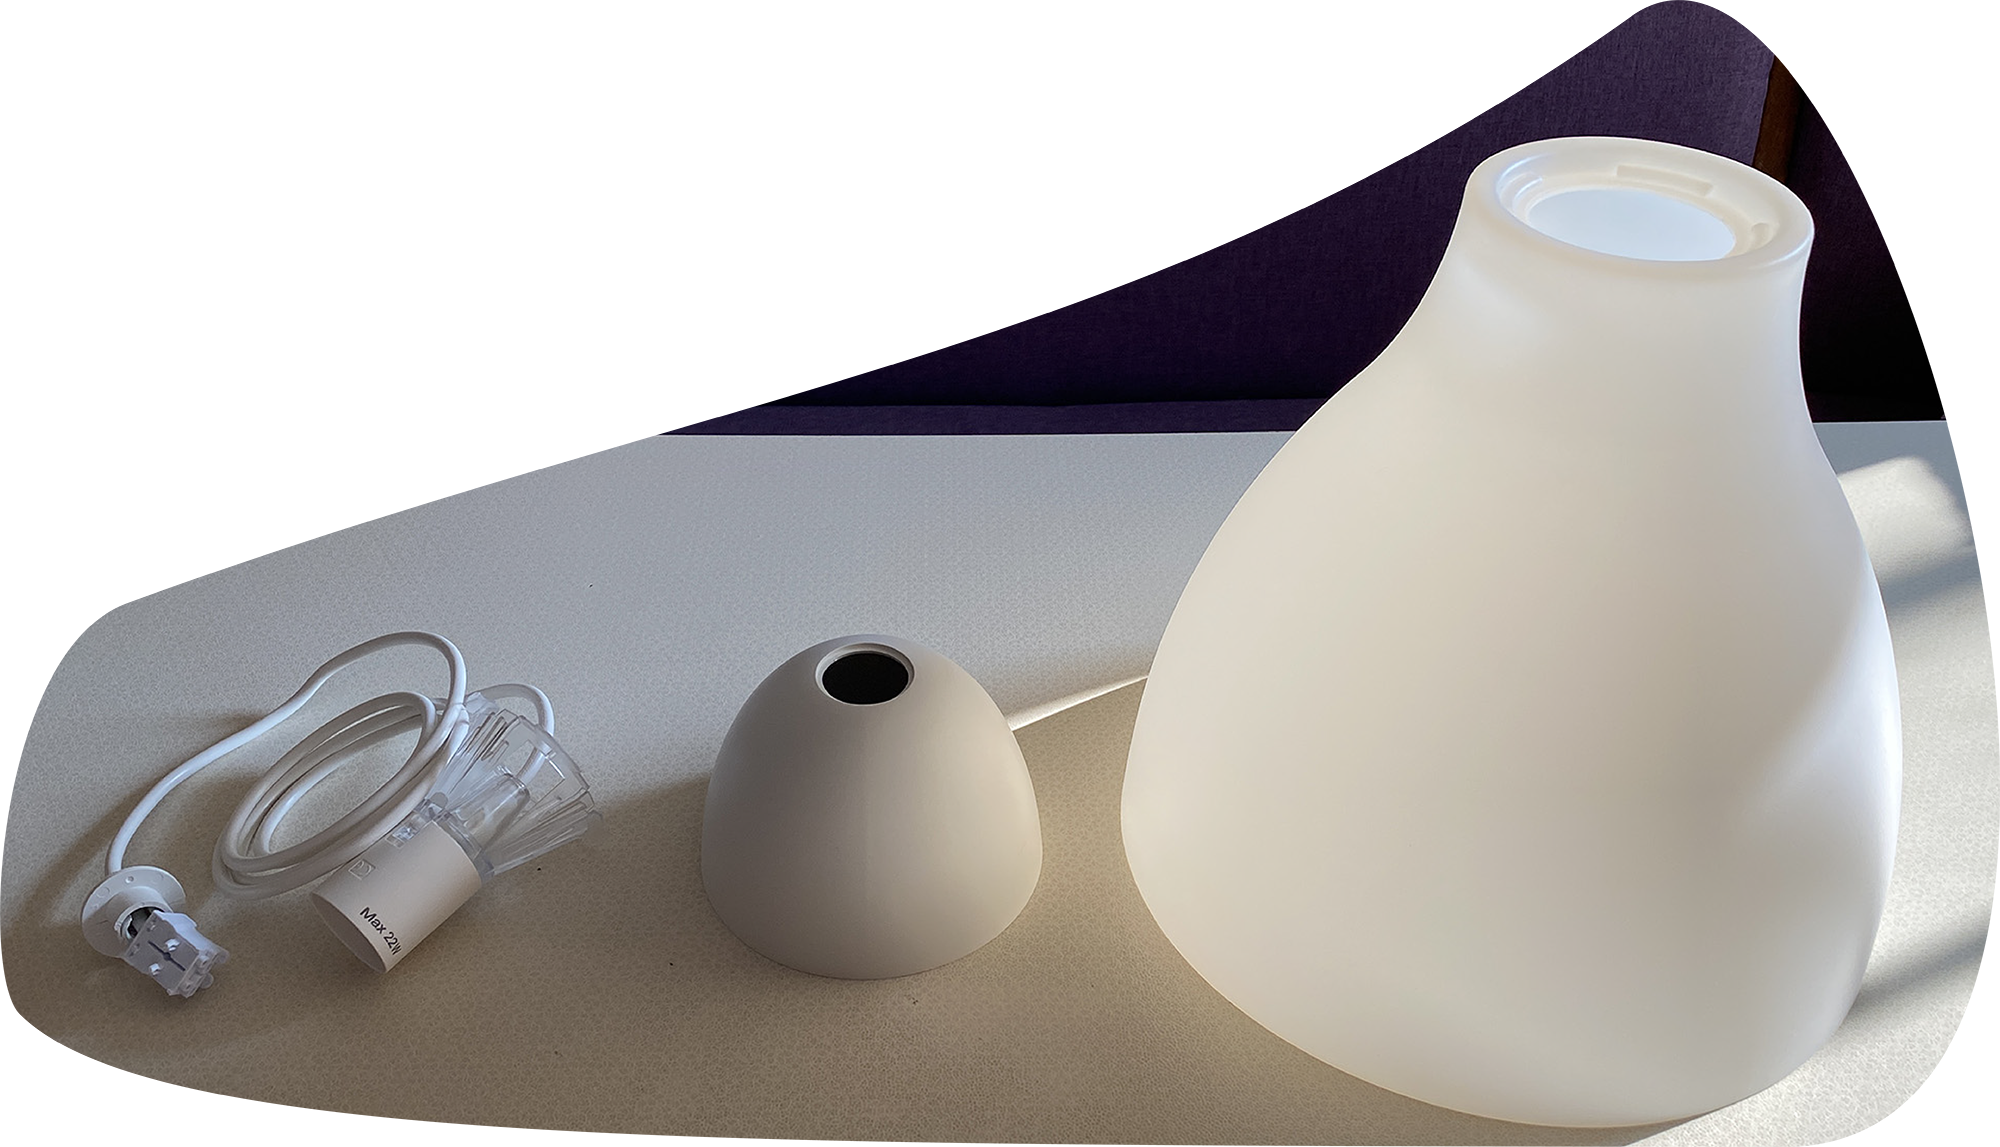
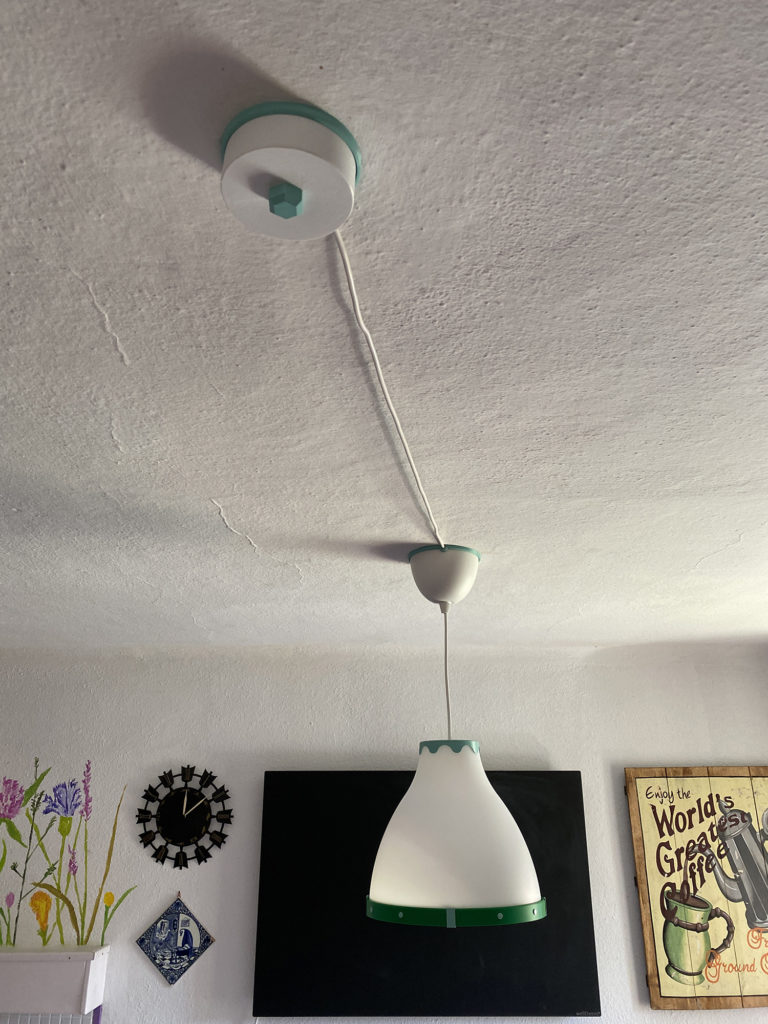
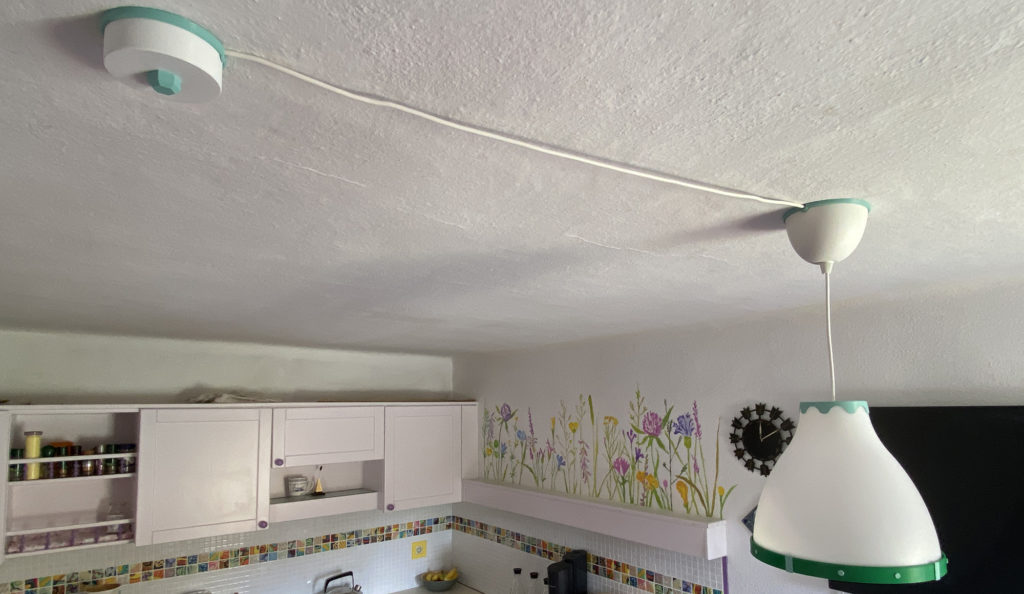
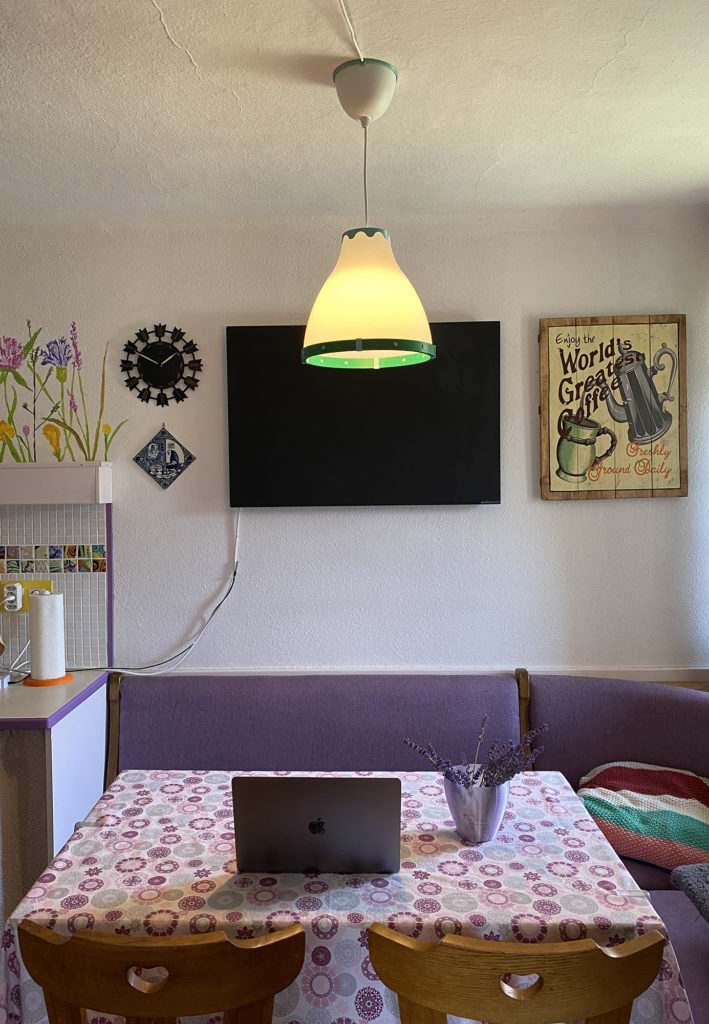
IKEA hacks. Some of you have heard of them. Hack sounds bad, but this isn’t bad at all. We’re not hacking into a computer or server. We are improving their design according to our own wishes. Look it up online; ‘IKEA Hack’. You will find a lot of interesting things, made by creative minds. This is the Ikea Melodi 28cm lamp Hack, improving a boring hanging lamp.
I am renovating my kitchen and I needed a new ceiling lamp. The old one was probably hanging in my kitchen for 45+ years. I couldn’t really find what I wanted, or it was too expensive.
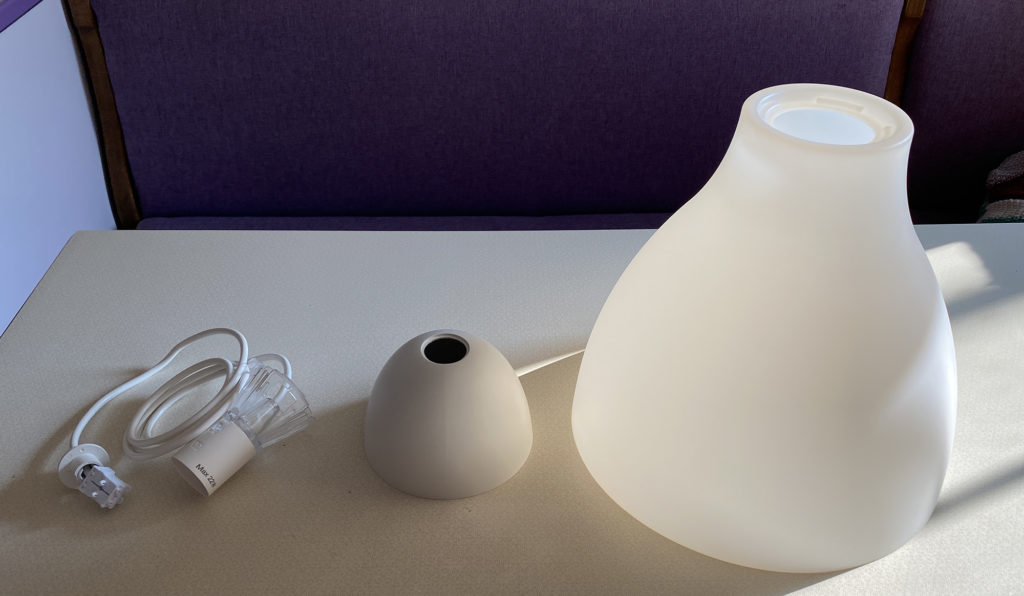
So I bought the cheapest IKEA lamp — the IKEA Melodi — and it was discounted too. I had it for 8€. But then you really buy the most boring lamp you can imagine.
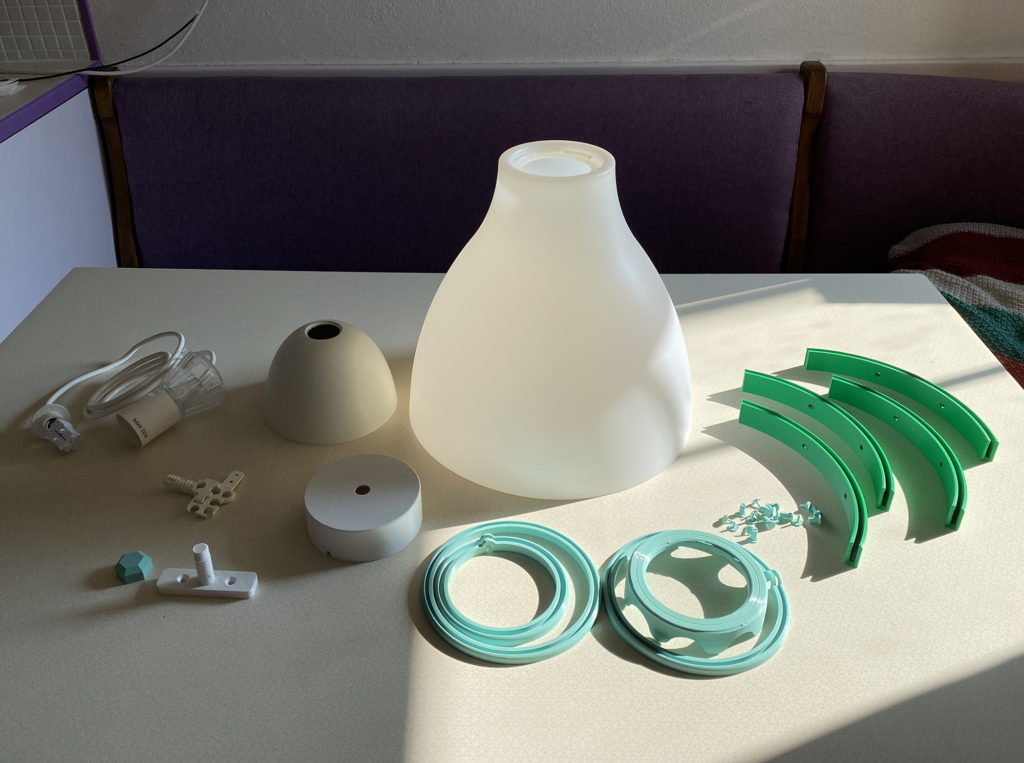
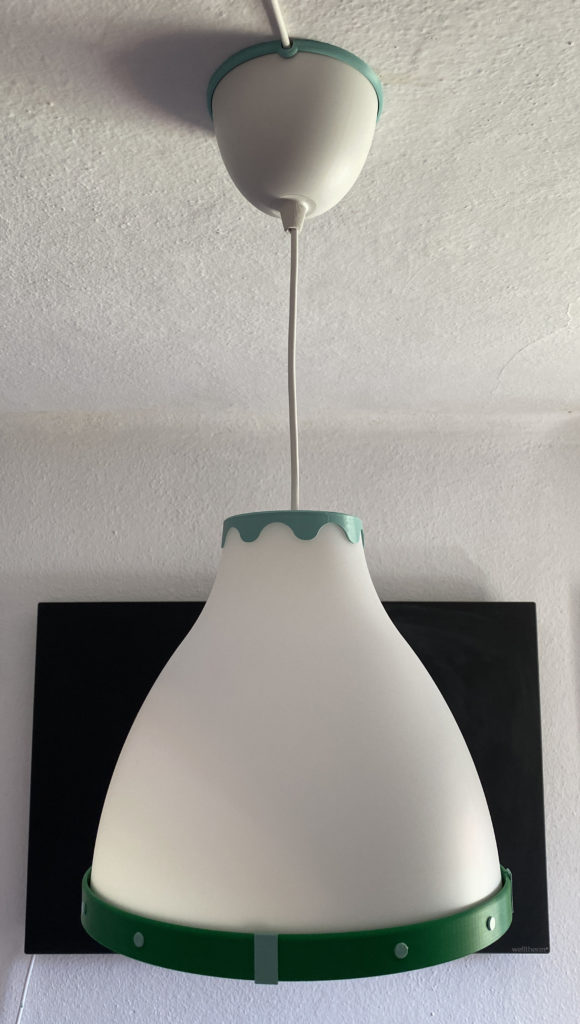
Let’s hack the lamp and make it a bit less boring! This requires some imagination, 3D design software, and a 3D printer. I designed a few rings for the lamp itself and for the ceiling fixtures. A few small bits and pieces later I came to my definite design.
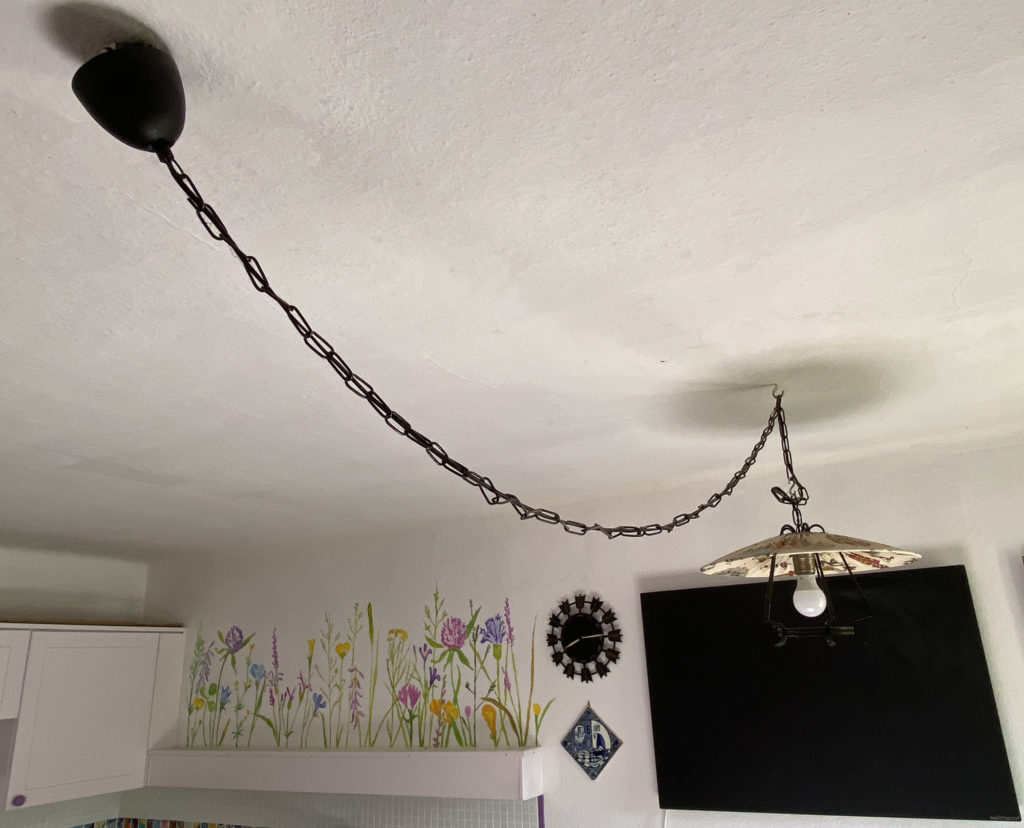
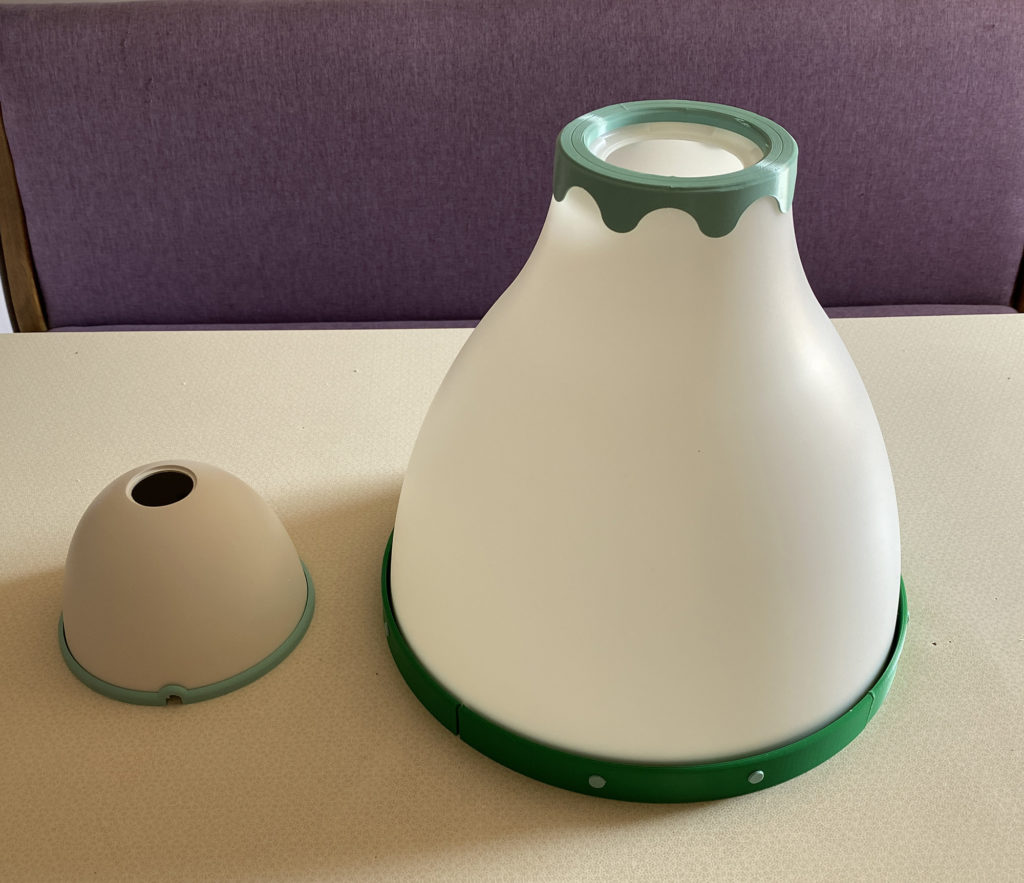
Needed to drill 8 holes (6mm diameter) in the lampshade, put all the pieces together and ready we are.

Are you interested in printing this ‘hack’ yourself? Click here to download the zip file. This file contains all the STL files you need, as well for the Melodi and the extra ceiling fixture. You might need this depending on your situation.
The design I made wasn’t possible to print the big ring in one piece due to limitations of my 3D printer, so I created 4 quarters.
| ring-clip.stl | 4 pieces |
| quarter-ring.stl | 4 pieces |
| pin-inside.stl | 8 pieces |
| pin-outside.stl | 8 pieces |
| melodi-upper-ring.stl | 1 piece |
| ceiling-ring.stl | 1 piece, or |
| cable-through-ceiling-ring.stl | 1 piece |
Be careful with the pins, they are very delicate, but all should be fine. Print a few extra in case they break. First put the outer pins in the ring and then seal it by pushing the inner pin from the inside of the ring. As finishing touch put the 4 clips on the joints of the 4 quarters.
| M12-wire-cover.stl | 1 piece |
| wire-cover-ceiling-mount.stl | 1 piece |
| wire-cover-ring.stl | 1 piece |
| wire-cover.stl | 1 piece |
Convert the .stl files to Gcodes with your favourite Slicer and your desired filament settings.
Have fun creating this hack in the color of your choice. Until next time,
ロナルド

2020, the year I was almost completely unemployed! But something magic happened. I discovered Matt Denton’s YouTube Channel. What the bleep was this guy doing? He was printing #megaLego. The most interesting item he designed was a Lego Inspired 3D printed clock. How amazing is this! I have a 3D printer, I had it already since 2018, but not really found a good purpose for it. I designed and printed stuff for in and around my house, but that was it.