
IKEA Melodi 28cm lamp HACK
IKEA hacks. Some of you have heard of them. Hack sounds bad, but this isn’t bad at all. We’re not hacking into a computer or server. We are improving their design according to our own wishes. Look it up online; ‘IKEA Hack’. You will find a lot of interesting things, made by creative minds. This is the Ikea Melodi 28cm lamp Hack, improving a boring hanging lamp.
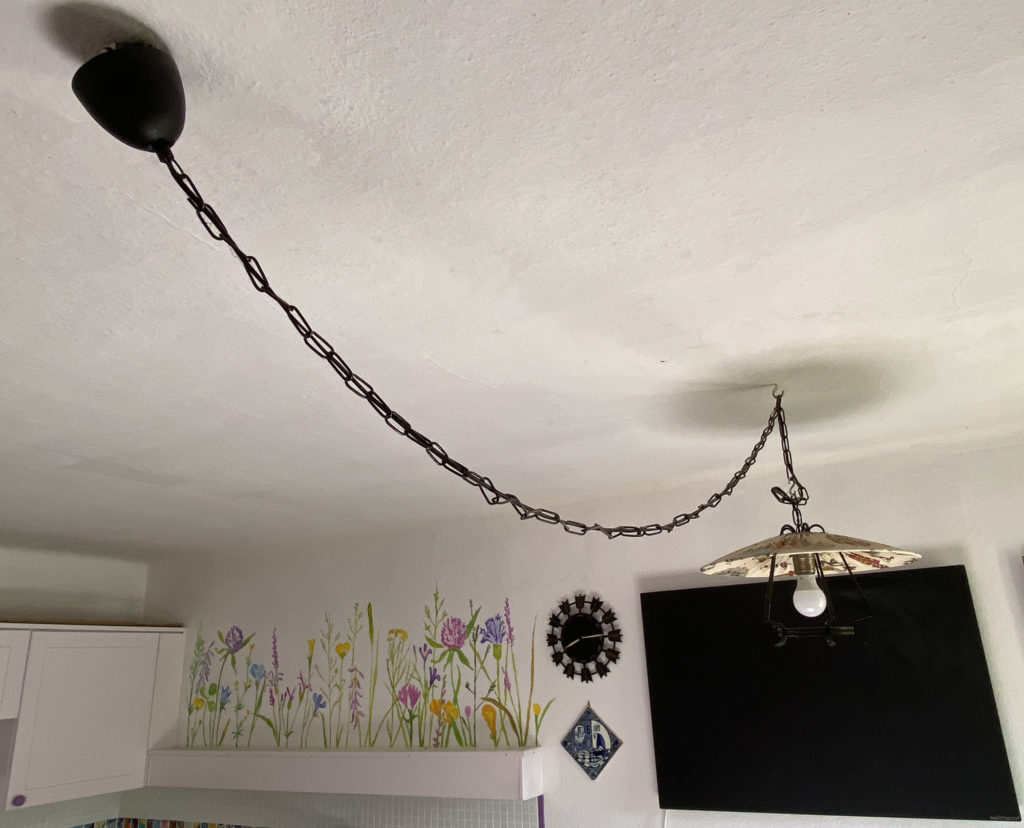
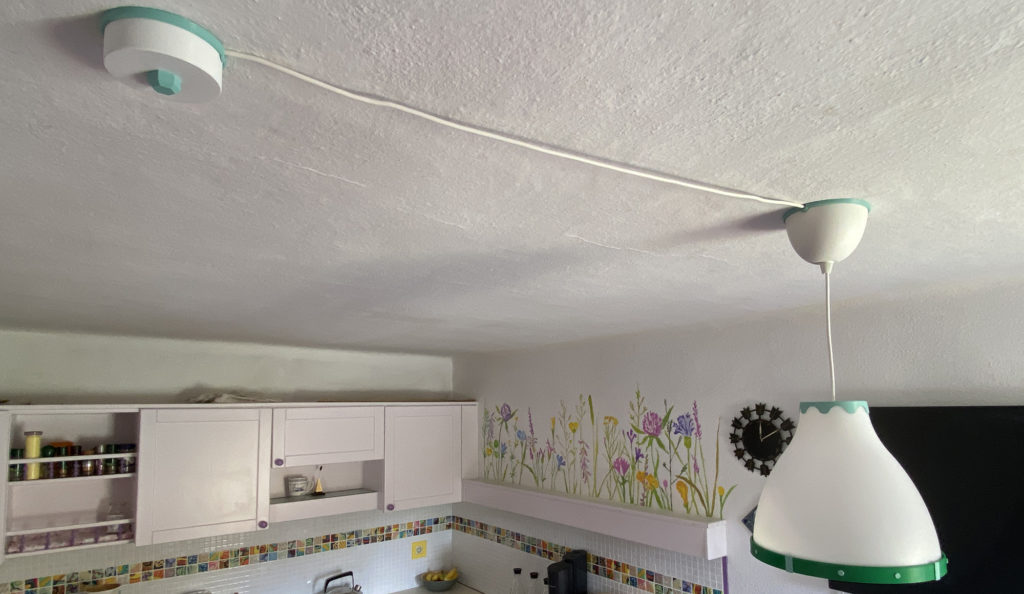
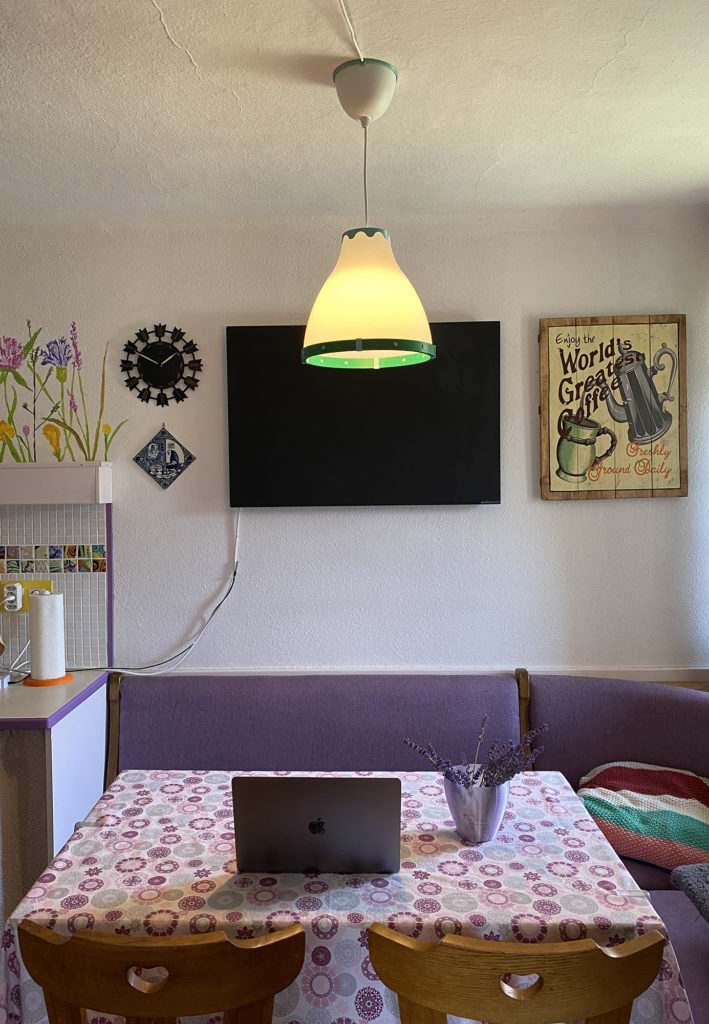
I am renovating my kitchen and I needed a new ceiling lamp. The old one was probably hanging in my kitchen for 45+ years. I couldn’t really find what I wanted, or it was too expensive.
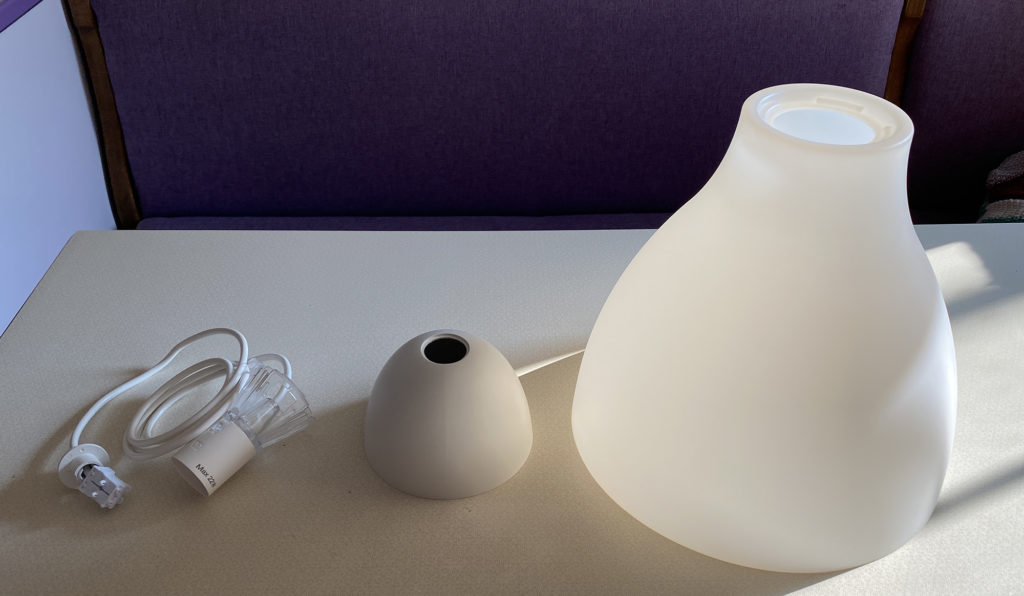
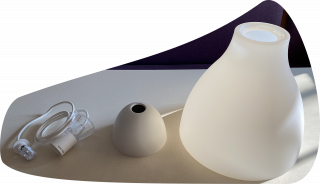
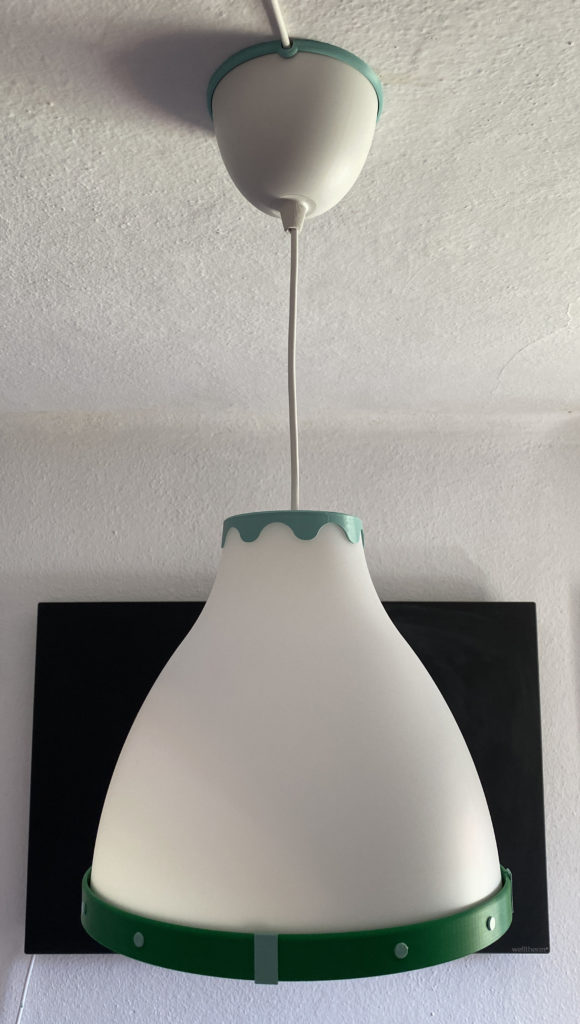
So I bought the cheapest IKEA lamp — the IKEA Melodi — and it was discounted too. I had it for 8€. But then you really buy the most boring lamp you can imagine.
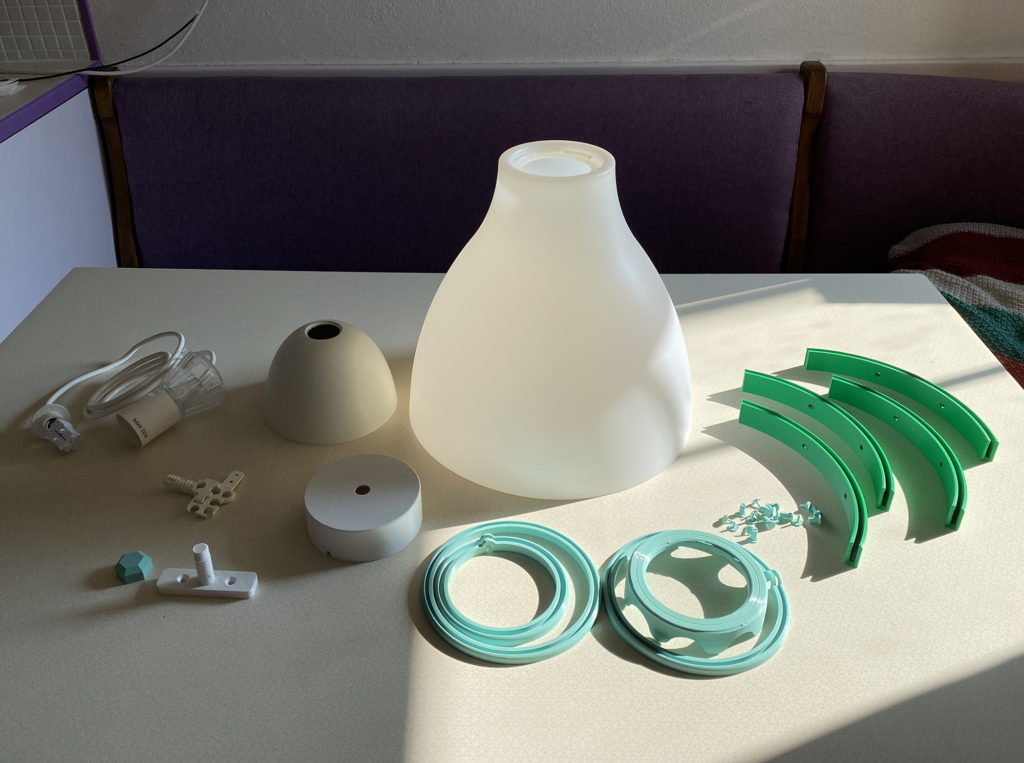
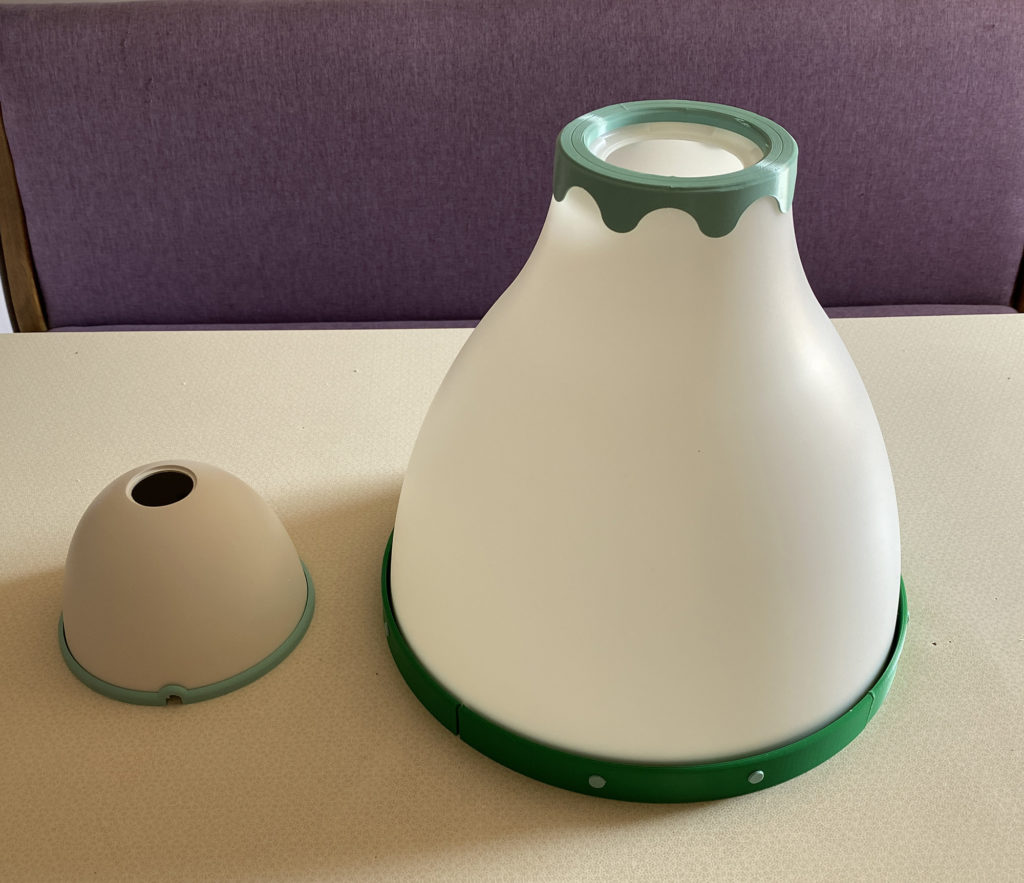
Let’s hack the lamp and make it a bit less boring! This requires some imagination, 3D design software, and a 3D printer. I designed a few rings for the lamp itself and for the ceiling fixtures. A few small bits and pieces later I came to my definite design.
Needed to drill 8 holes (6mm diameter) in the lampshade, put all the pieces together and ready we are.

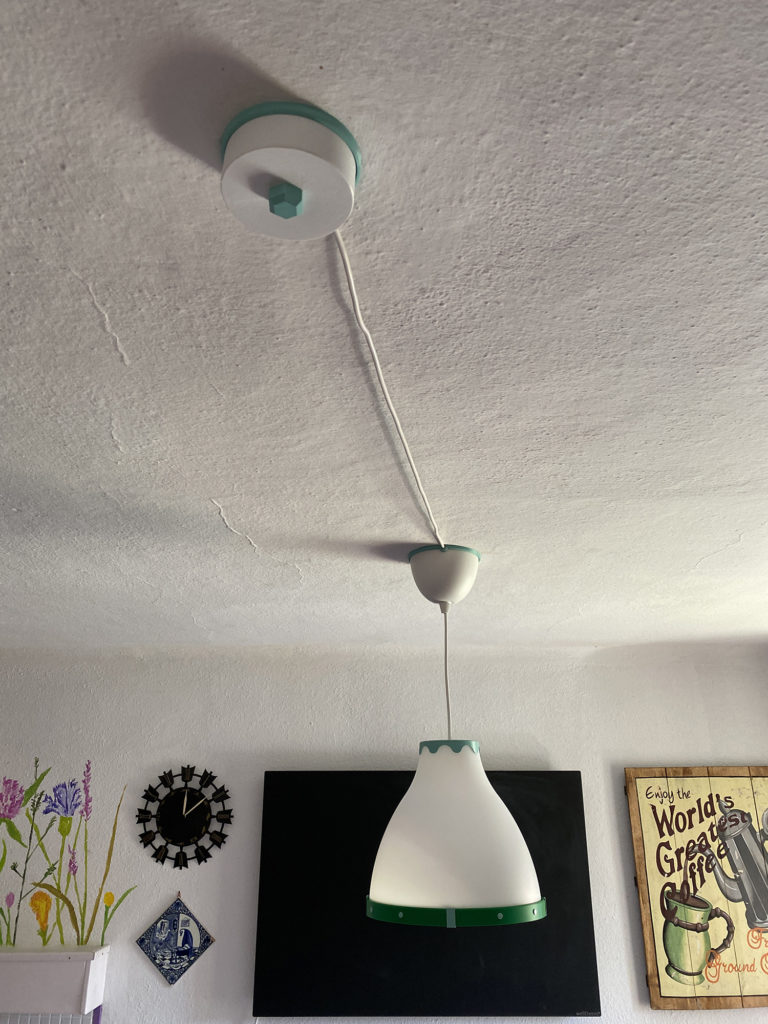
Are you interested in printing this ‘hack’ yourself? Click here to download the zip file. This file contains all the STL files you need, as well for the Melodi and the extra ceiling fixture. You might need this depending on your situation.
The design I made wasn’t possible to print the big ring in one piece due to limitations of my 3D printer, so I created 4 quarters.
The parts you need to print:
| ring-clip.stl | 4 pieces |
| quarter-ring.stl | 4 pieces |
| pin-inside.stl | 8 pieces |
| pin-outside.stl | 8 pieces |
| melodi-upper-ring.stl | 1 piece |
| ceiling-ring.stl | 1 piece, or |
| cable-through-ceiling-ring.stl | 1 piece |
Be careful with the pins, they are very delicate, but all should be fine. Print a few extra in case they break. First put the outer pins in the ring and then seal it by pushing the inner pin from the inside of the ring. As finishing touch put the 4 clips on the joints of the 4 quarters.
The optional parts for the extra ceiling fixture:
| M12-wire-cover.stl | 1 piece |
| wire-cover-ceiling-mount.stl | 1 piece |
| wire-cover-ring.stl | 1 piece |
| wire-cover.stl | 1 piece |
Convert the .stl files to Gcodes with your favourite Slicer and your desired filament settings.
Have fun creating this hack in the color of your choice. Until next time,
ロナルド