
I Bought a Prusa I3 MK3S+ and a MMU2/S
What is a Prusa I3 MK3S+? 3D-print fans know this of course. For everyone else: This is the latest version of a very good 3D printer designed by Josef Prusa and his team in Czech Republic.
Decision made; let’s buy this printer
Already for a few years I follow the developments around this 3D printer. The most interesting thing about this printer is that it is capable of printing objects in multiple colours. And that’s why I bought one. They are quite expensive comparing to Chinese printers. I must say that I’m very happy with my Ender 3 (Chinese) printers. The first one is already printing 3 years now without any major issues.
Building the printer
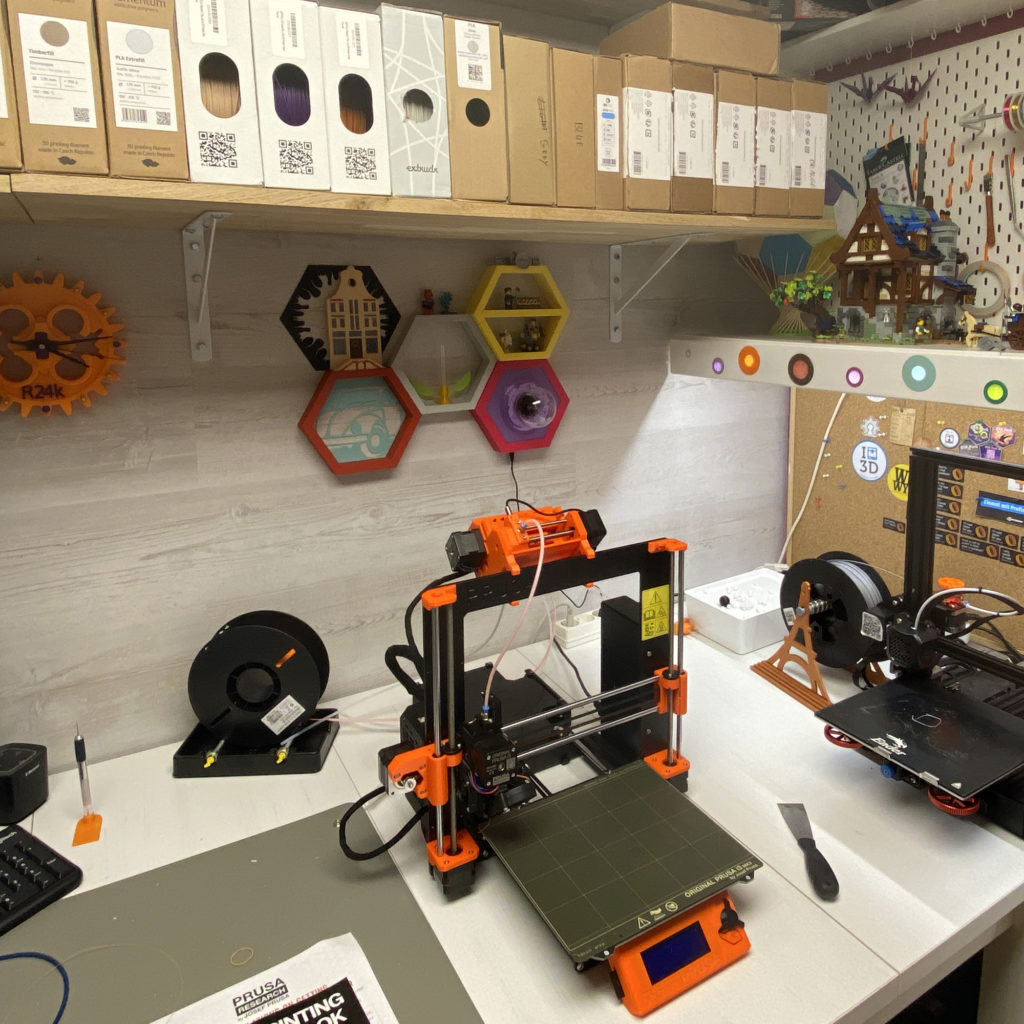
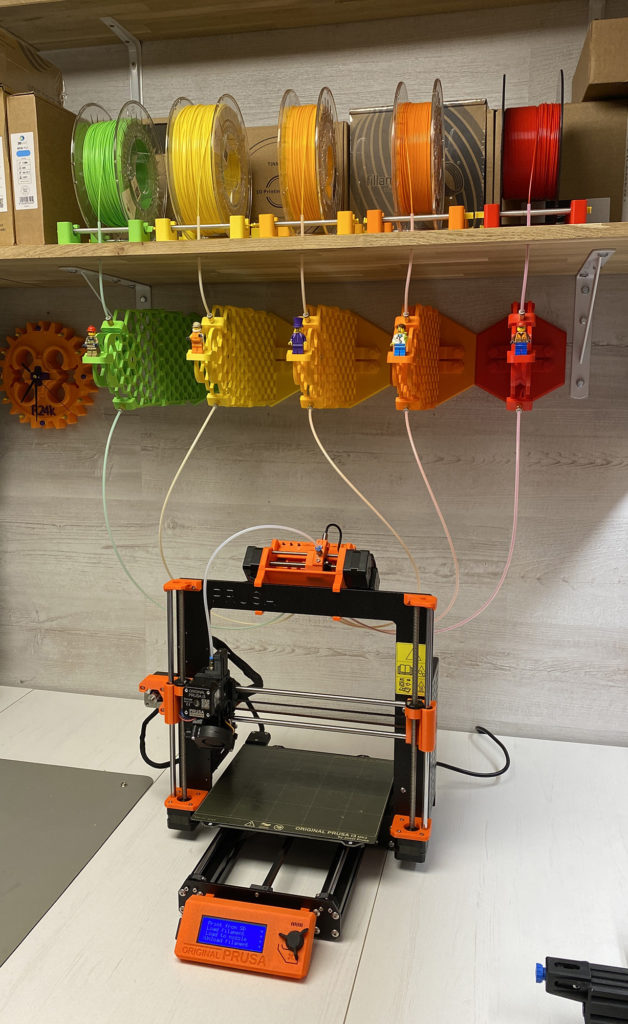
I bought the I3 as a self-build unit. It took me a while, but everything fits perfectly and the build went without any problem. I switched it on, the printer ran the self-test and all was ok. What a relief. So, the MMU2/S. Let’s talk about this option. MMU means Multi Material Upgrade. Look at the image below. The orange unit mounted on top of the printer makes it possible to use multiple filaments in one print.
The MMU2/S
Behind the Prusa printer is a black box. This box is a filament buffer. This buffer is needed when the printer changes filament. In this picture you see only one filament roll attached to the printer. We need five of those.
Although this works, it doesn’t fit in my setup and it is too ugly to put in my room! So I threw it away immediately. I started looking for designs, but couldn’t find any that I liked.
Over-engineering — I love it
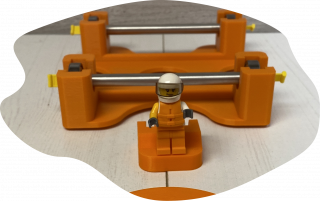
Time for some over-engineering and make it beautiful. Above the printer I have a nice shelve and this will be used for my design. Josef Prusa and I have one thing in common and that is that we like hexagons in our design. Here is prototype one:
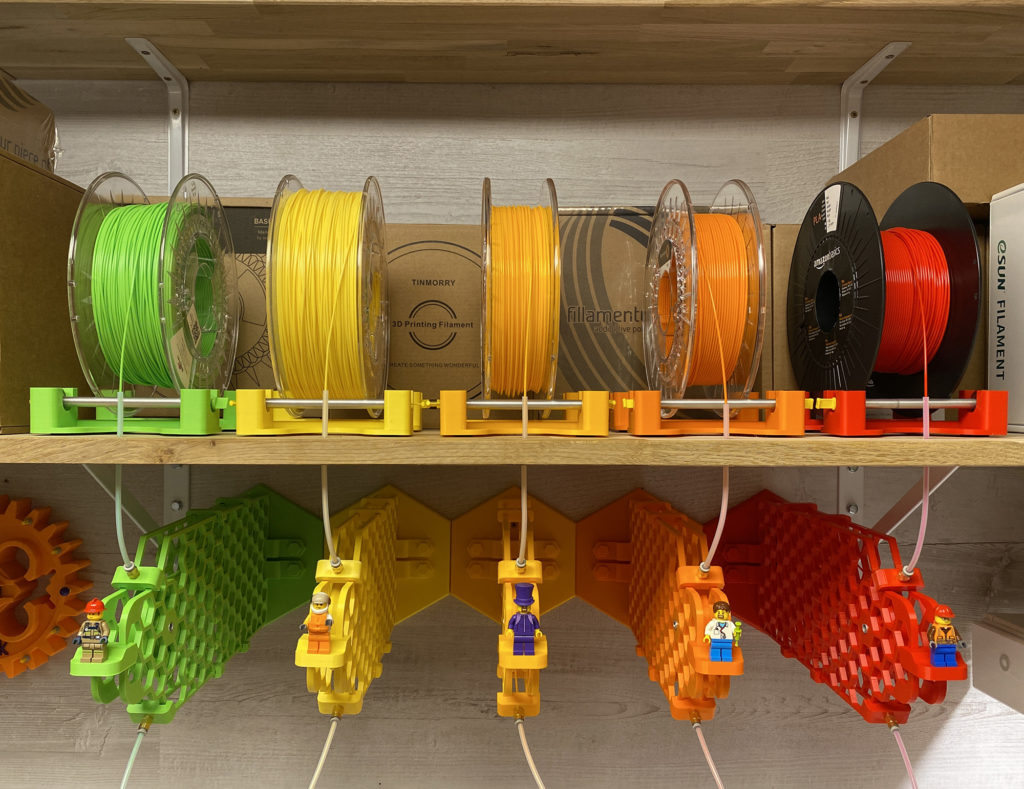
I love Lego, so this has to be in the design too. The first prototype was really not handy, because of the fact that the filament needed to be loaded into the buffer from the back. But as you can see, the buffer space is sufficient.
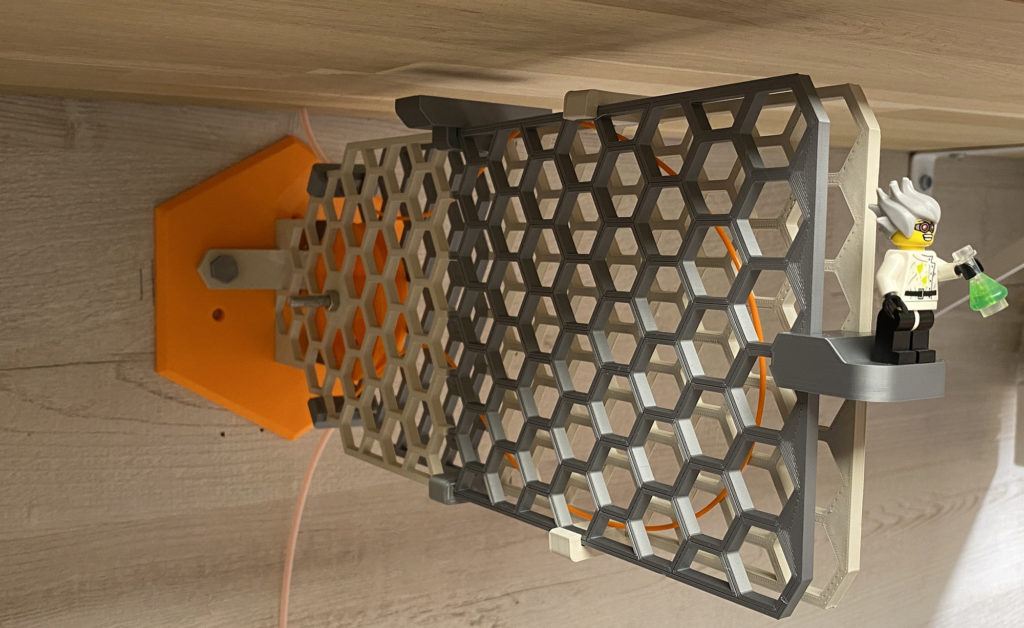
Prototype two coming up, I turned it 180 degrees and filament could be loaded from the front. Perfect.
Prototyping was successful
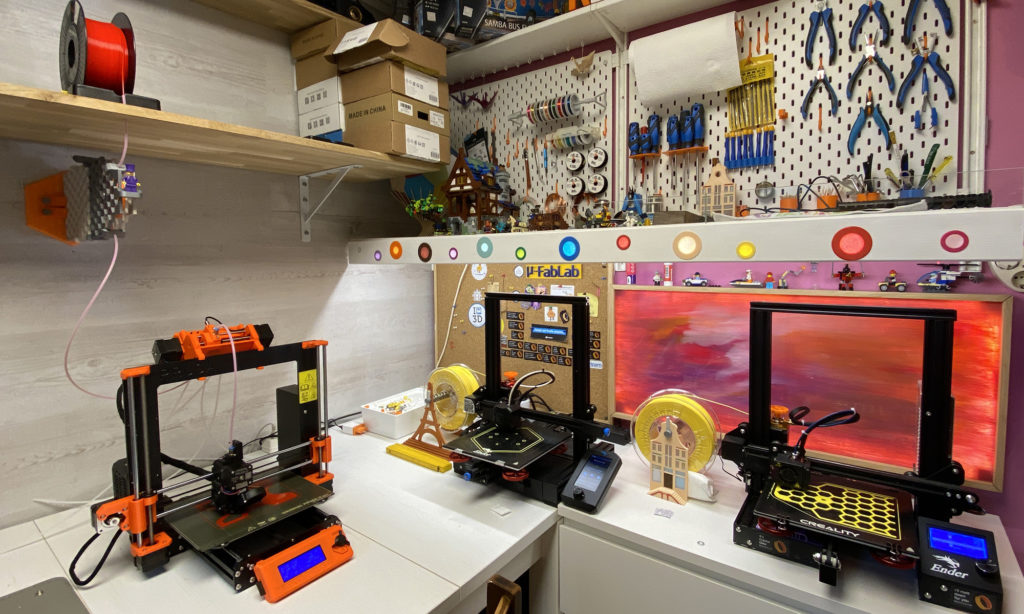
This works great. So, I need five of these units. You see the other printers already printing the parts. I also designed a new spool holder, the ones provided also ended up in the trashcan. Sorry Josef, these are too boring.
It looks great and it’s not a simple design, real hardcore over-engineering! Here all all the parts for one unit:
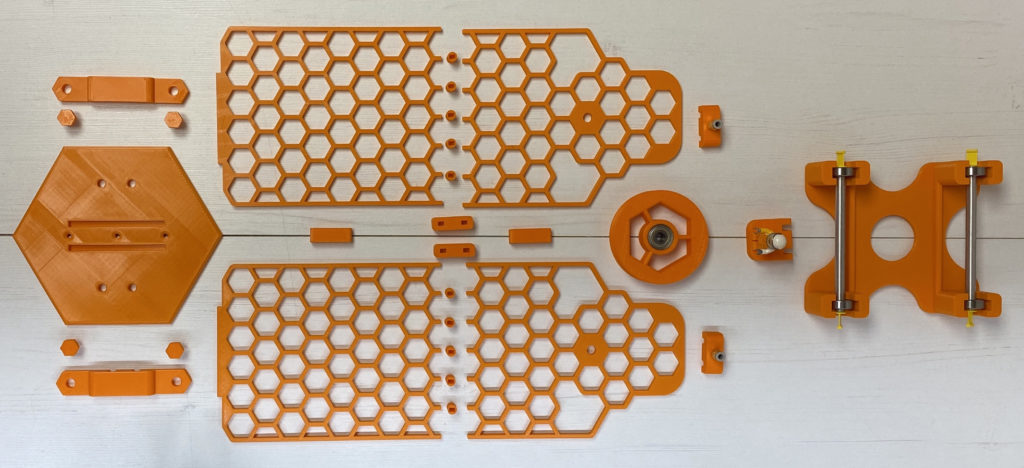
To print all the parts took me about 150 hours. So with one printer that would be one week non-stop printing. With three printers available I was able to print all parts in three days and today I assembled the whole setup.
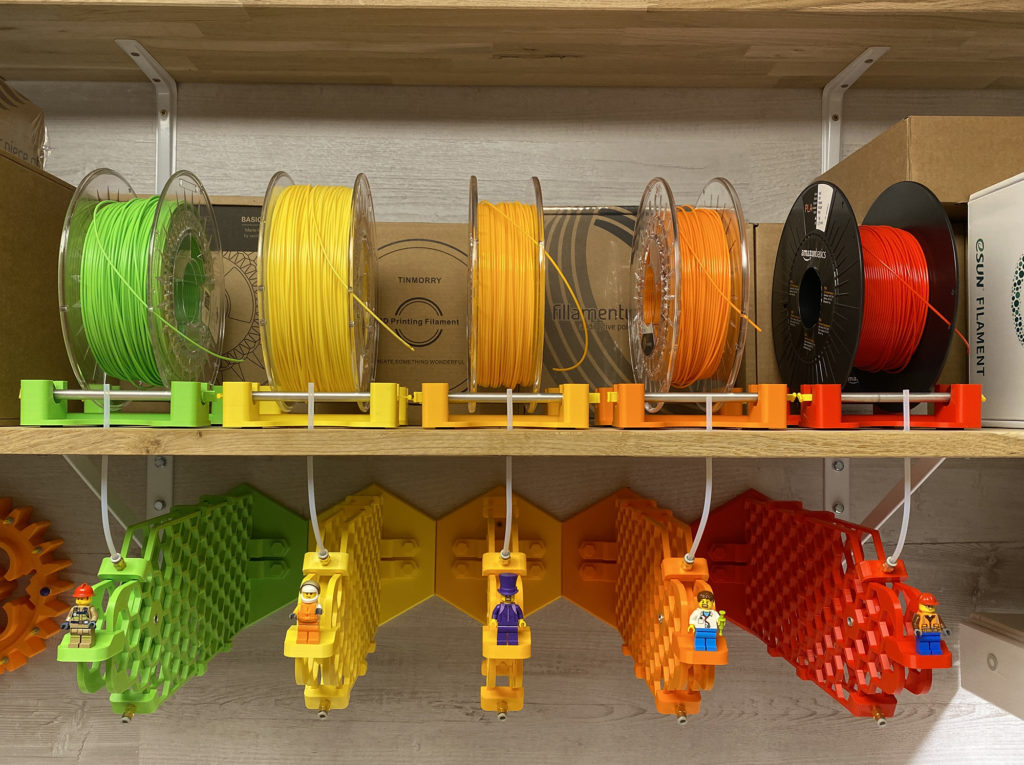
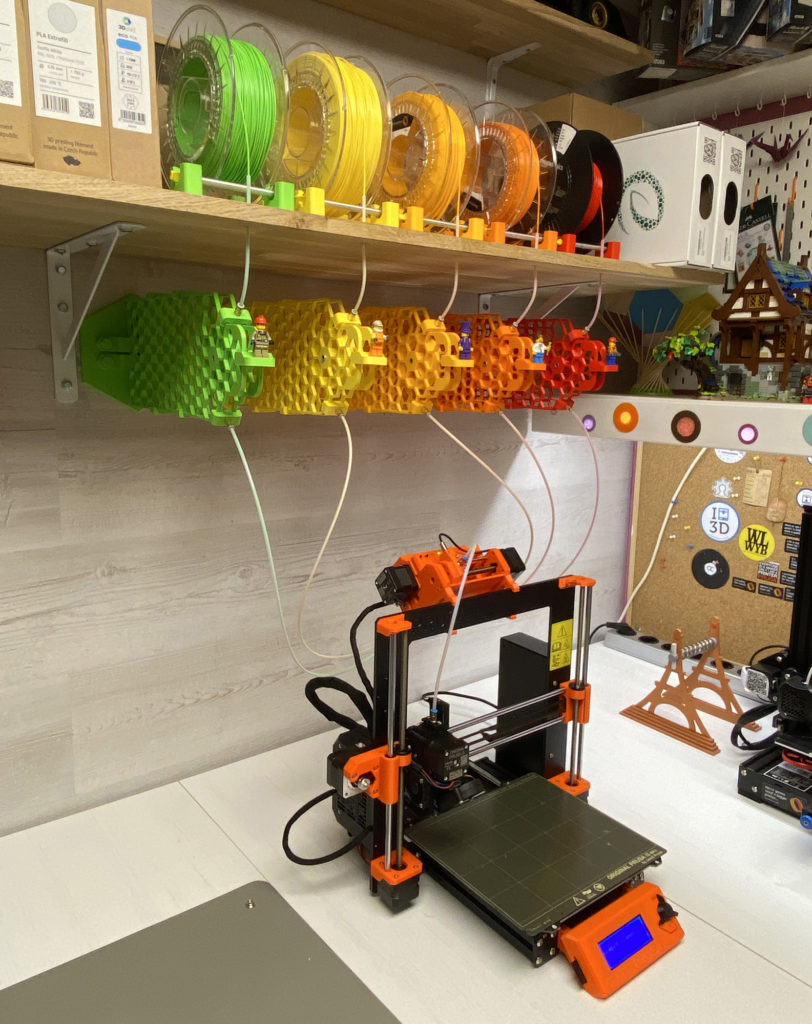
The end result is amazing
I think it looks amazing and it is not too much hassle — yes it is a bit of a hassle — to load and unload filament through the buffers into the printer. Next step is to learn how to use the software to be able to print in multiple colours. That will be for next time 🙂
I don’t think anyone wants to build this, but the STL files are available on request. Just send me a message.
またね (Until next time),
ロナルド
Comments (7)
Comments are closed.
Nice nice!
Awesome rig mate!
Hi I would love to try these out if you want to share the STLs. Thank you!
id love to make this if you can share stl’s thanks
Hello Gene, sorry I forgot about it, I’ll send it today.
I would like the stl’s.
Hello Mike,
I’ve just sent the STLs.
Greetings, Ronald