

Renovation Part XV: Preparing Electricity
Most of this week I’ve spent on preparing the wiring for the electricity.
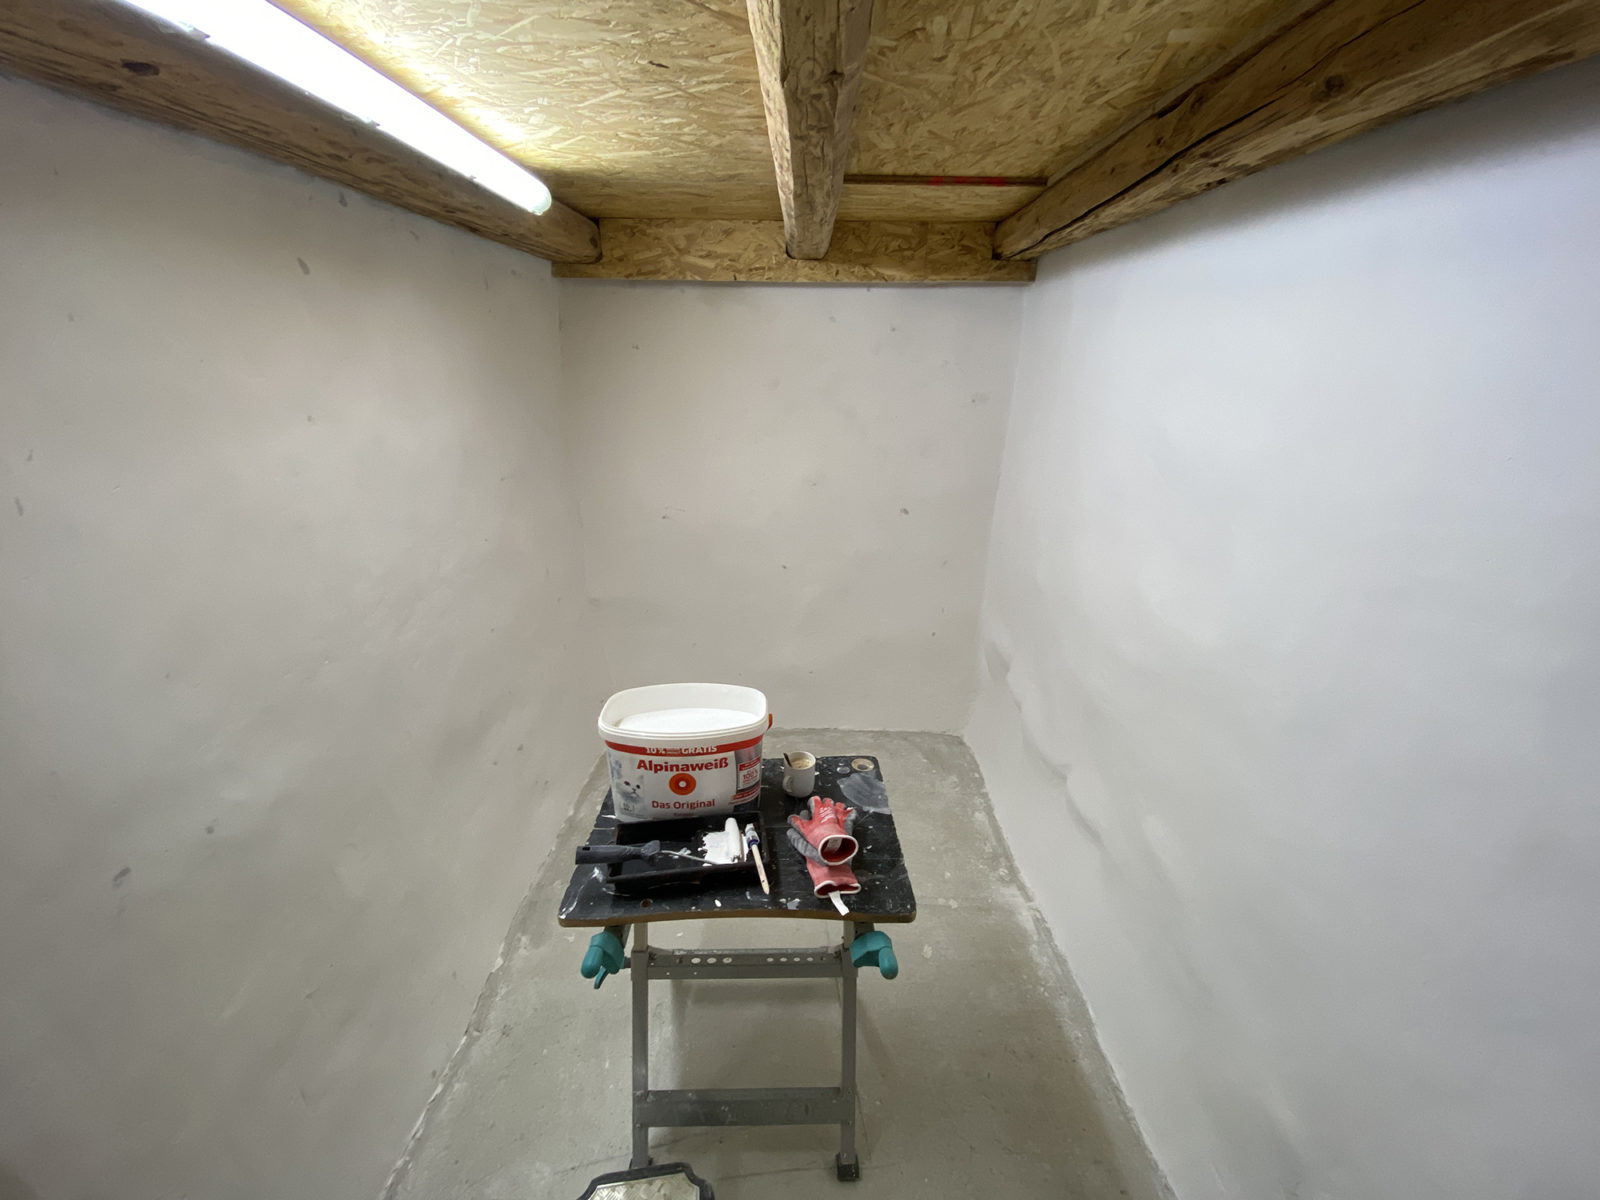
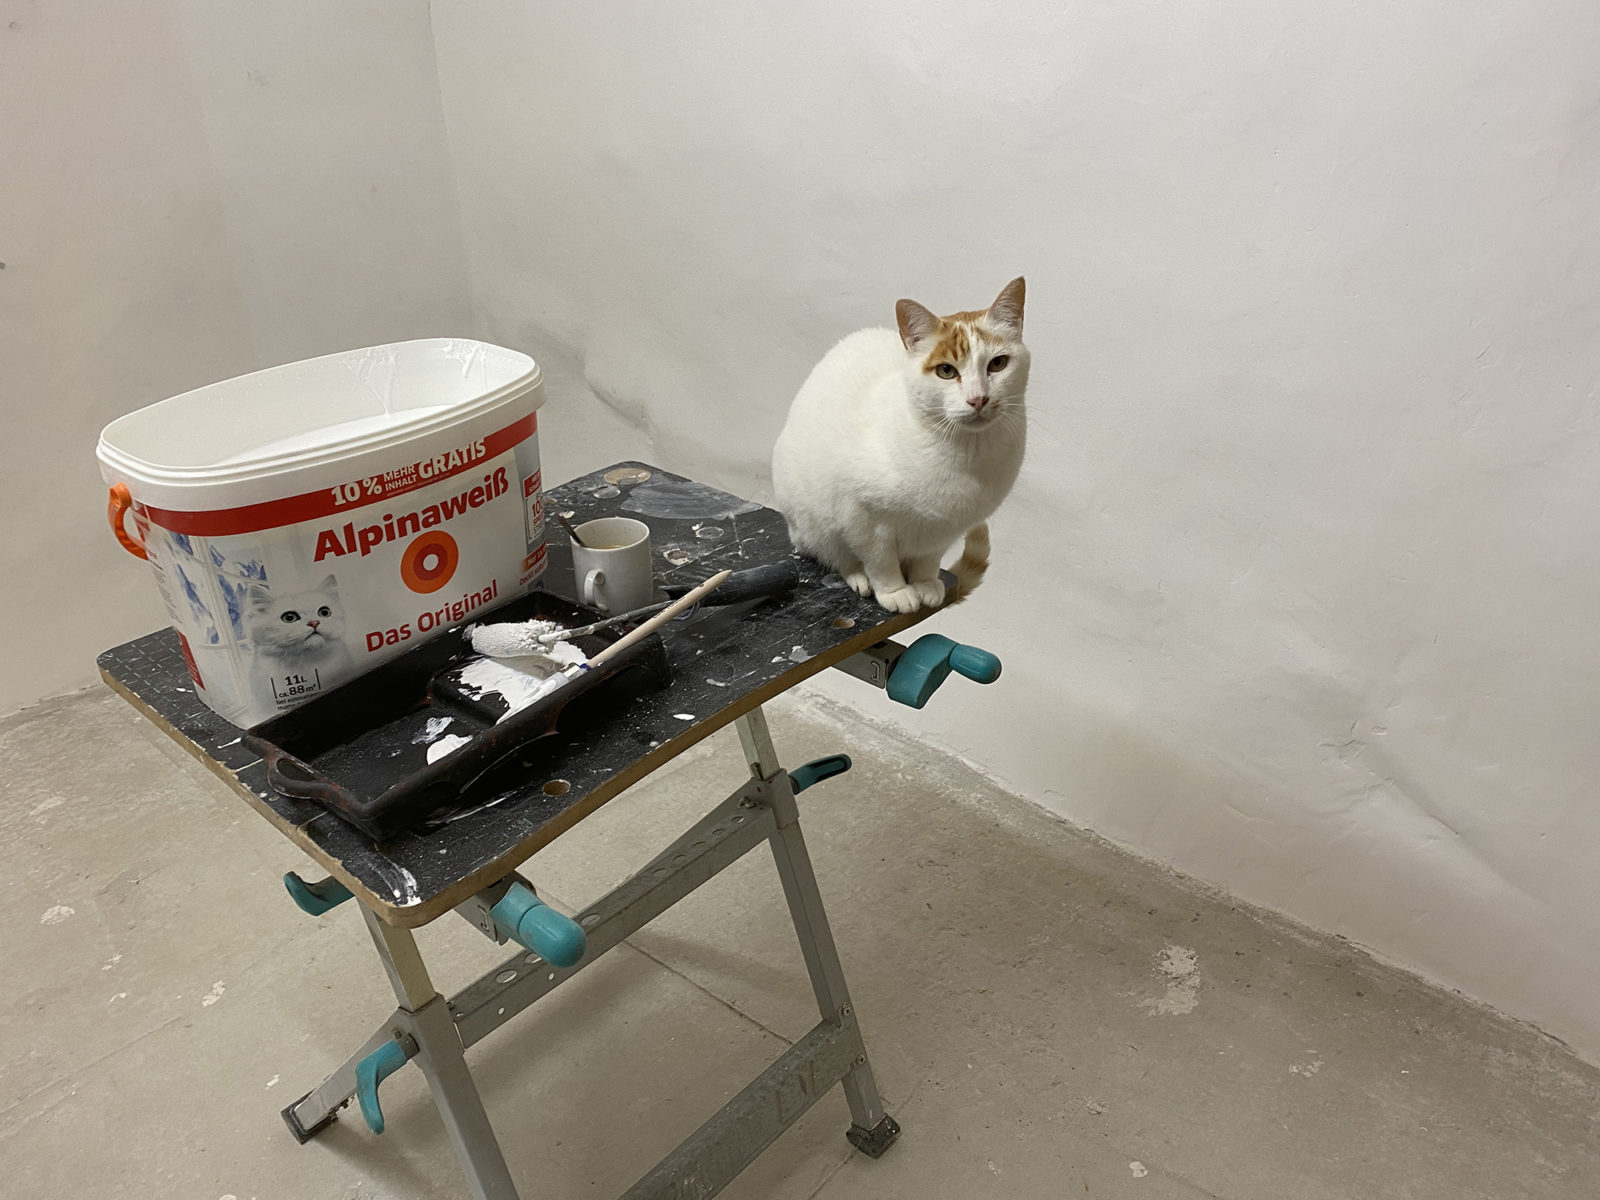
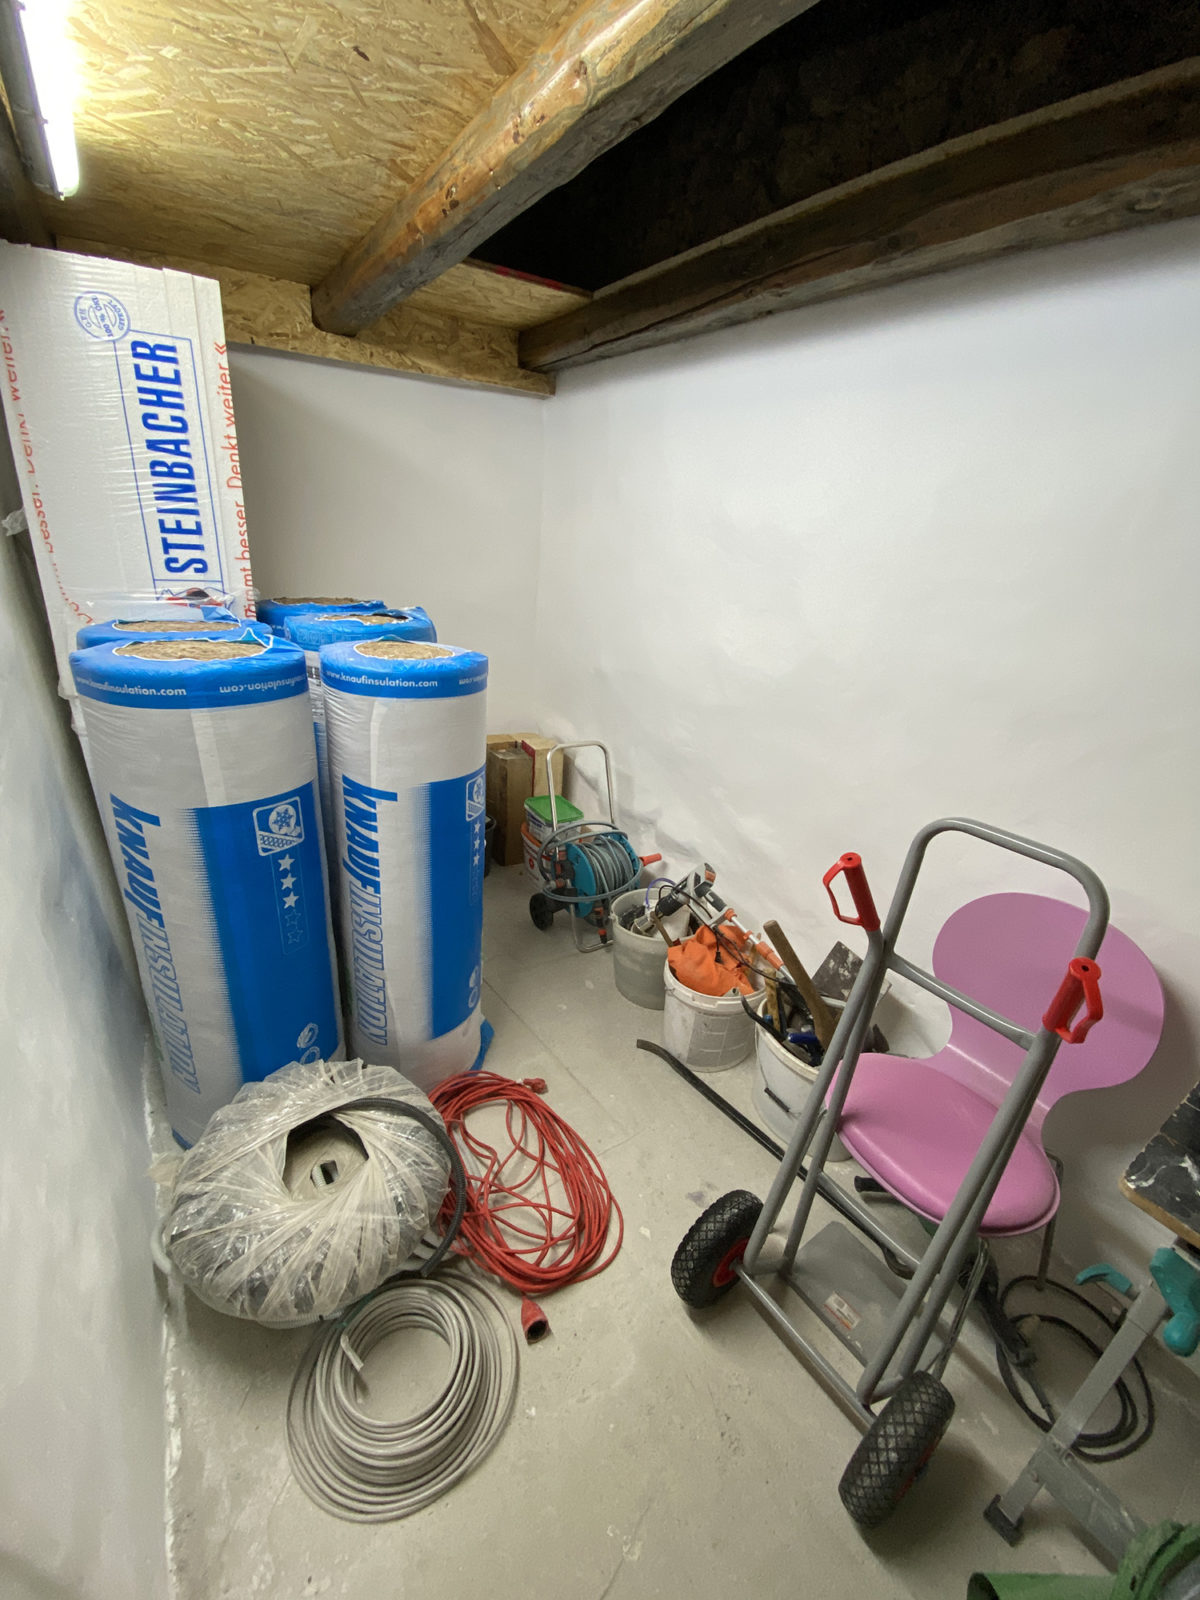
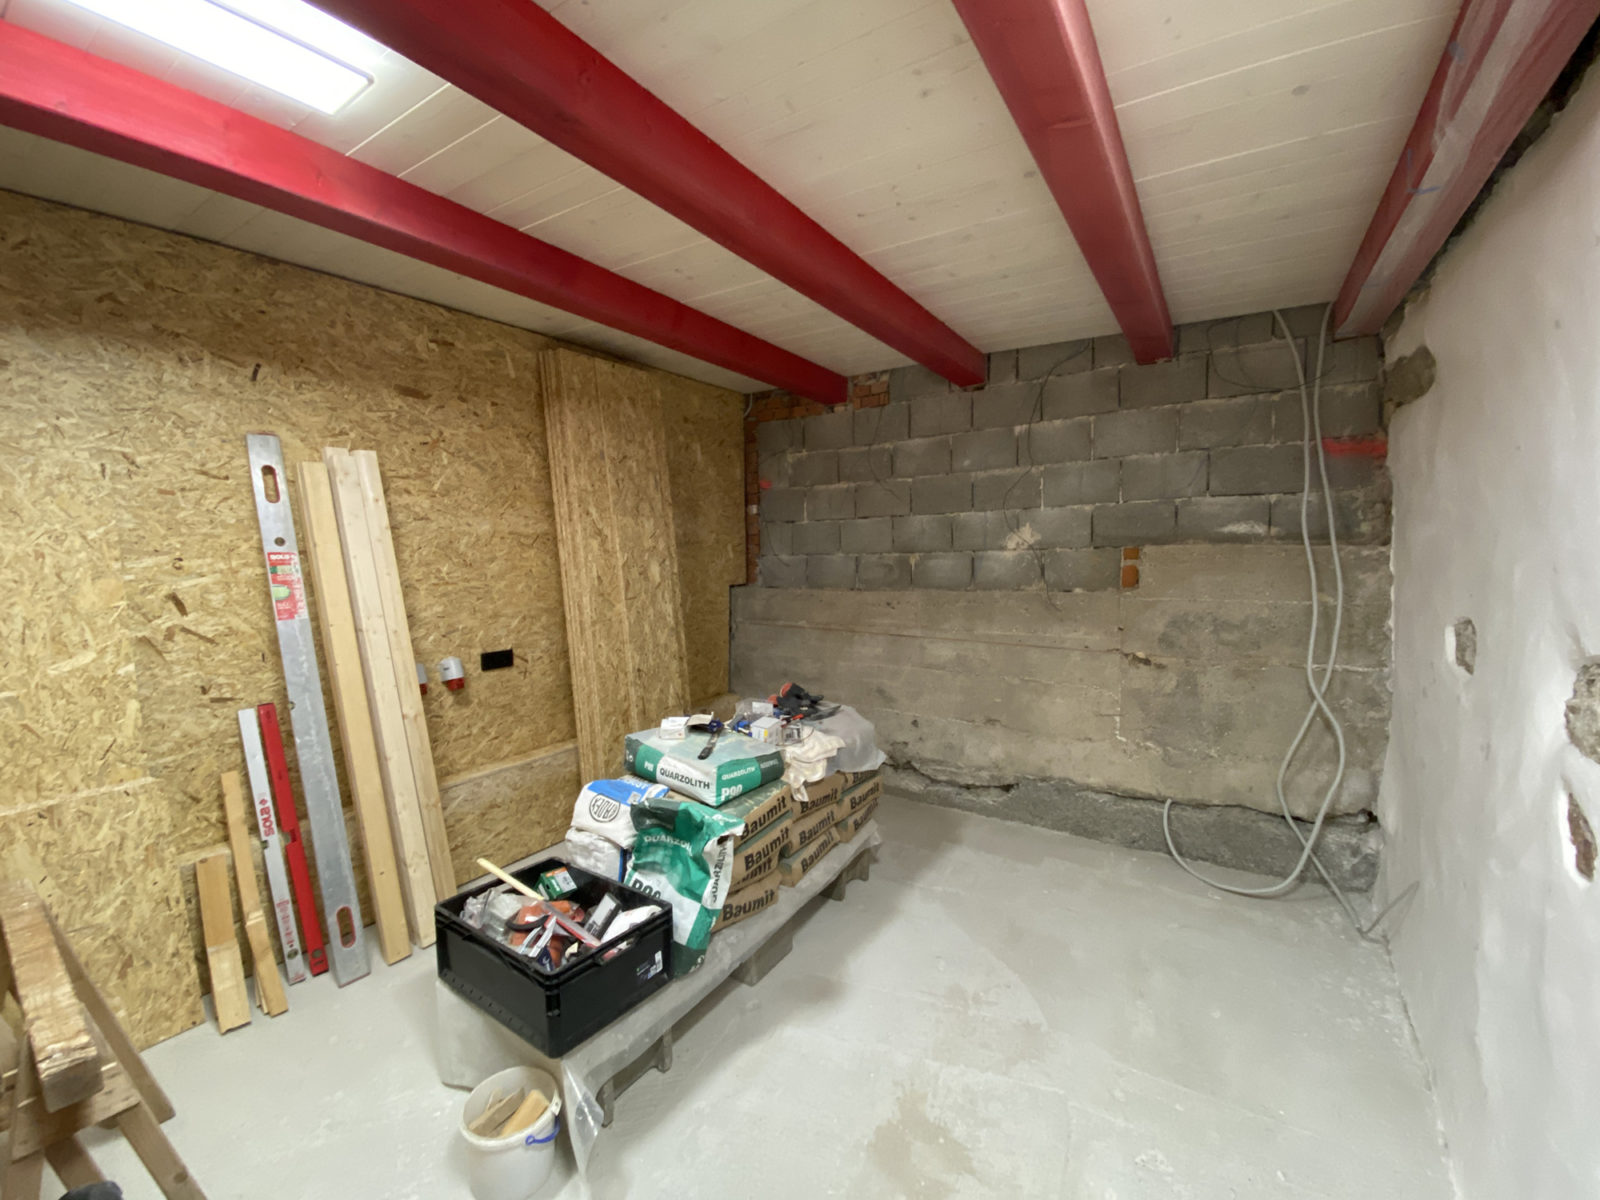
But first I’ve painted the storage room. And as usual Aiko comes to inspect my work 🙂
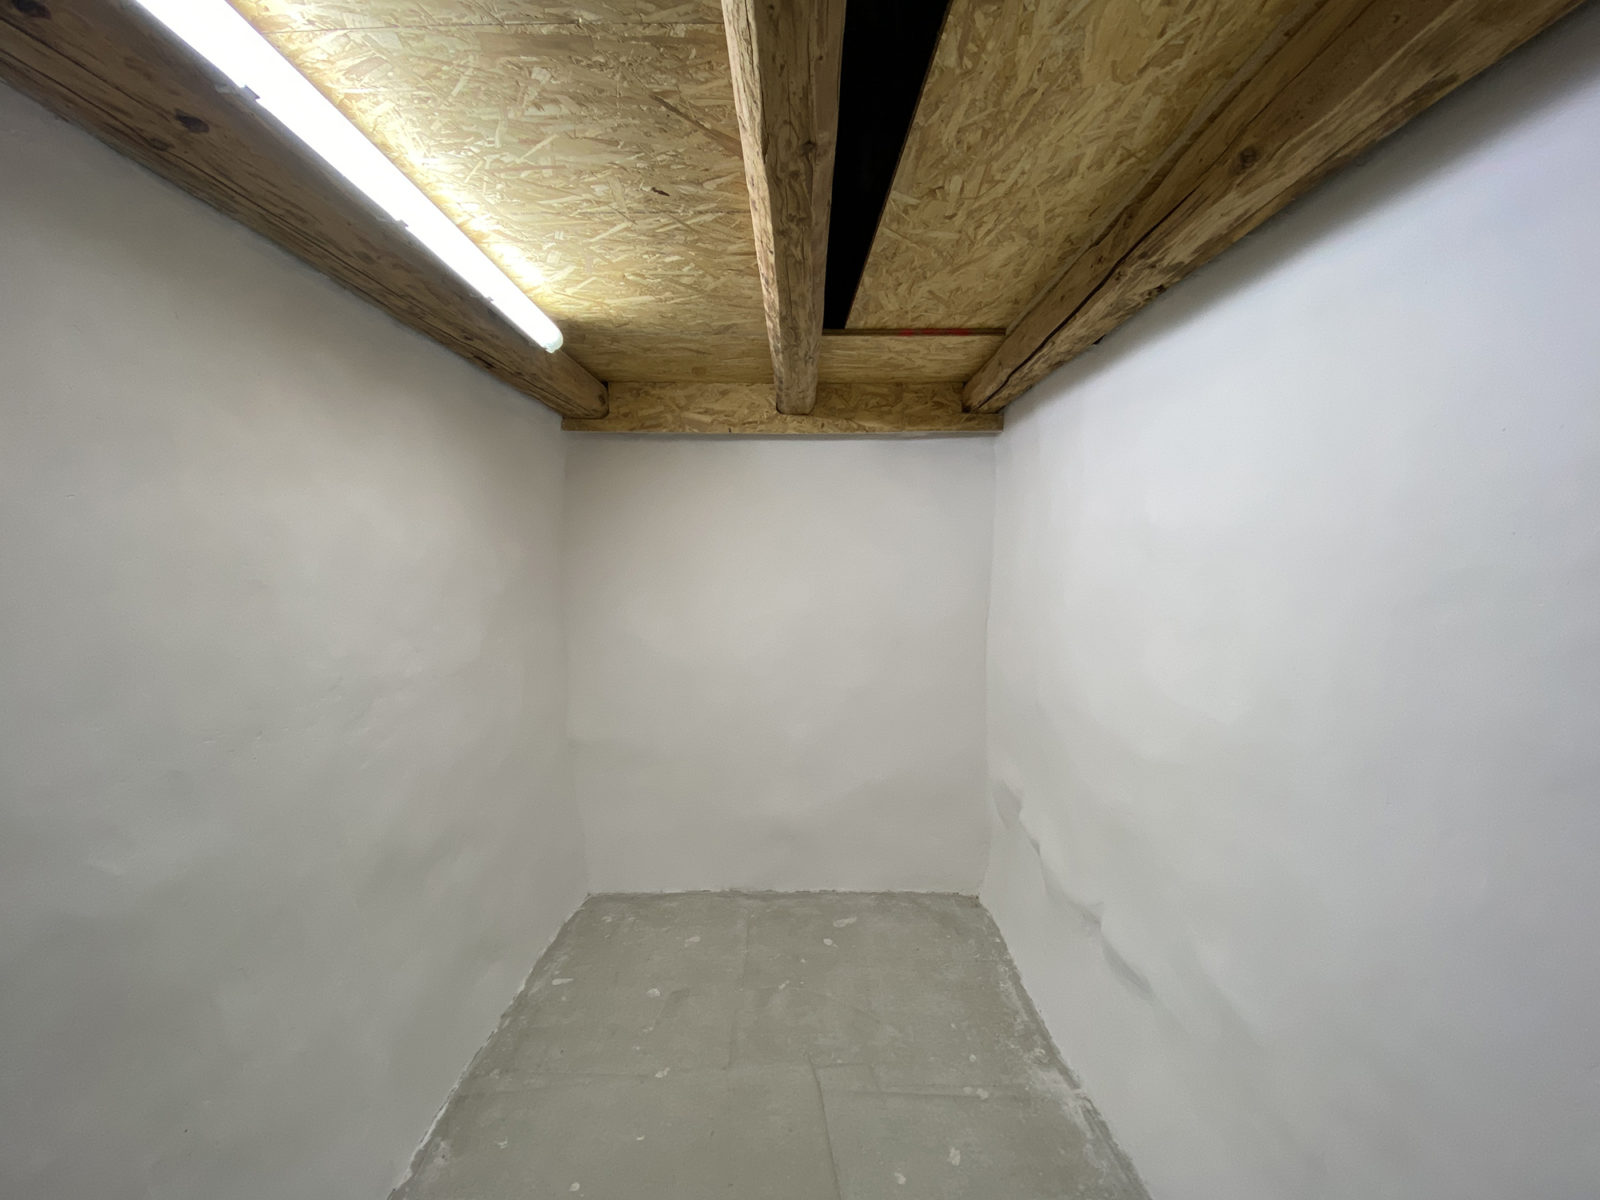
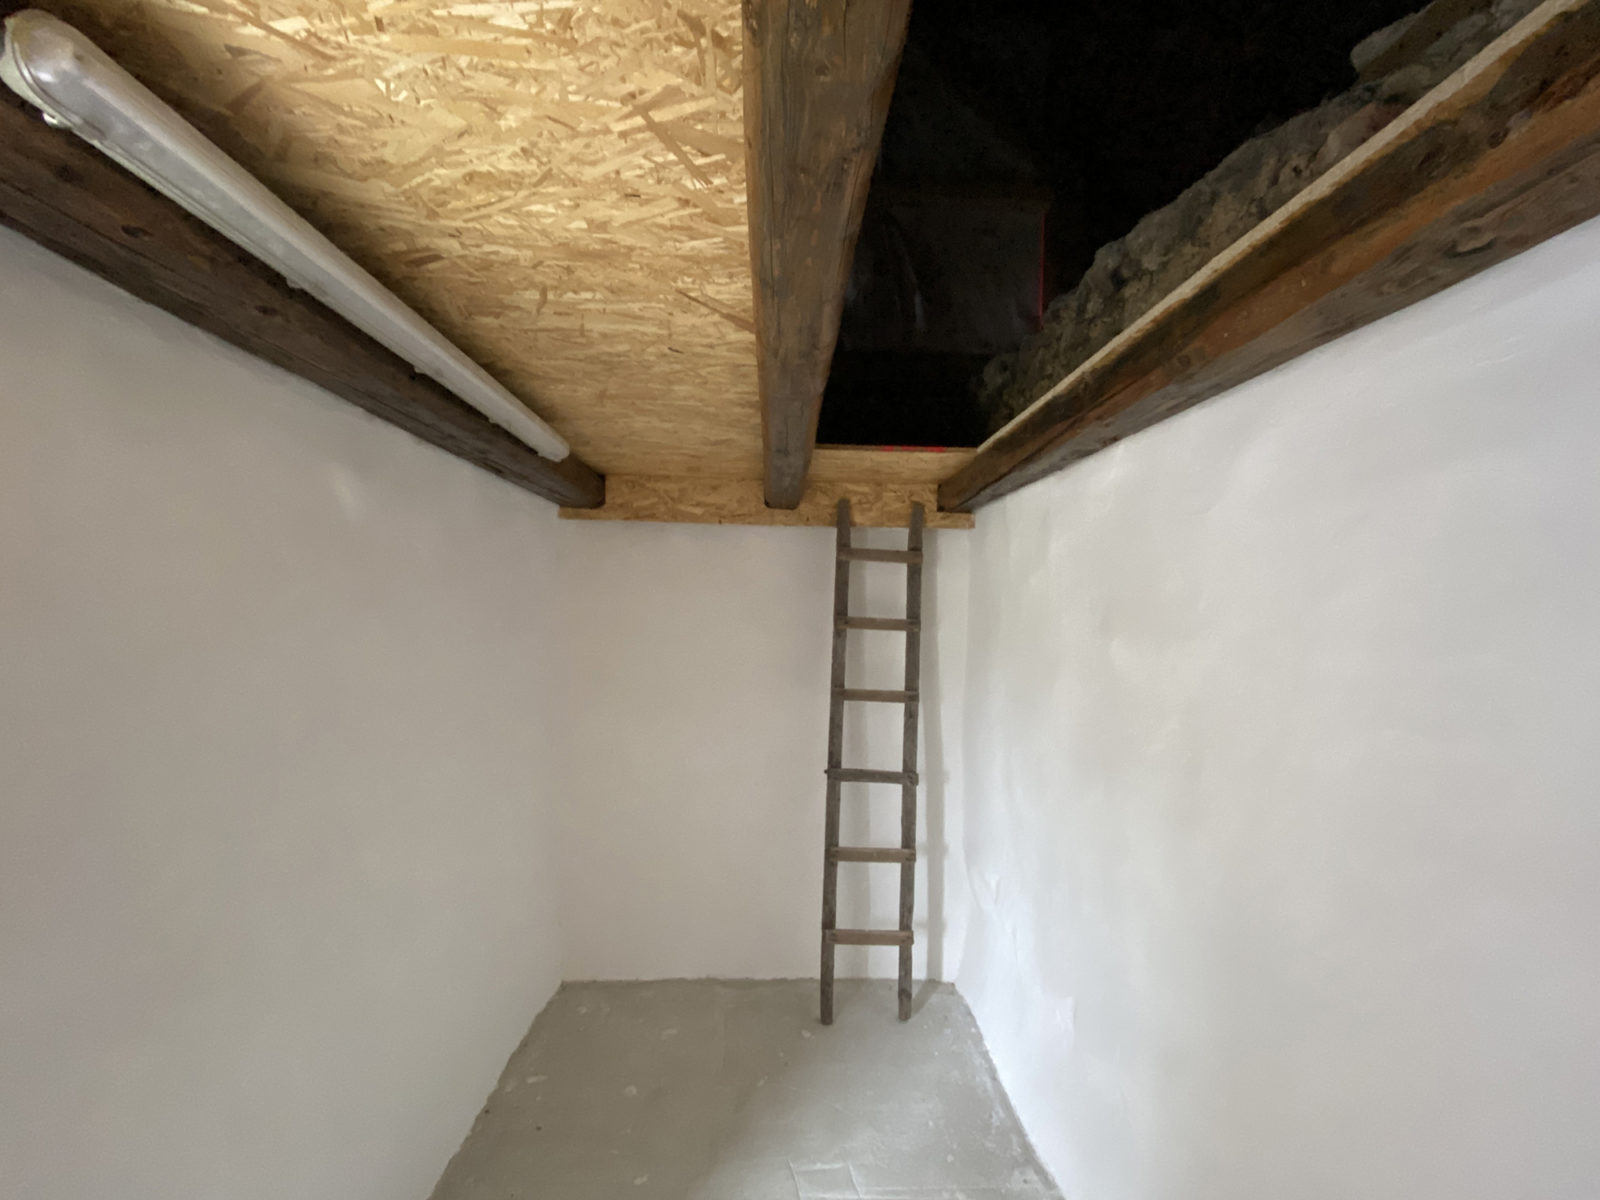
Then I stained the beams and put 2 layers of clear-coat on them. This room is finished for now. All the finishings I’ll make when my table saw and other tools are installed.
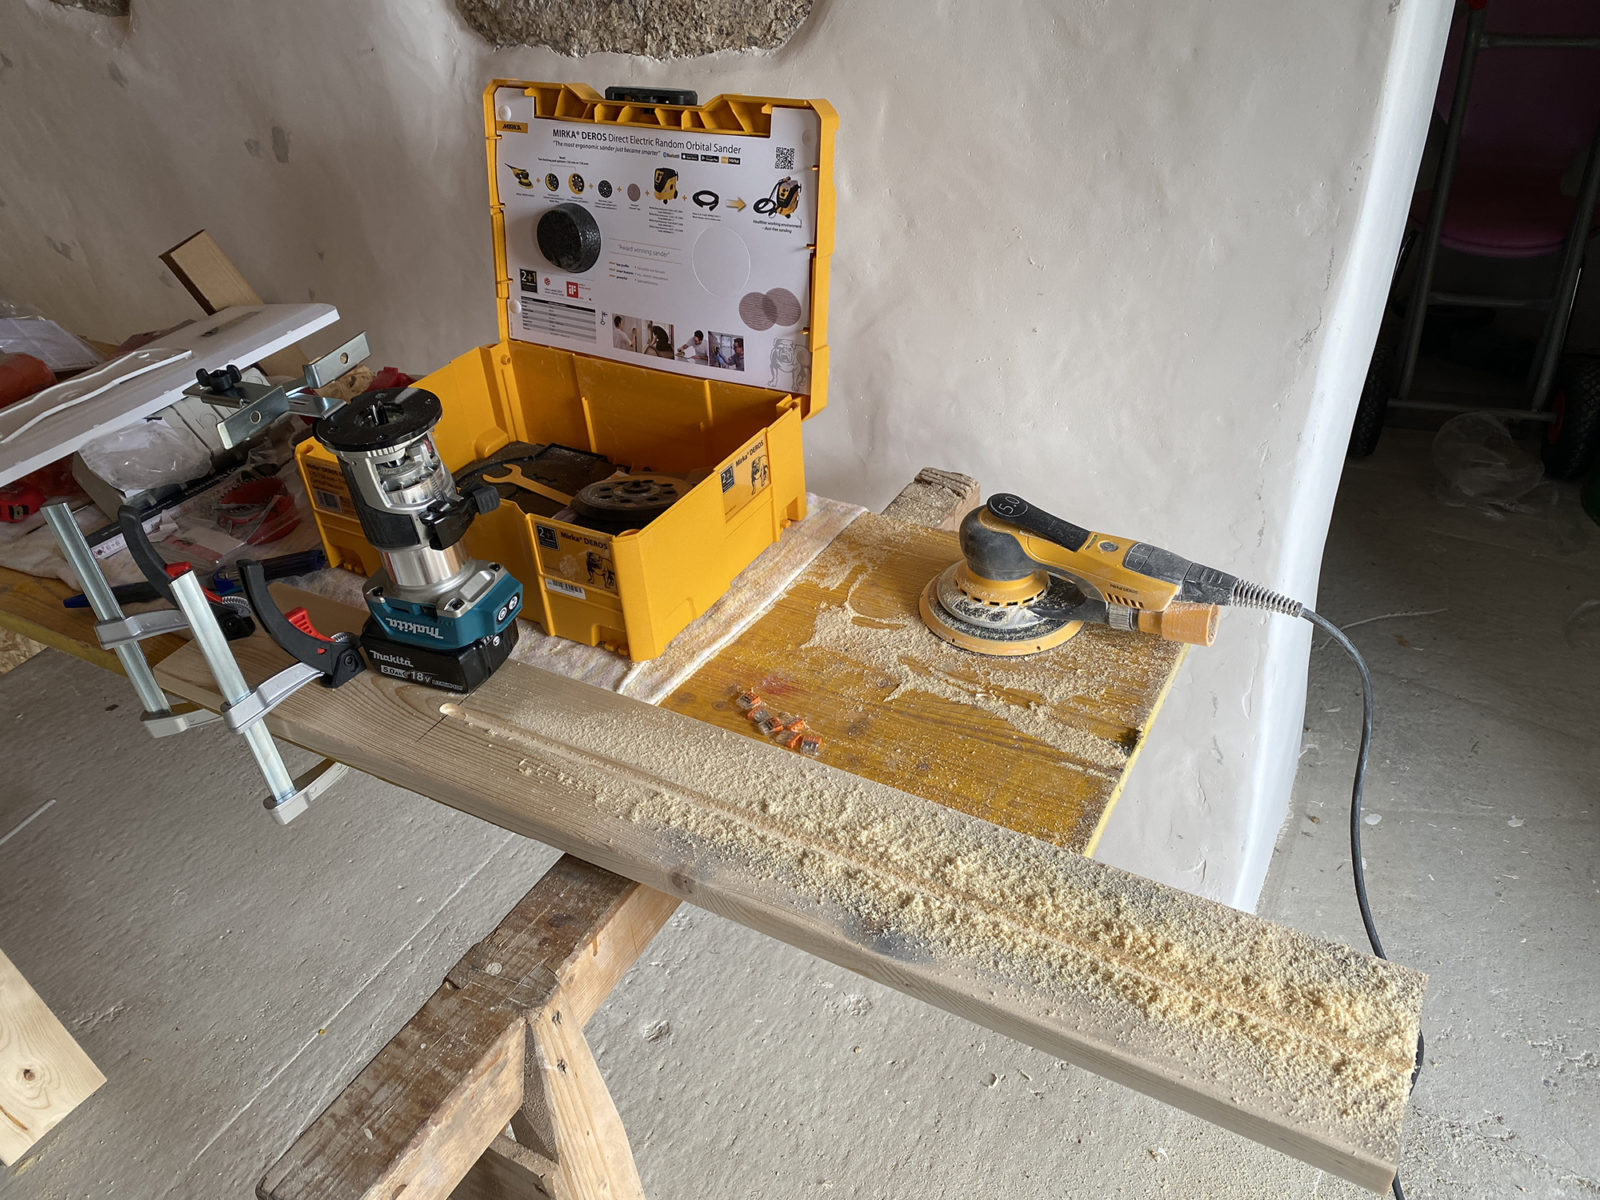
Since I don’t have much space it’s a bit of a hassle to move my materials every time. Now I can move a lot of my stuff to the the storage room to make space and work in the studio:
Most of the wiring for the electricity is in the attic, I forgot to take pictures of this so that will be in one of the next posts.
In the studio I tested the setup for the ceiling lamps and decided to change it a bit.
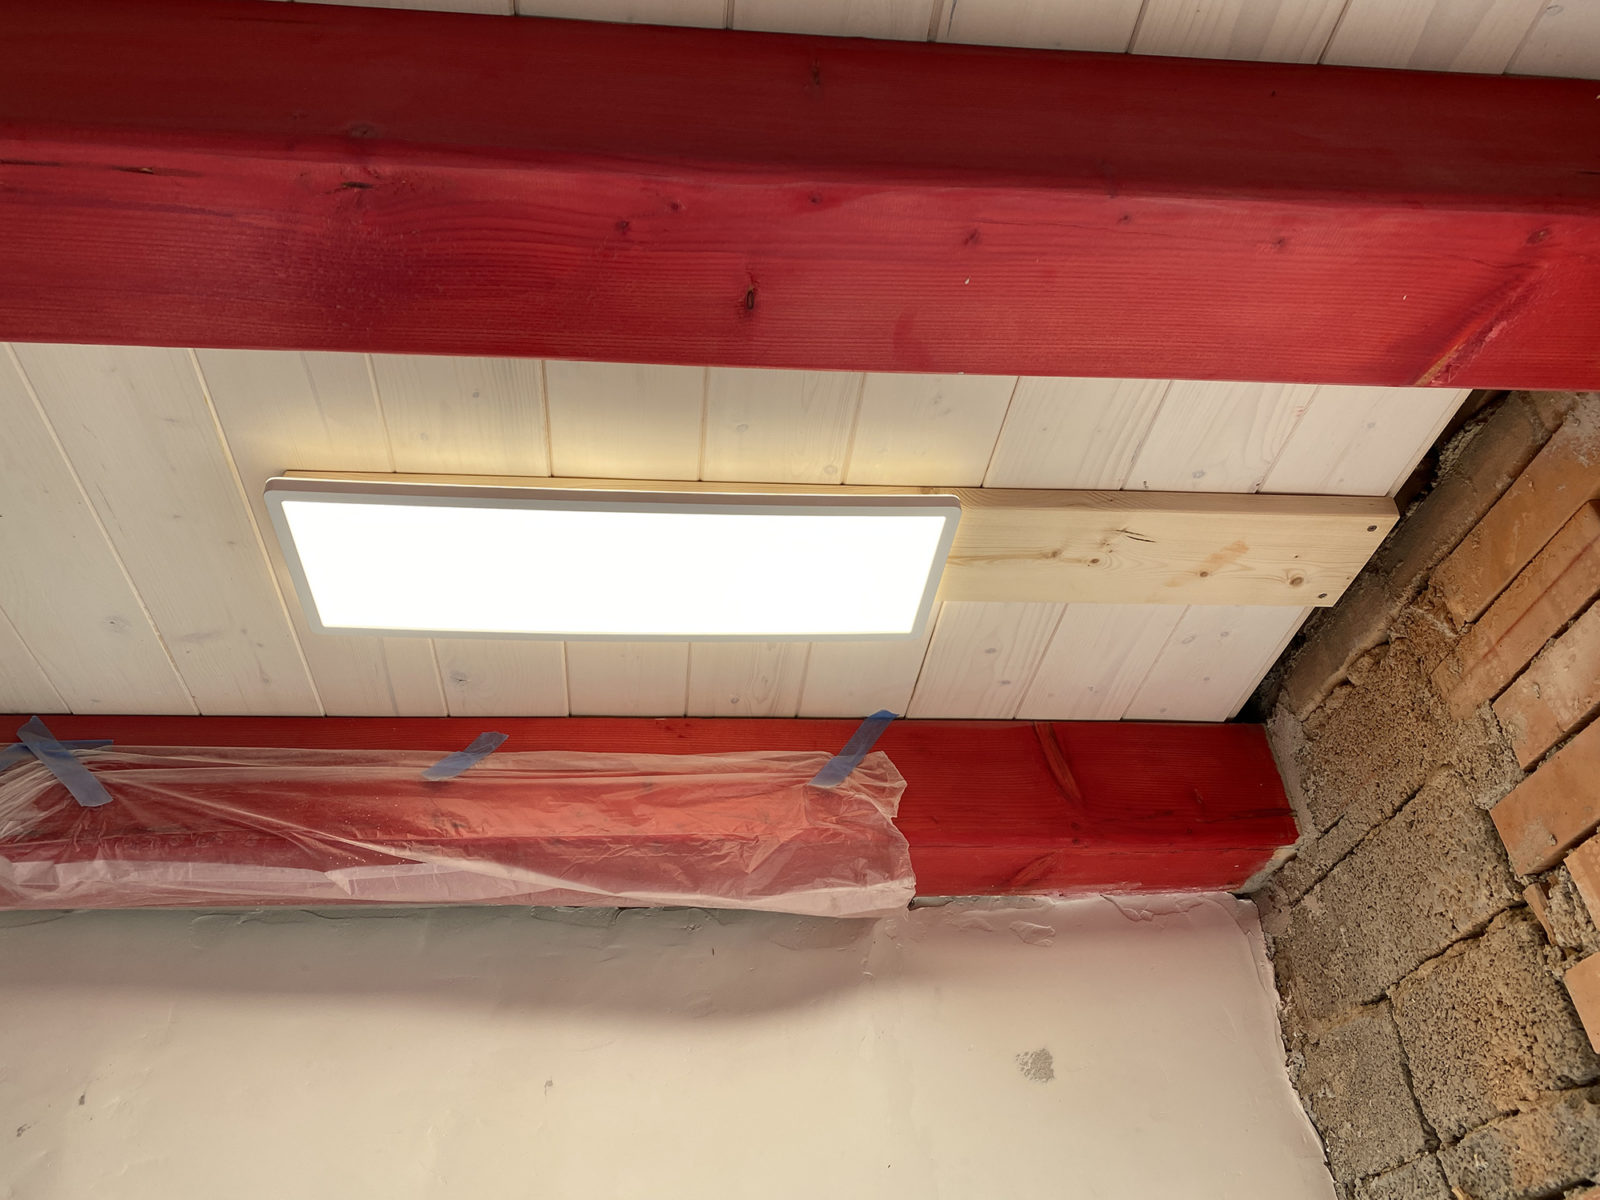
I had 4 of those lamps but unfortunately one fell on the floor during installation. I ordered 5 more. Two will be mounted between the beams, so plenty of light!

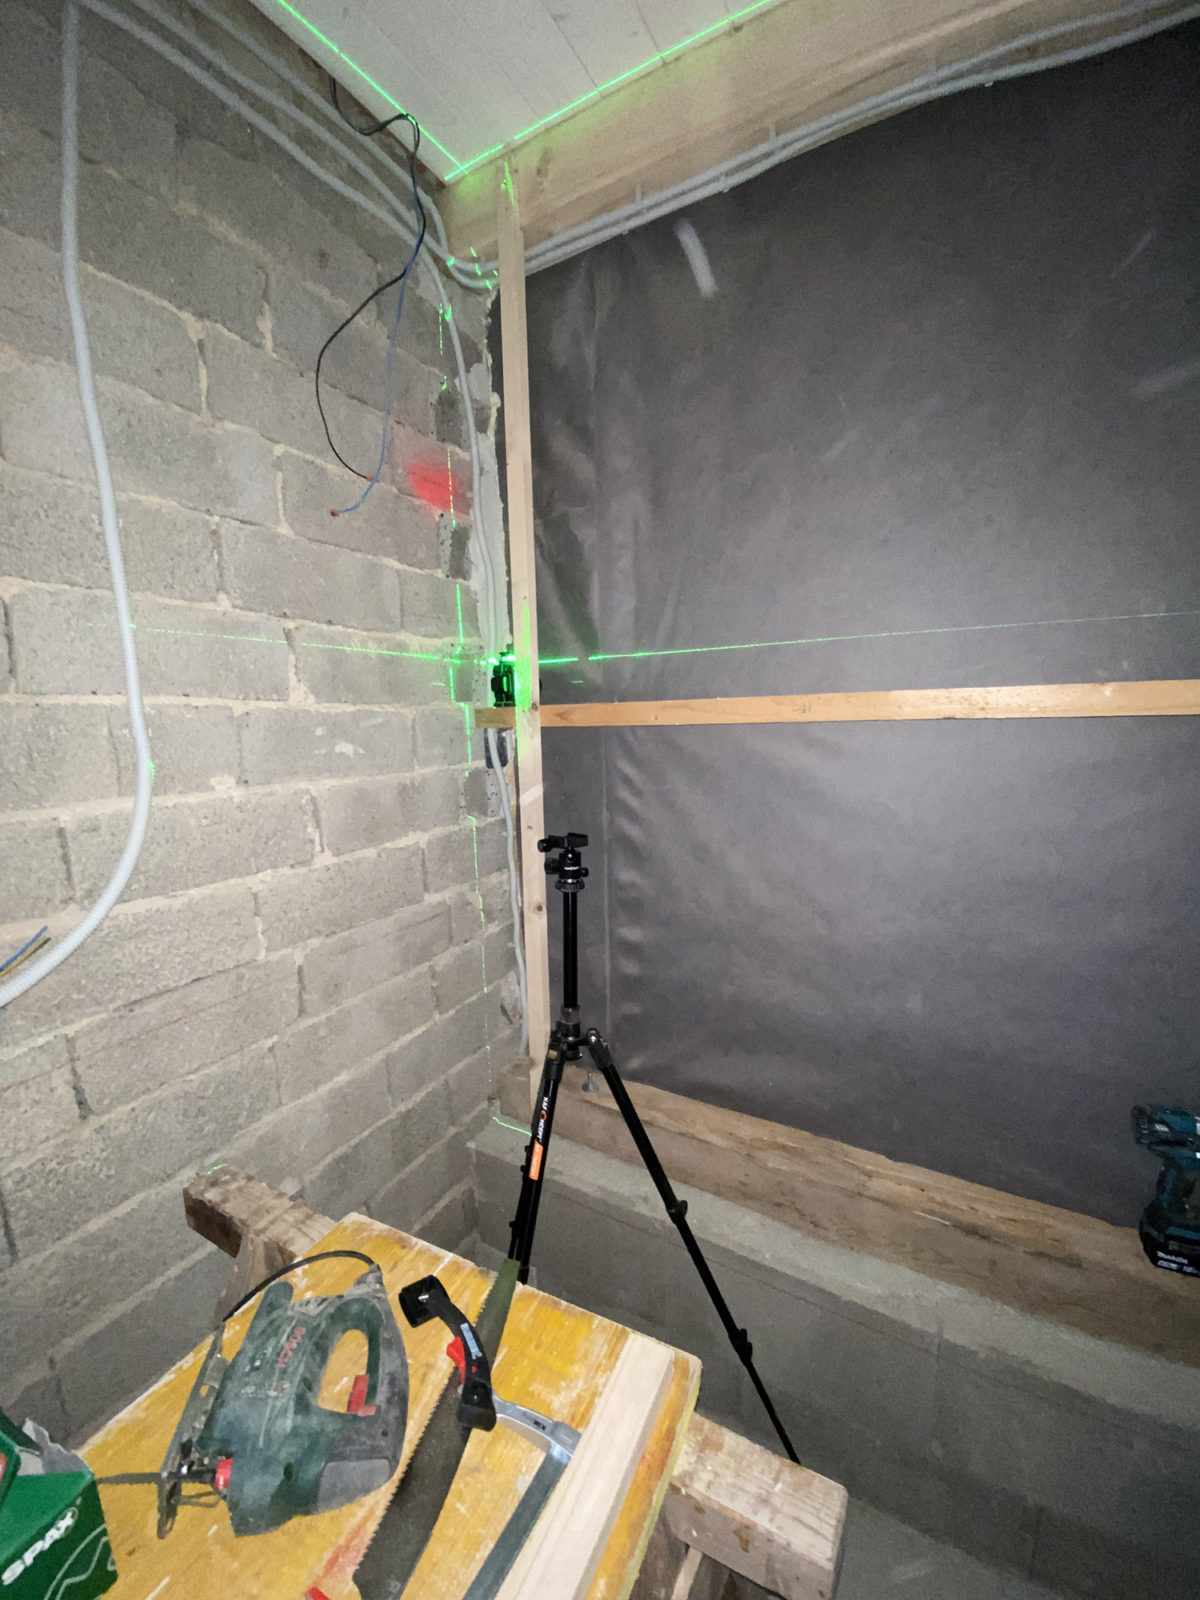
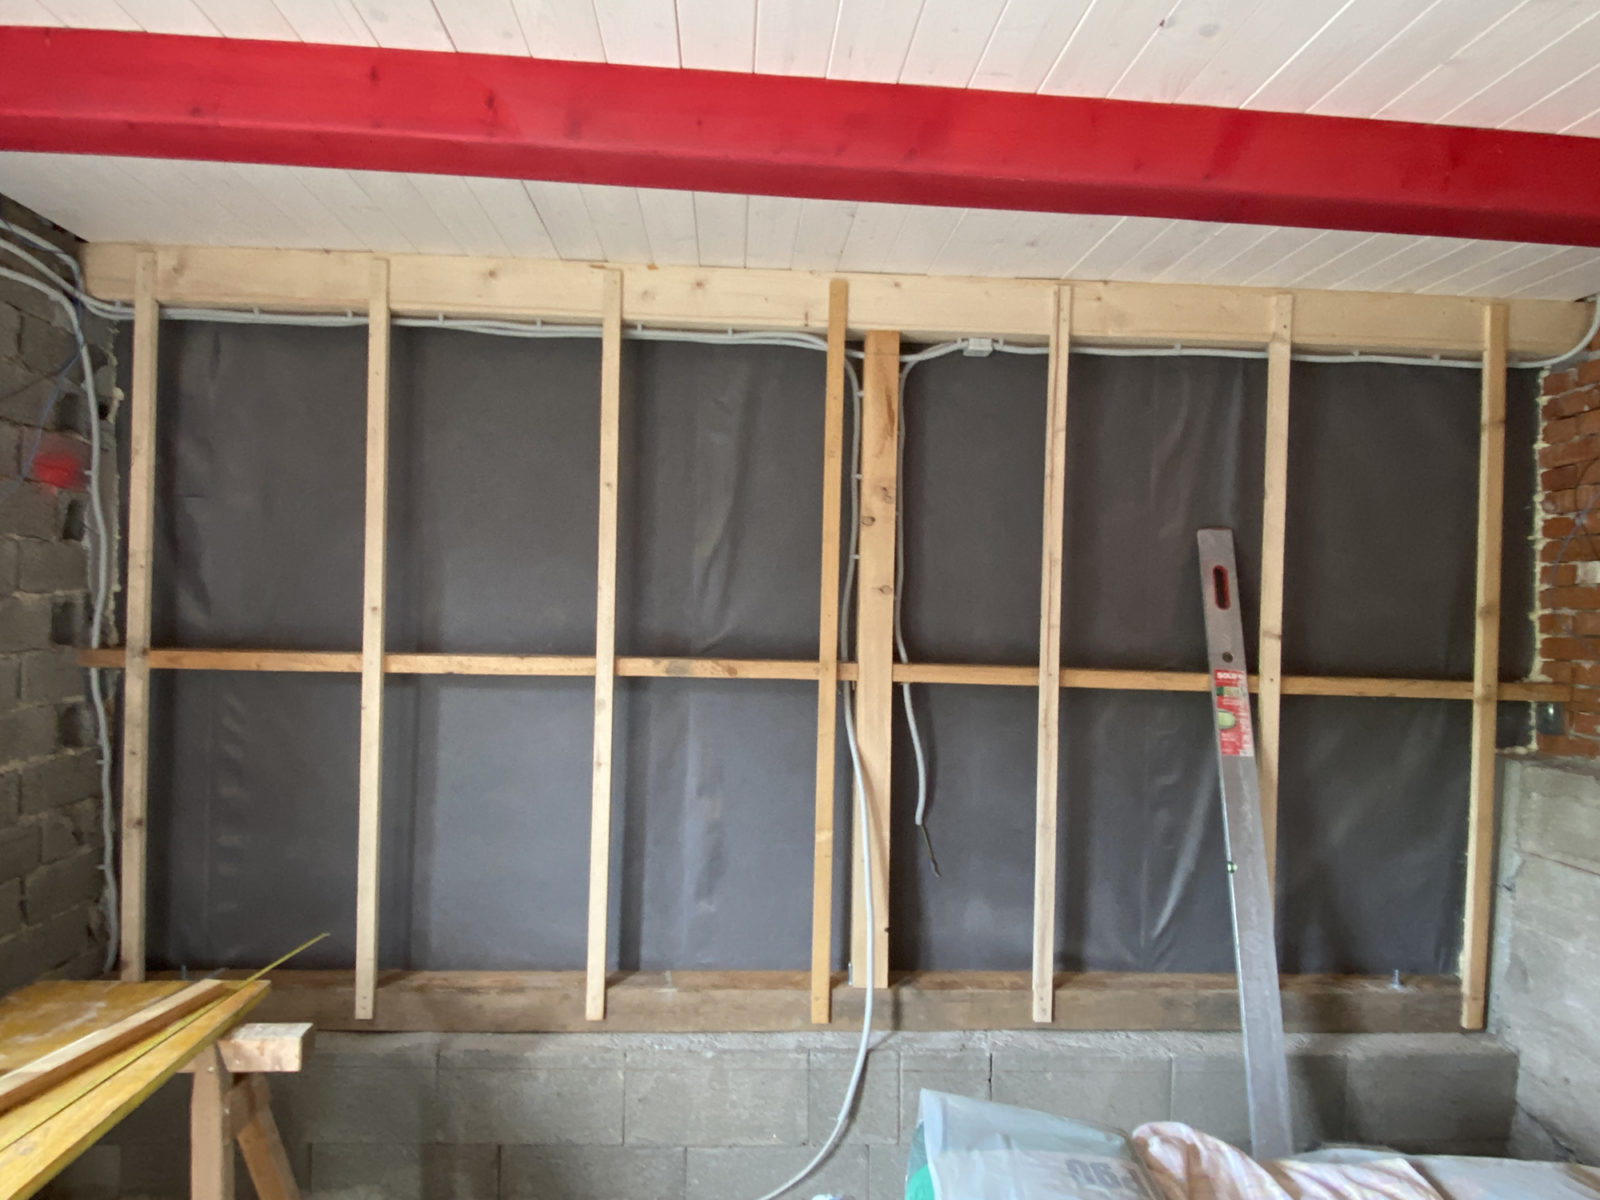
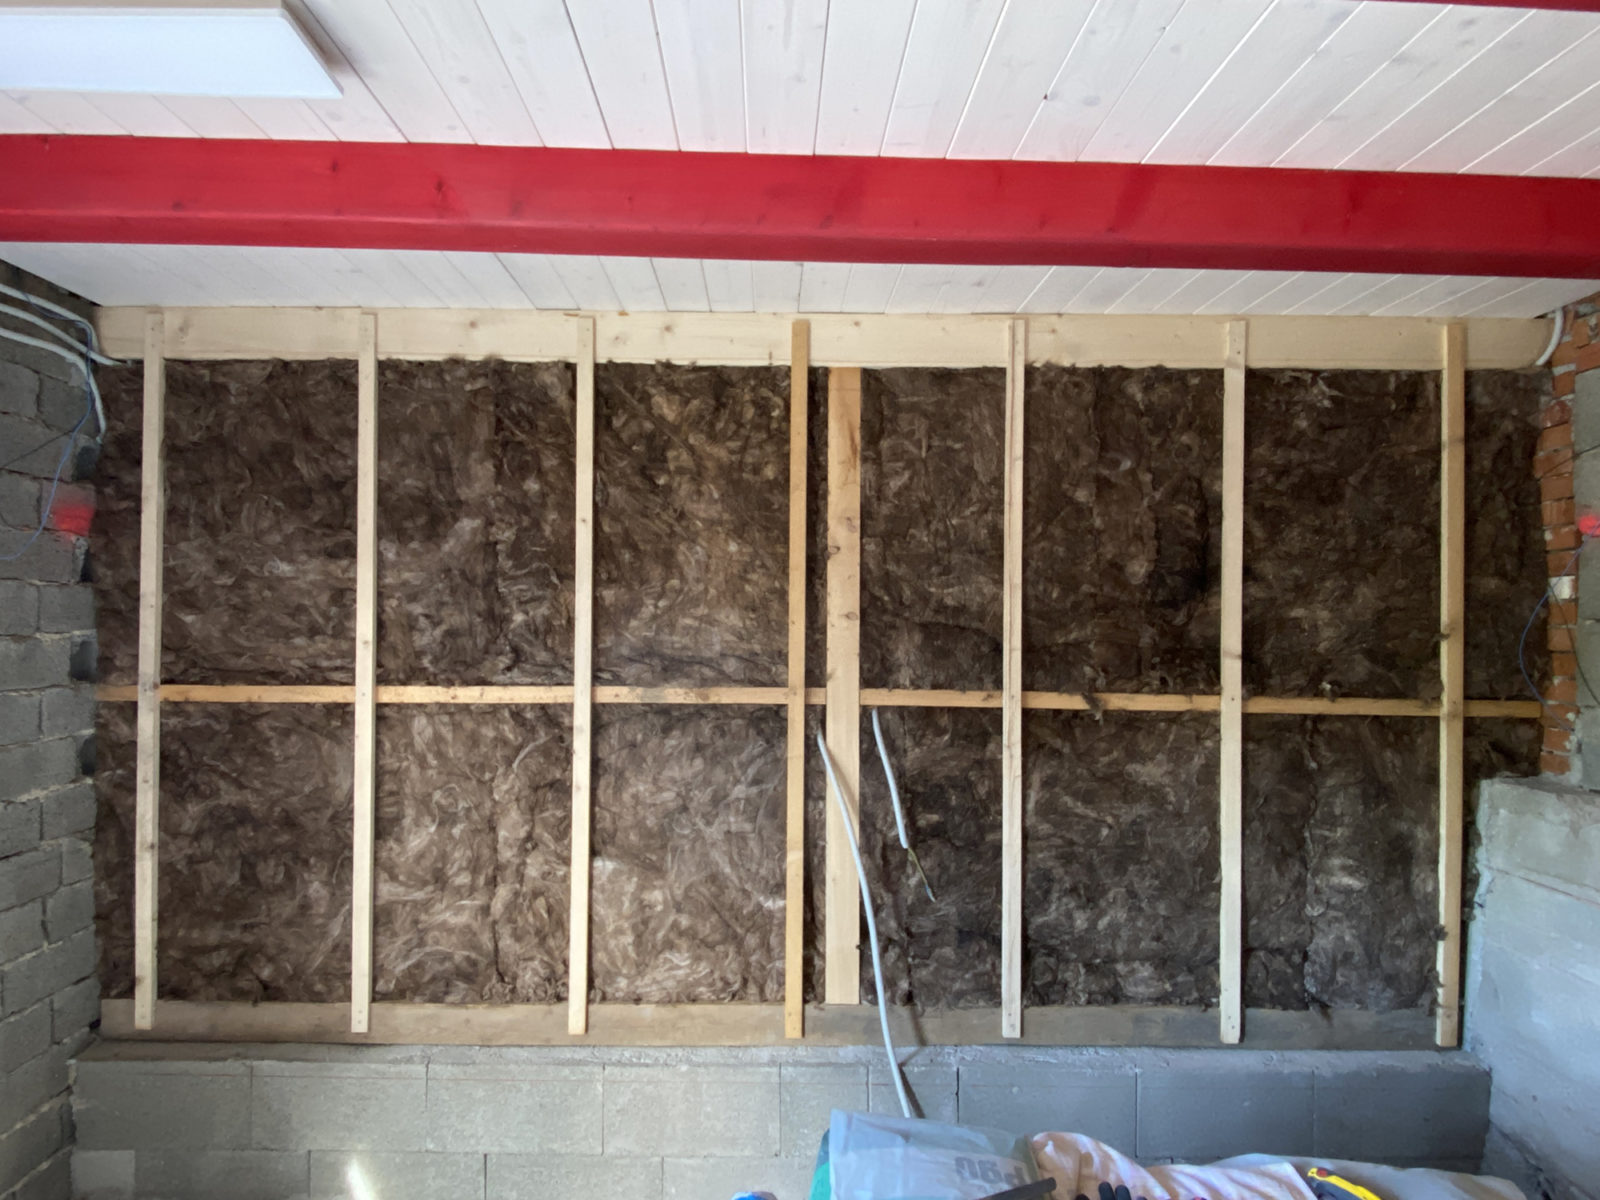
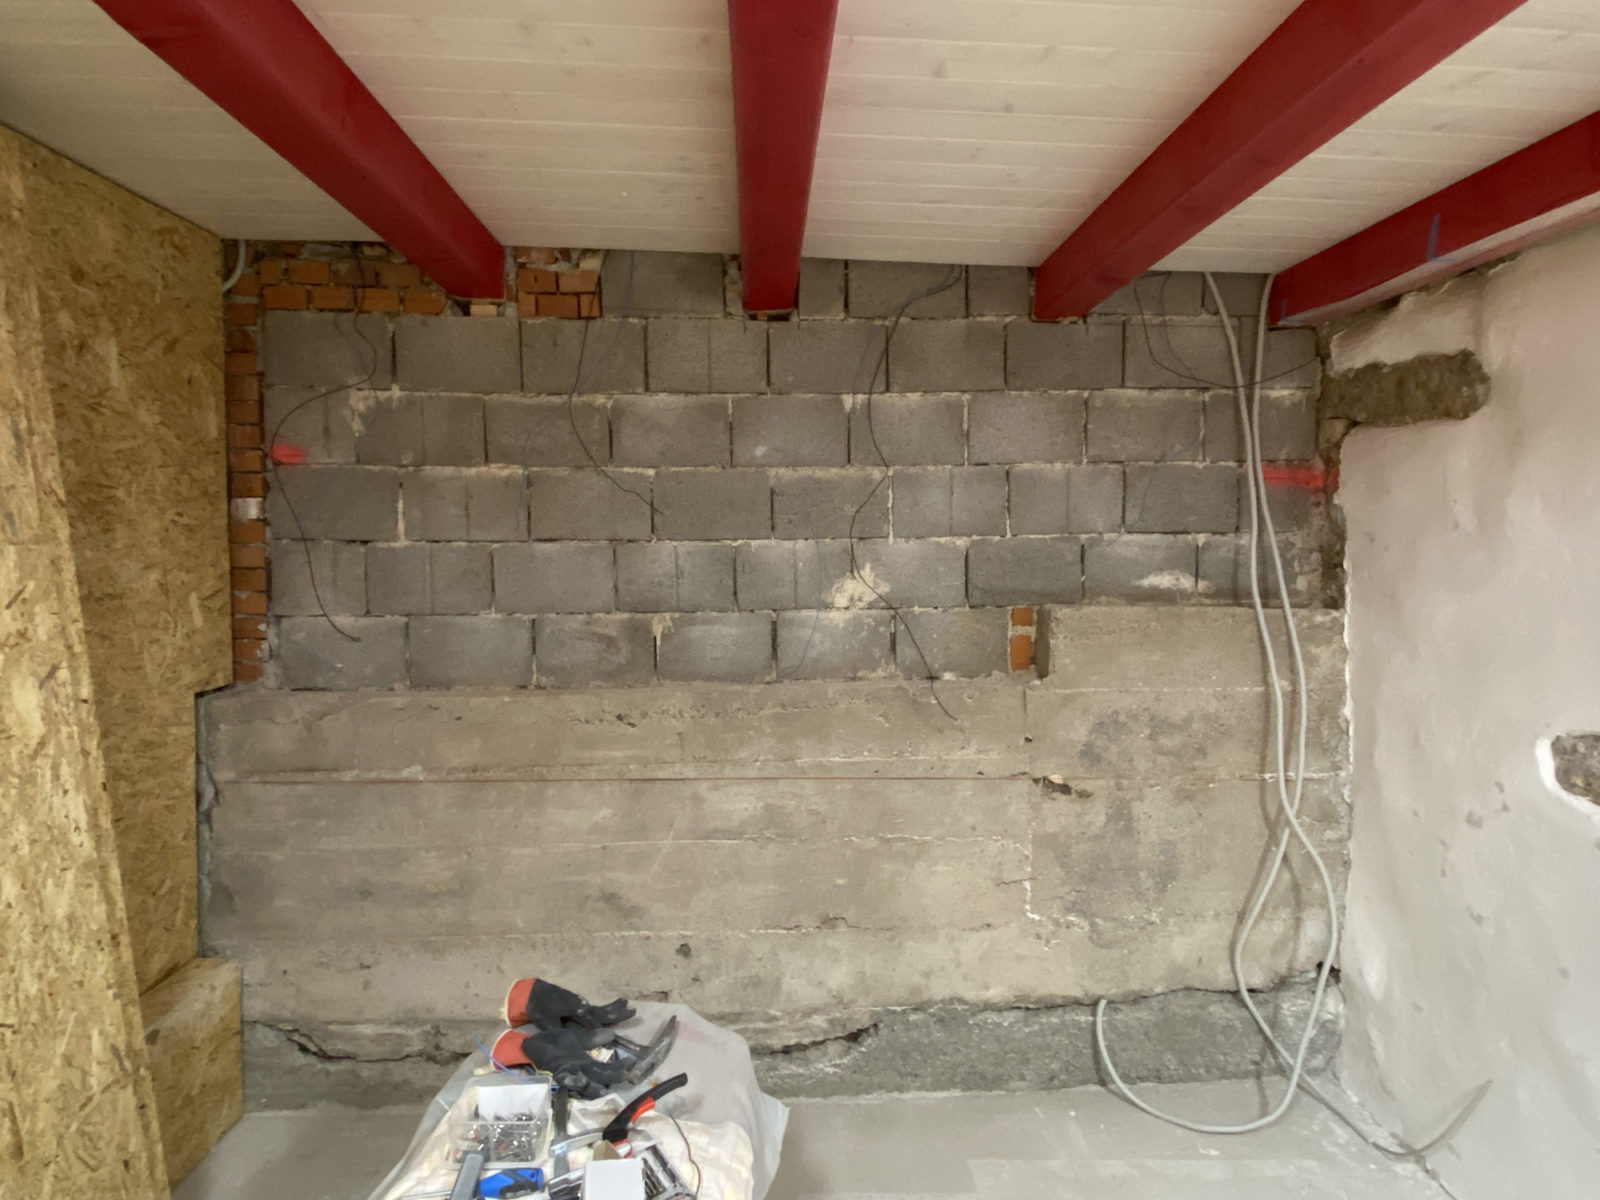
The wiring is also ready so far, so I can start with insulation and mounting OSB on the first wall. This wall is the easiest one. I decided to start here:
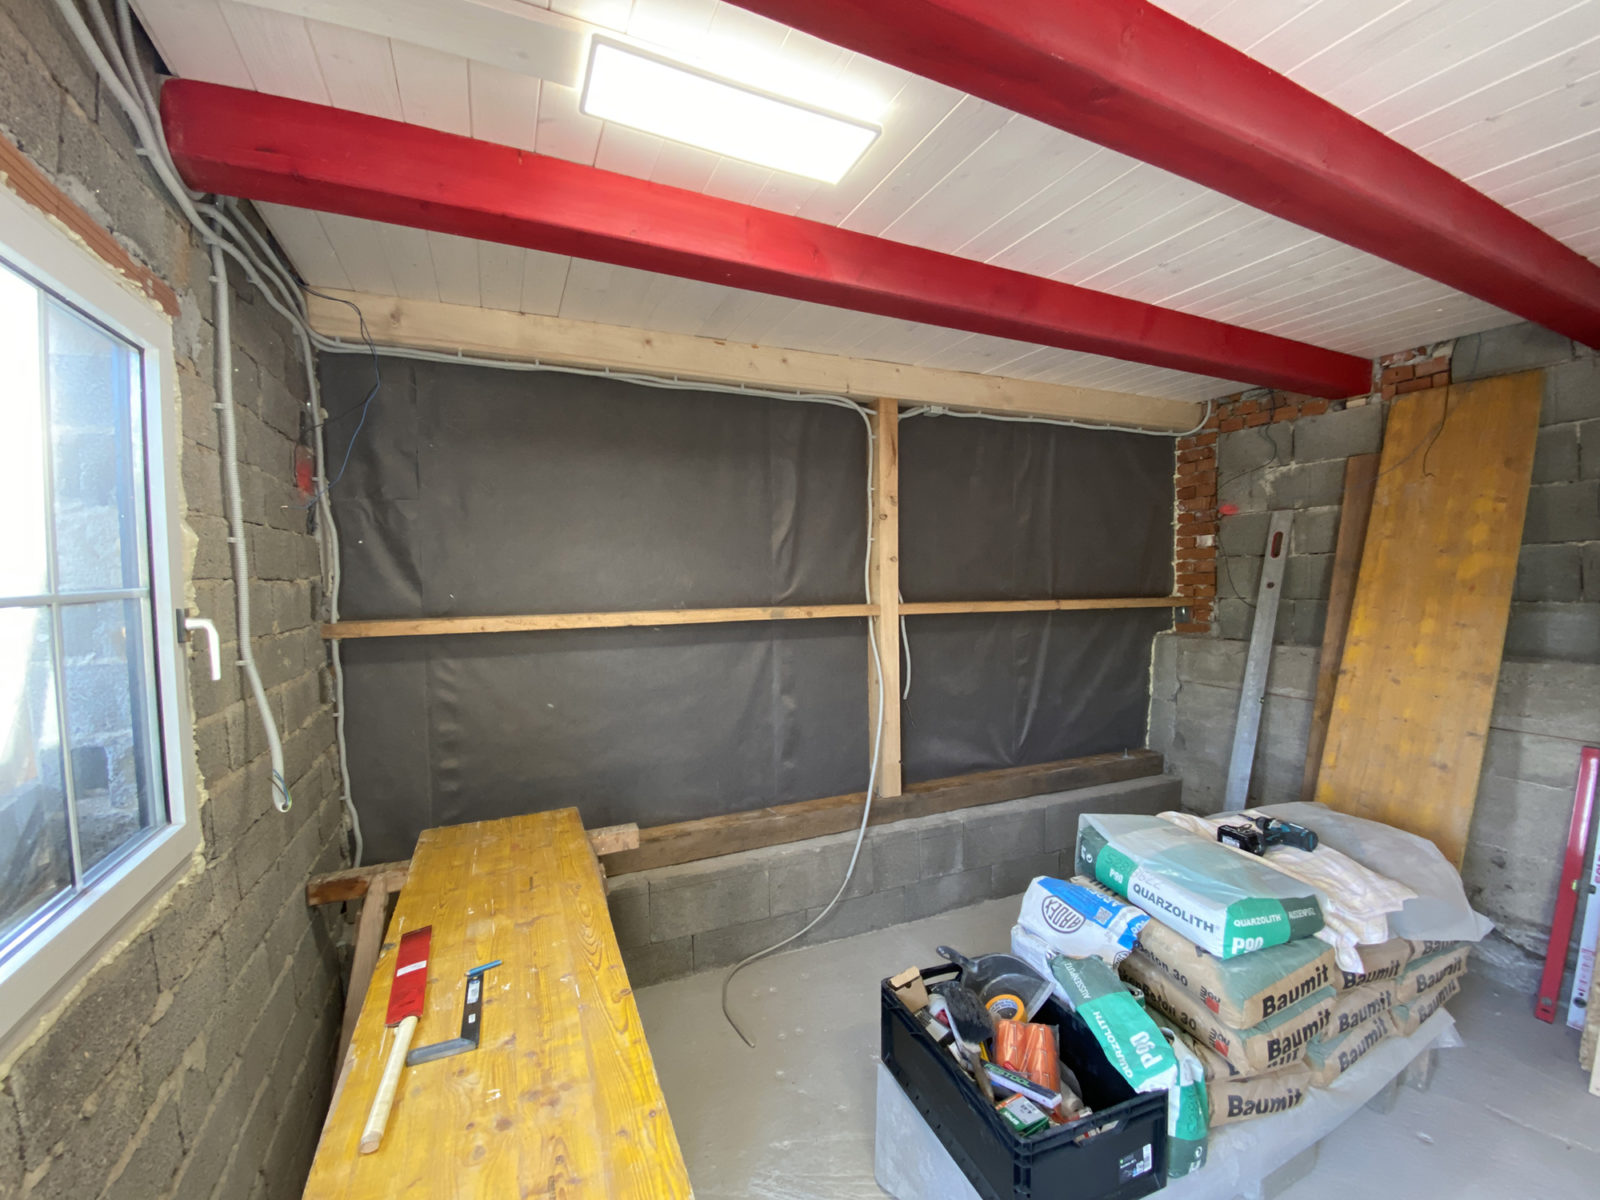
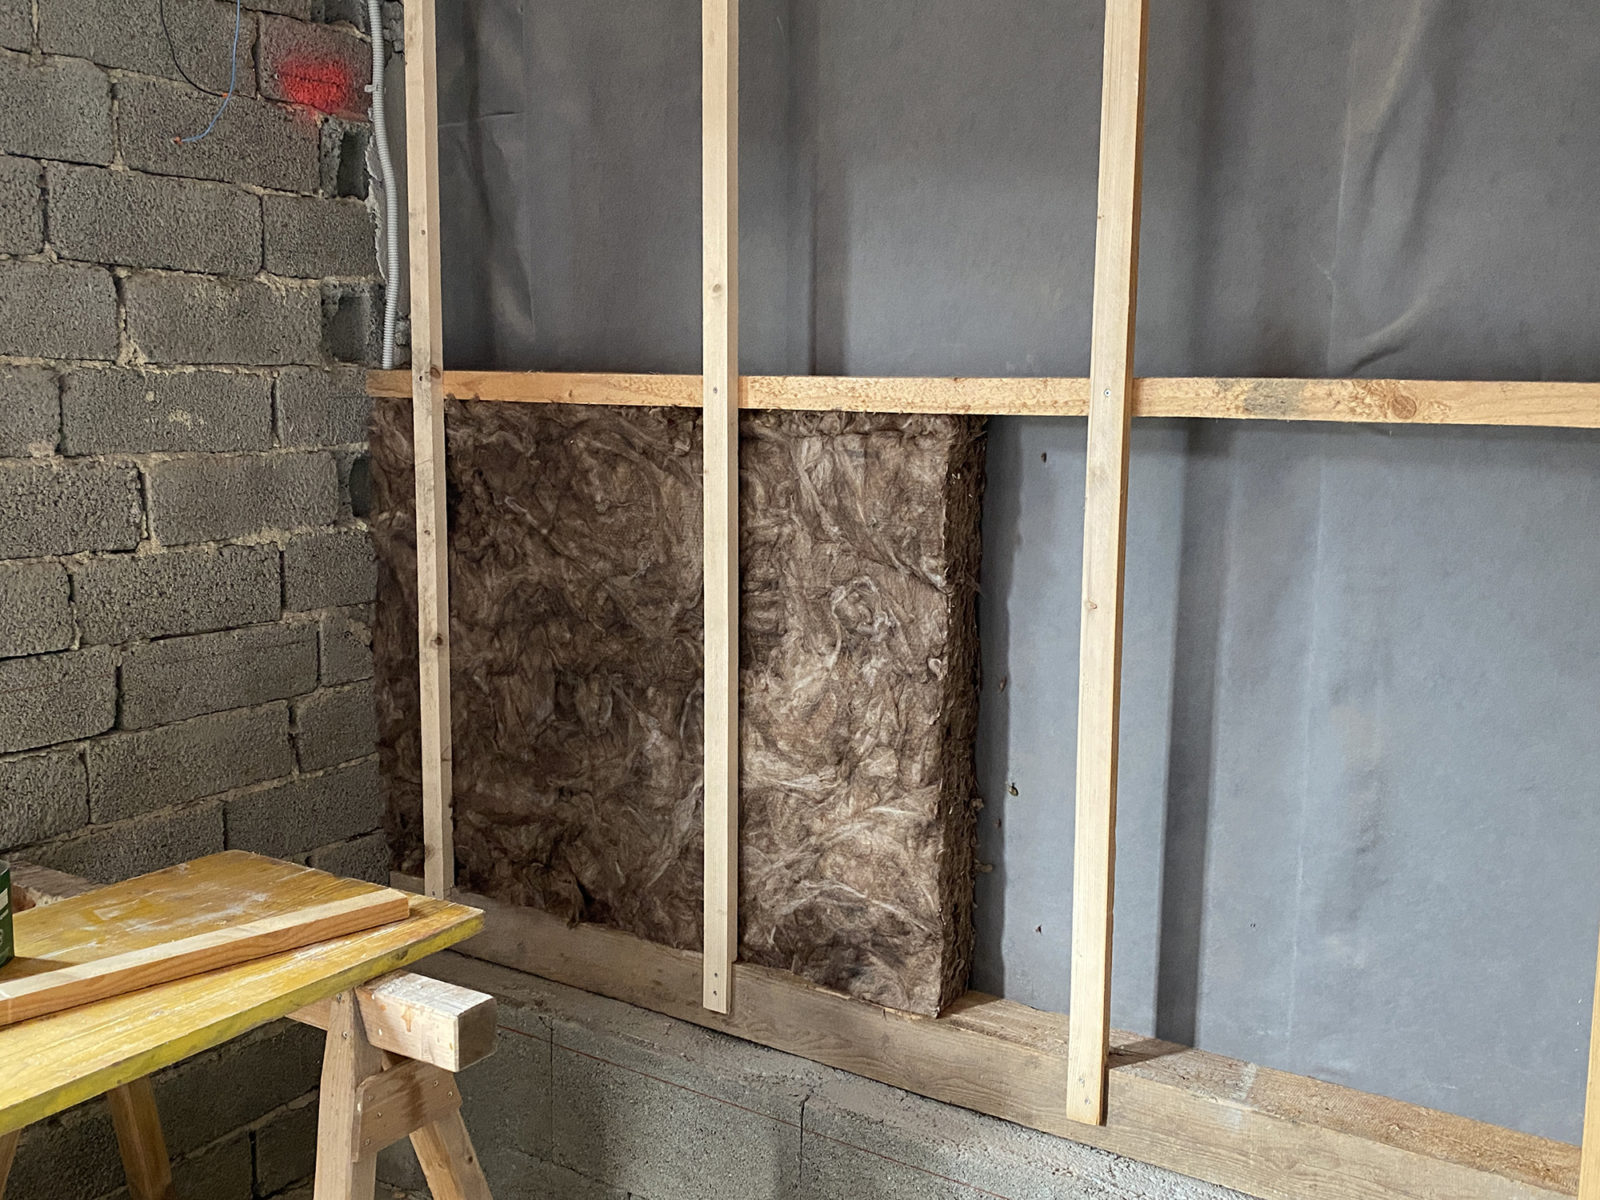
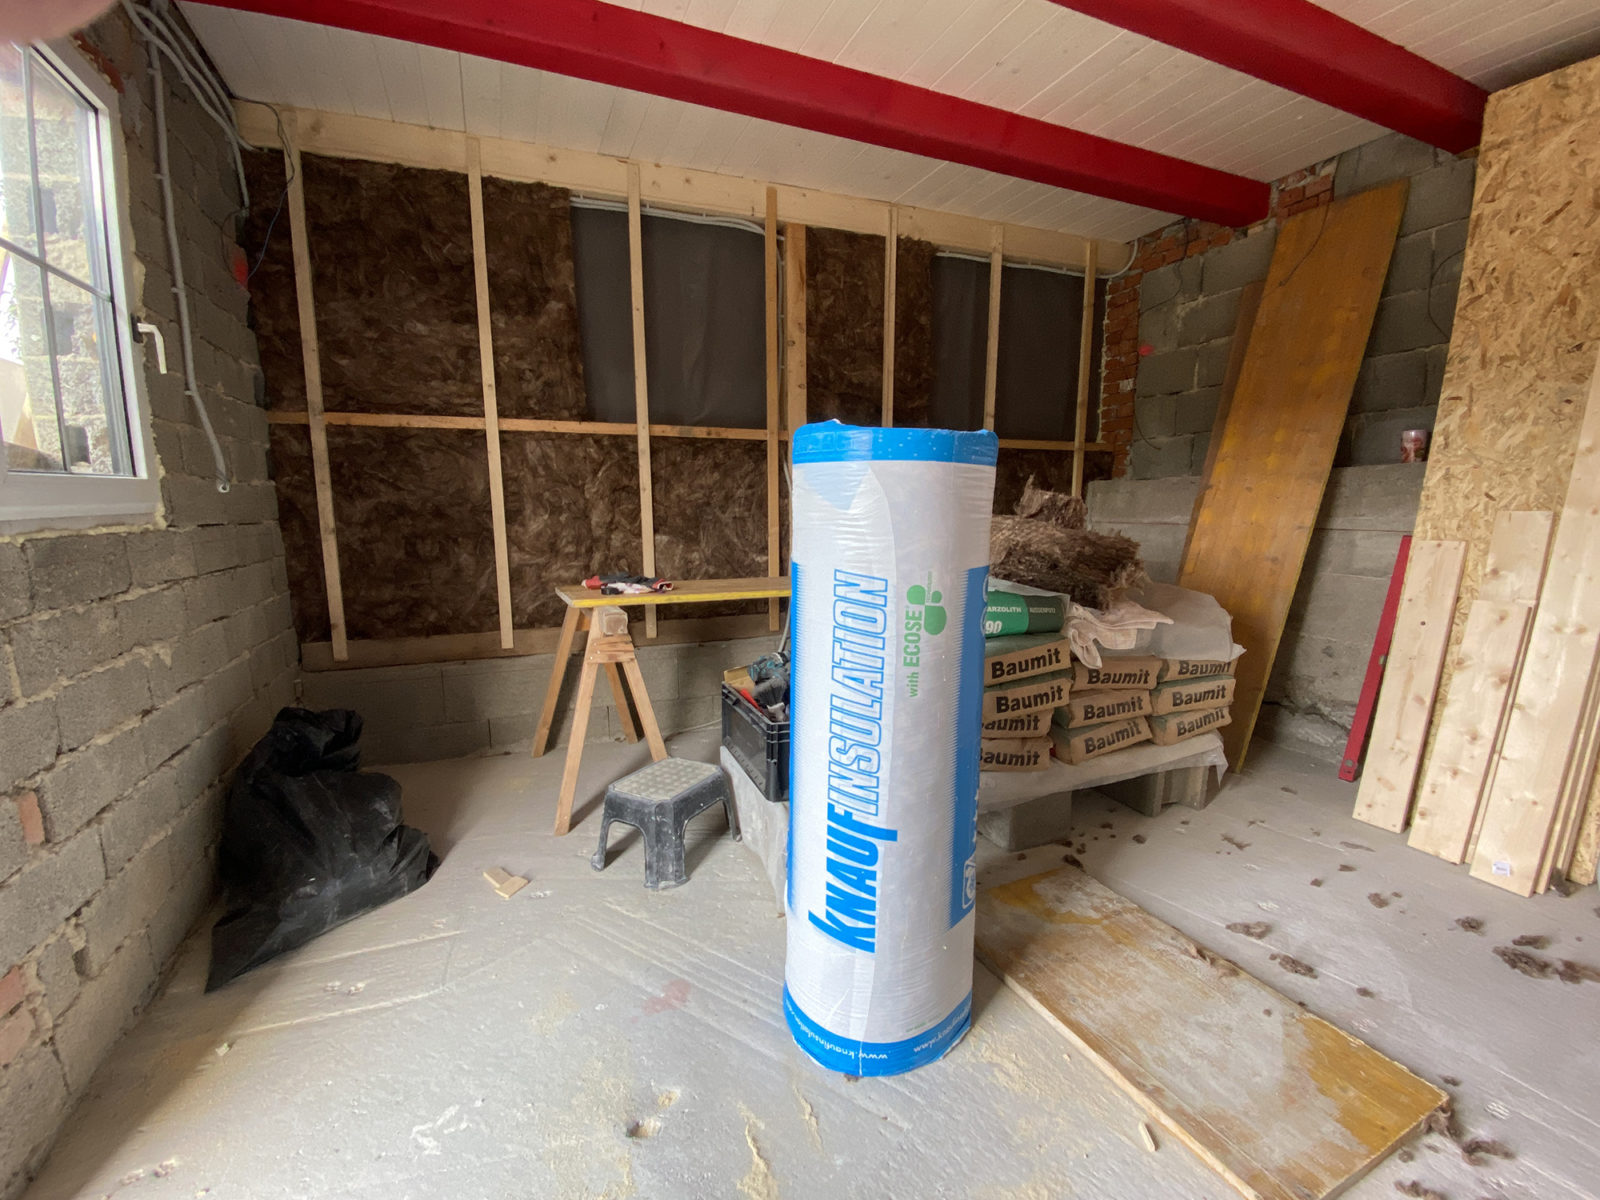
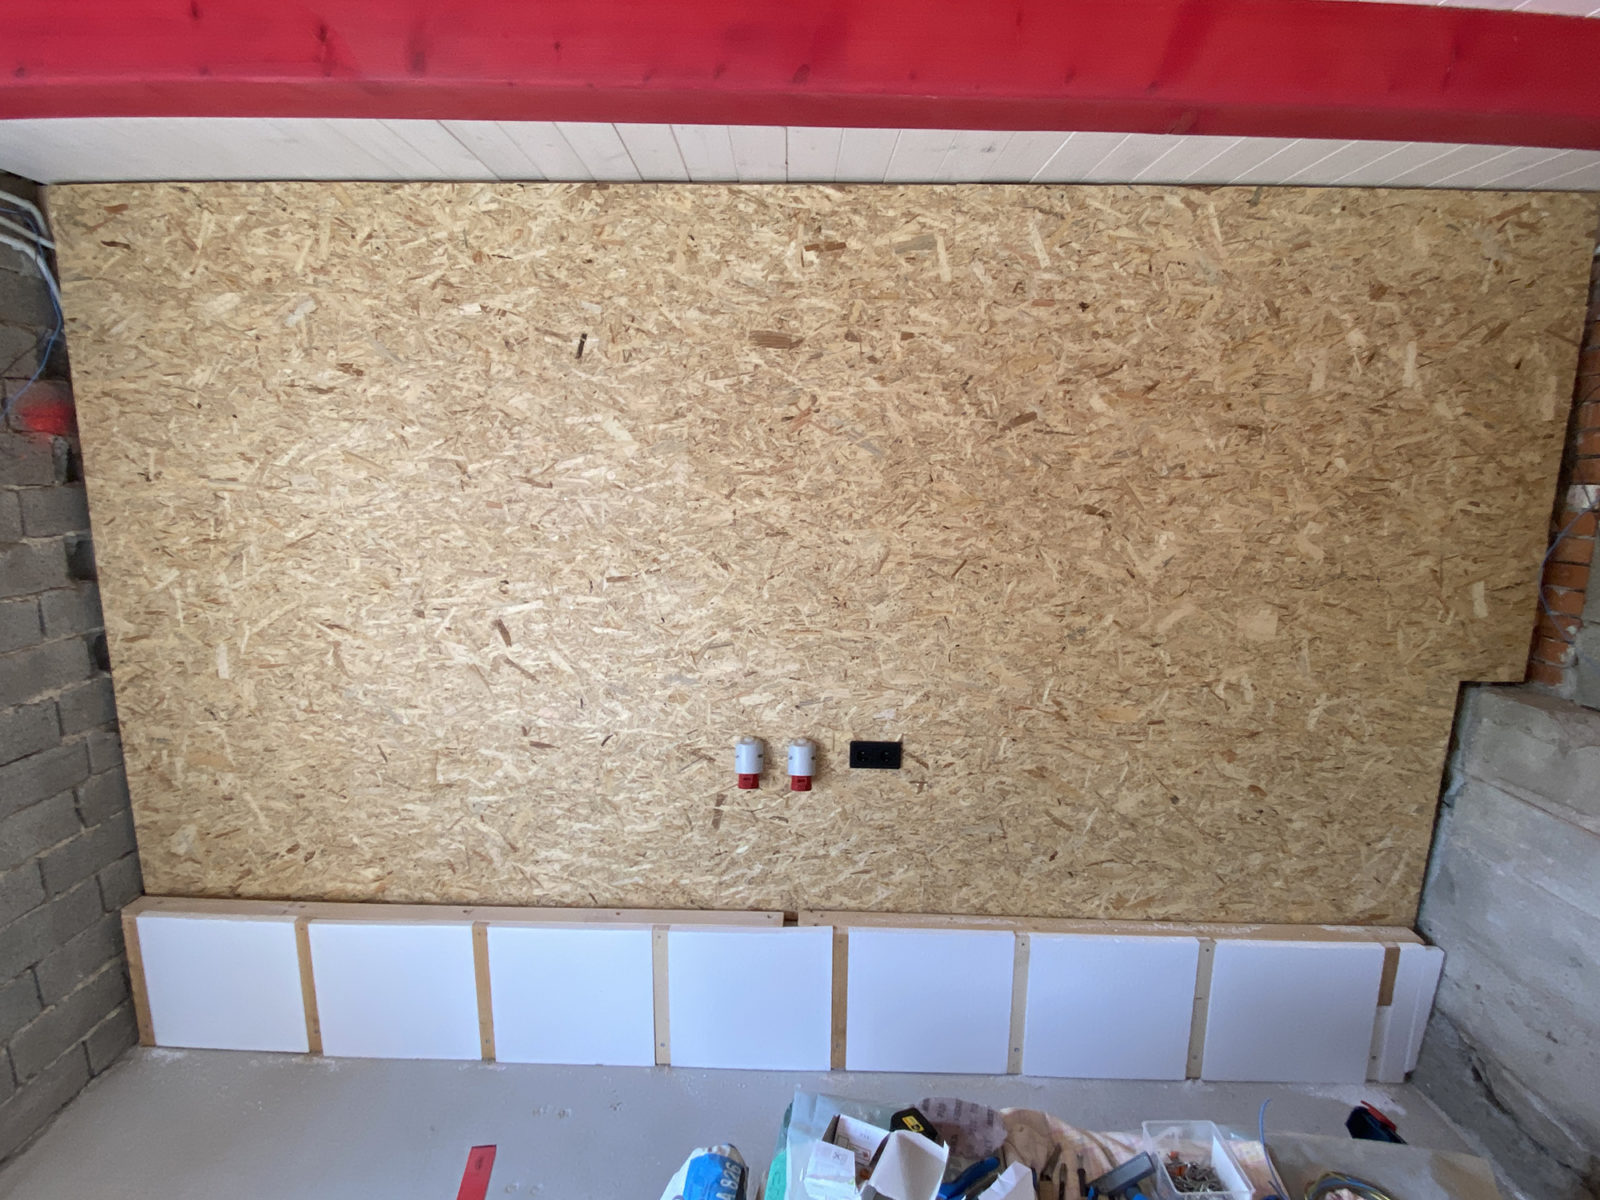
That was easy, now OSB and power outlets. For the lower part I used styrofoam boards, I don’t want to lose more space. The studio is so small already.


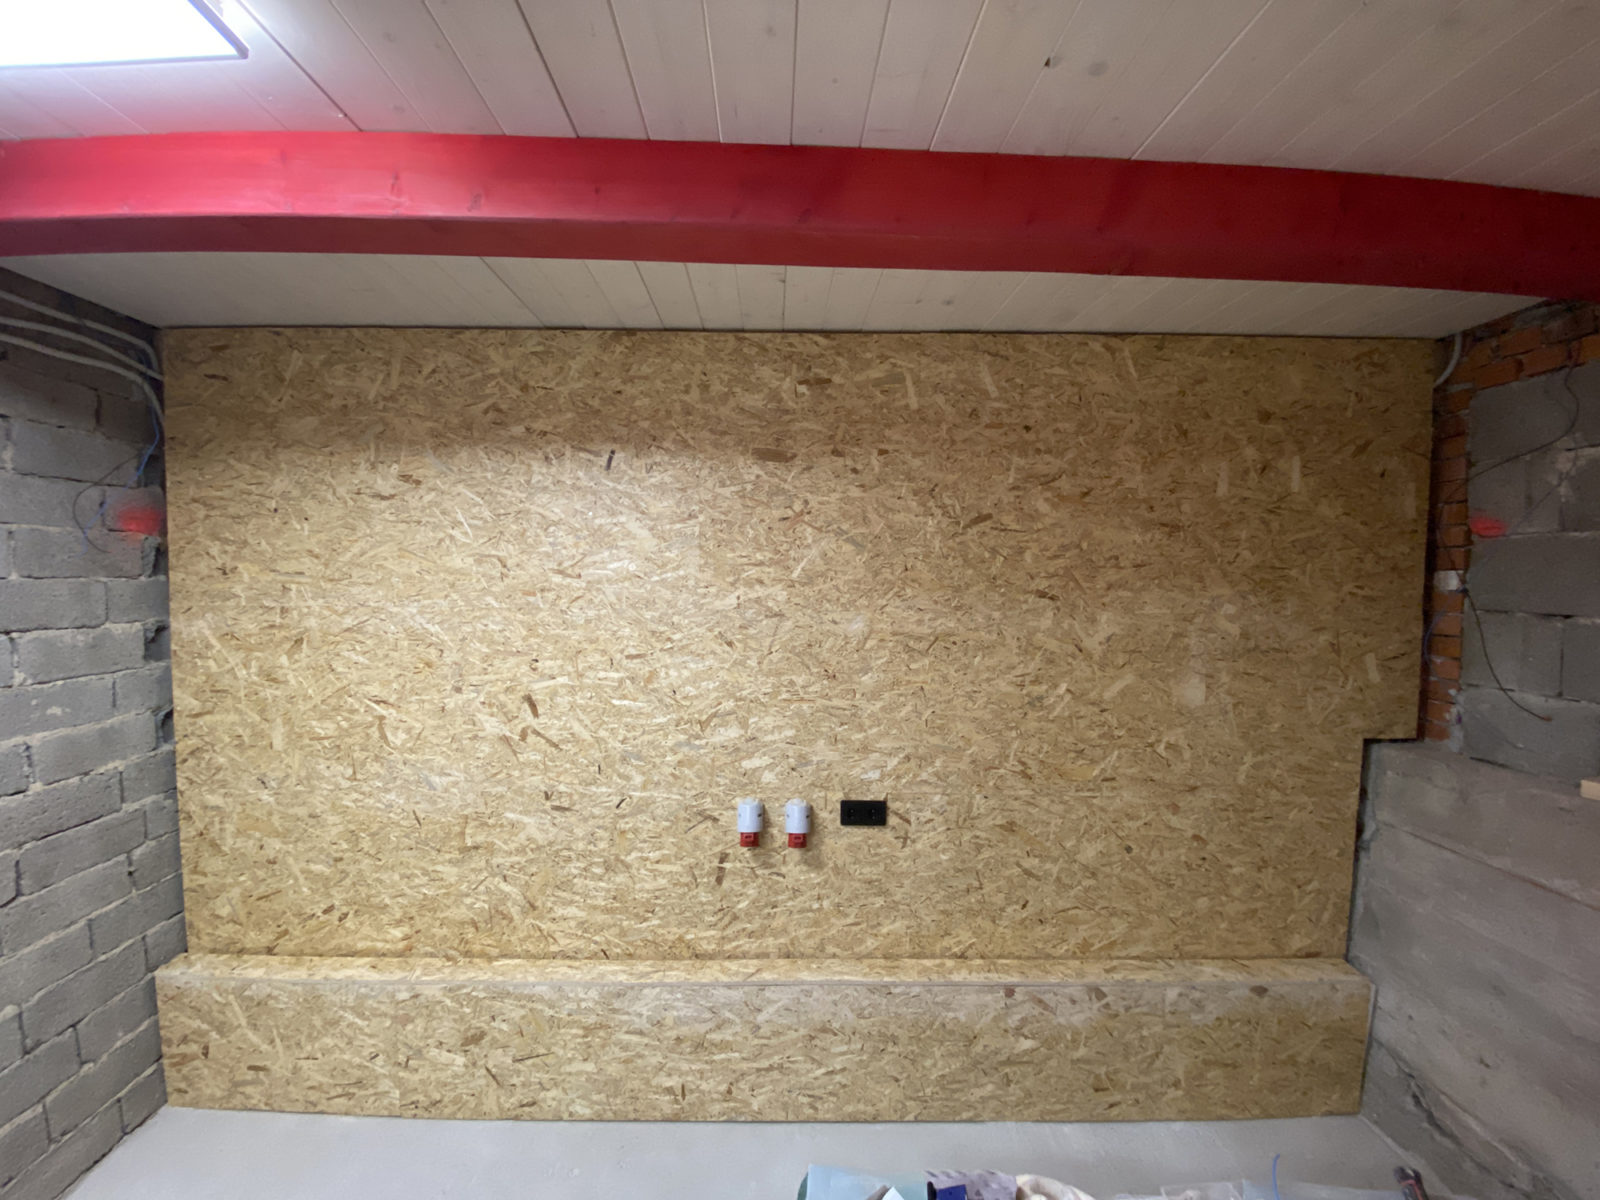
Against this wall I will put my surfacer/planer. I did not yet decide which one. This depends a bit on the budget. I would prefer a Hammer A3-26, or otherwise a Bernardo AD 260S – 400V
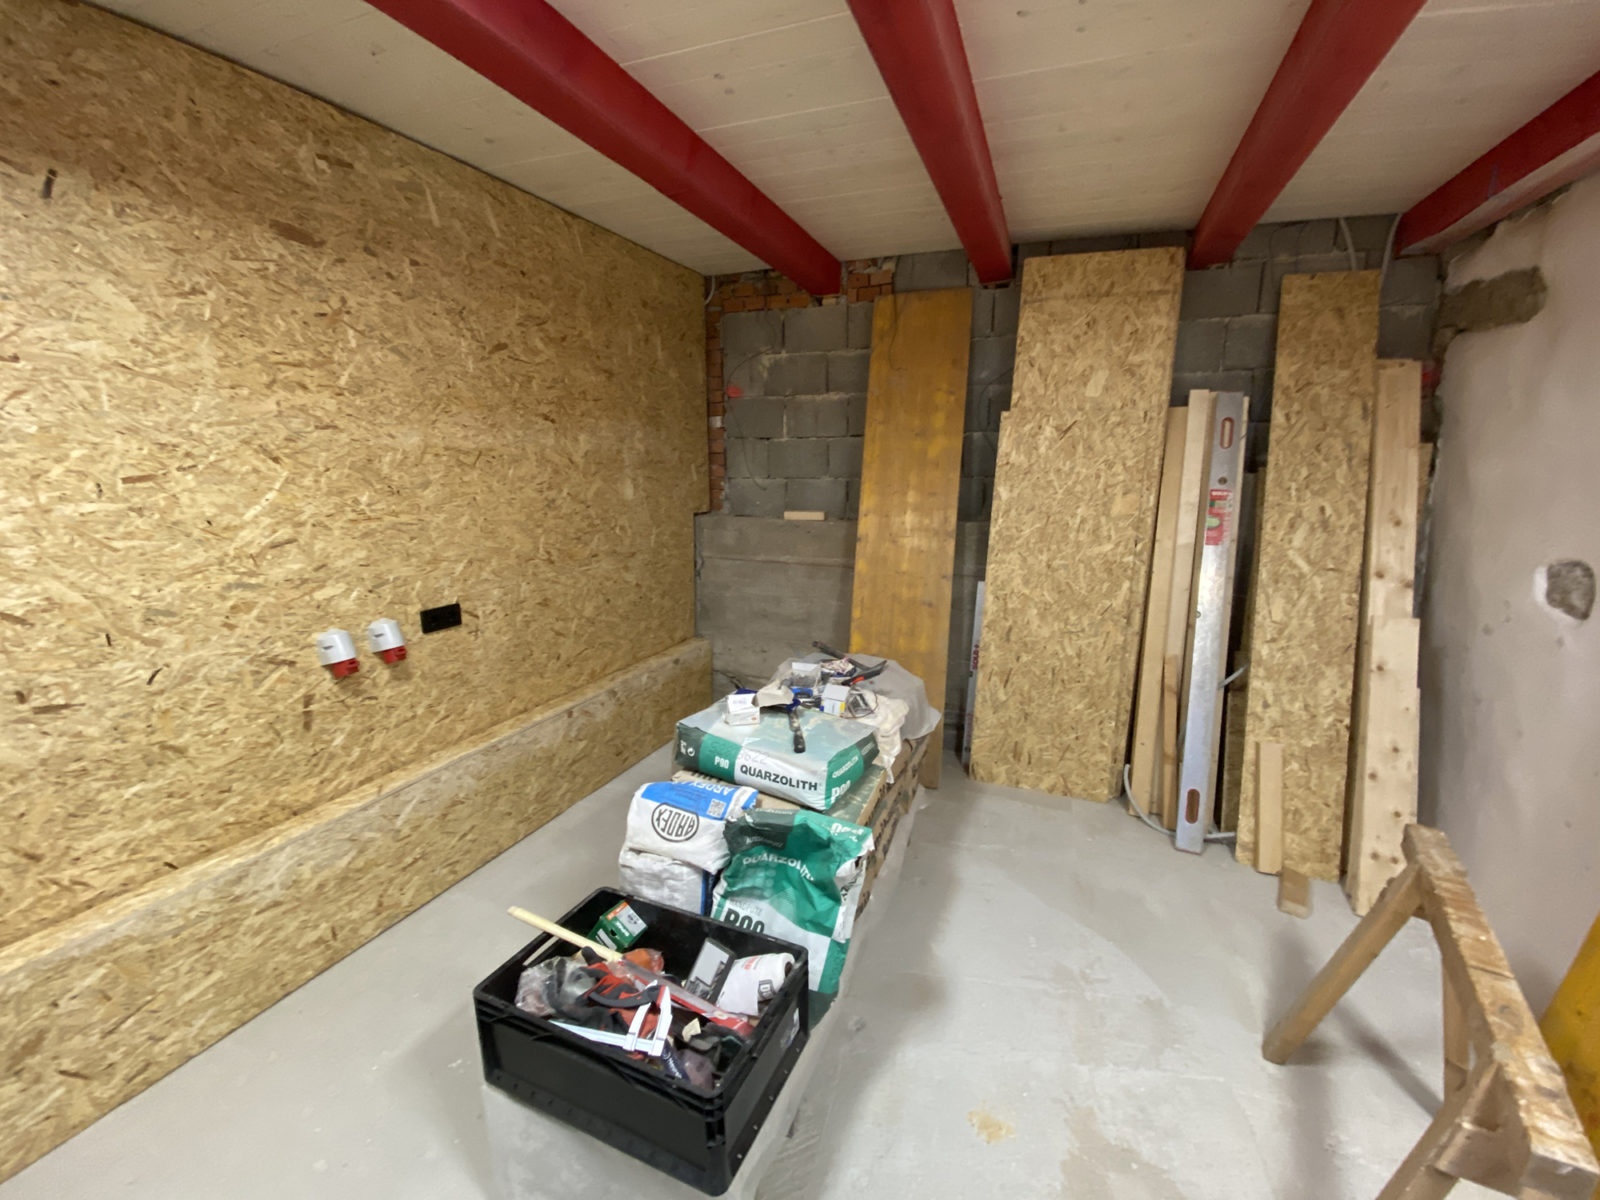
This wall gets a laminate cladding, that’s for later. Time to move some wood:
The back wall is tricky, no 90º angles, nothing is straight about this wall. I need to think about this tomorrow, but first I will paint the project wall!
That’s it, it was a nice week 🙂
またね (Until next time),
ロナルド